In Genshin Impact, Abundance Under the Sand Dunes 1 is a quest in the Sumeru world and the third part of the Dire Bilcis quest chain. As part of it, you will need to explore Mount Damavand, start a mysterious mechanism and find a way to get into the central area of the ruins. If you're having trouble starting and completing this quest, check out our guide.
Abundance Under the Sand Dunes I quest walkthrough
How to start the quest
It starts automatically immediately after you complete the previous mission of the chain called “Temple where the sands flow like tears.” If this does not happen, then try to log out of your account, wait 20-30 minutes and re-login.

Talk to Jacht, Azarik and Babel
First of all, you will need to chat with Azarik and Jeht, who will be waiting for you in the western part of the Tanith camp, not far from the tent. After that, run to the center of the settlement and talk to the matriarch there, who will tell you about the dangers of the coming journey.

< p>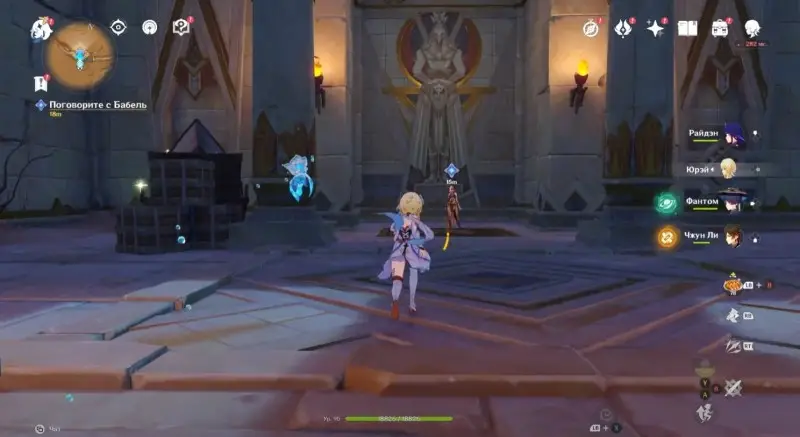
Descend into the depths of the Oasis of Eternity and enter Mount Damavand
Move to the Ghoul Passage located west of the Unut Setekh boss. Once in the marked area, run towards its center to start the next task – you will need to get to the entrance to Mount Damavand.

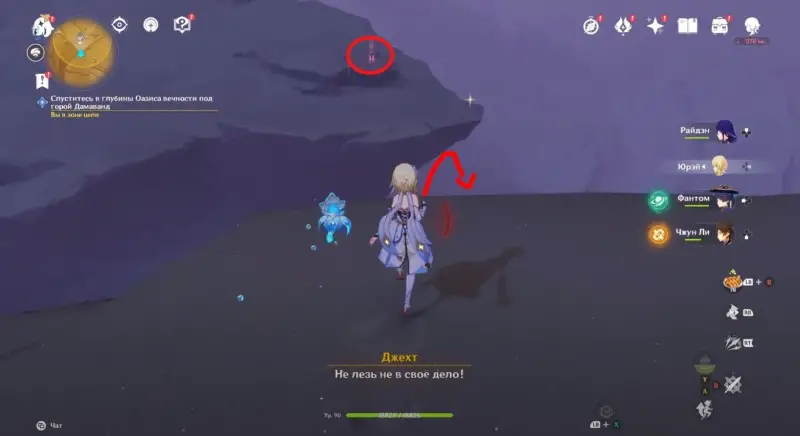
To do this, you need to jump down into a giant crevice and stand under the cliff where the teleporter is located (we advise you to activate it so that you can then were able to quickly return here if necessary). Stand at the indicated location to start a short cutscene.
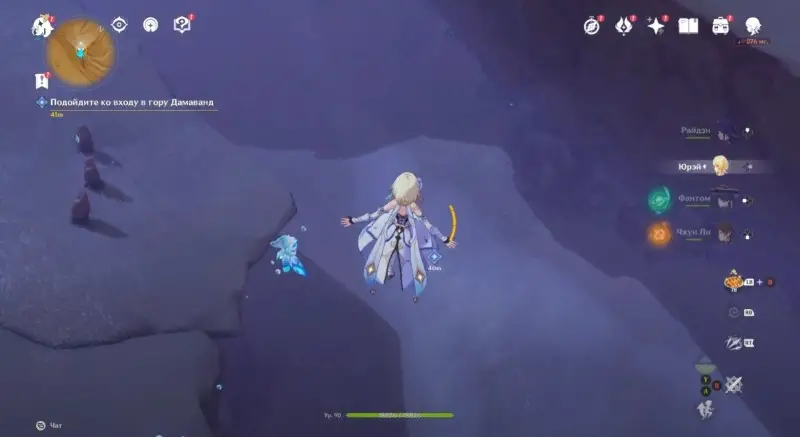

You will be attacked by a group of molders and a sandworm. Seeing a circle on the ground, do not rush to run away. The fact is that if you miss the first hit from the nut, you will unlock a hidden trophy called “I hate him too!”. After dealing with the first wave of enemies, prepare for the appearance of the second wave. You only need to kill the mushrooms to continue the quest.

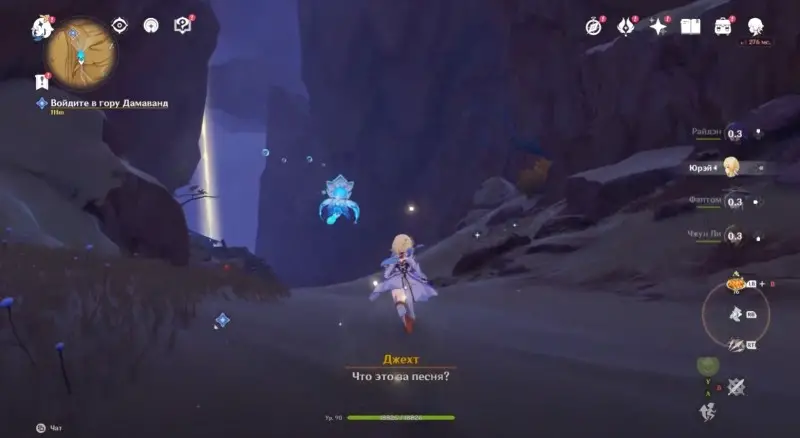
Talk to your companions and then start heading down the ravine towards the quest marker ahead. Then you will need to inspect the abandoned desert camp. To do this, just go to the tent and watch the cutscene. You can examine Corrupted Records I next to the yurt later.

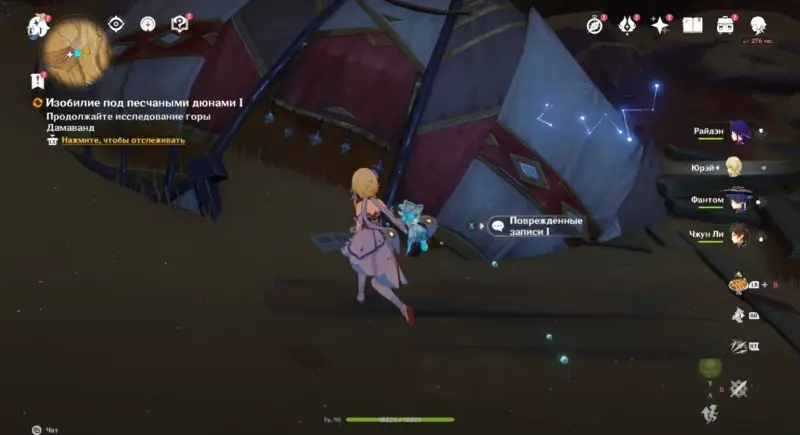
Explore and launch the Mystery Gear
Turn right from the tent and go down the stairs to the unknown device – inspect him and talk to Jacht. Then you will need to run it. To do this, simply select the “Activate” option. As a result, you will unlock a new passage by pouring sand into the tank.
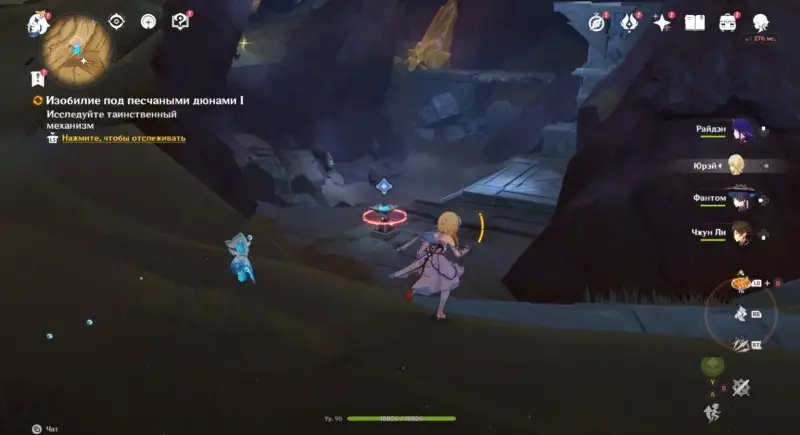

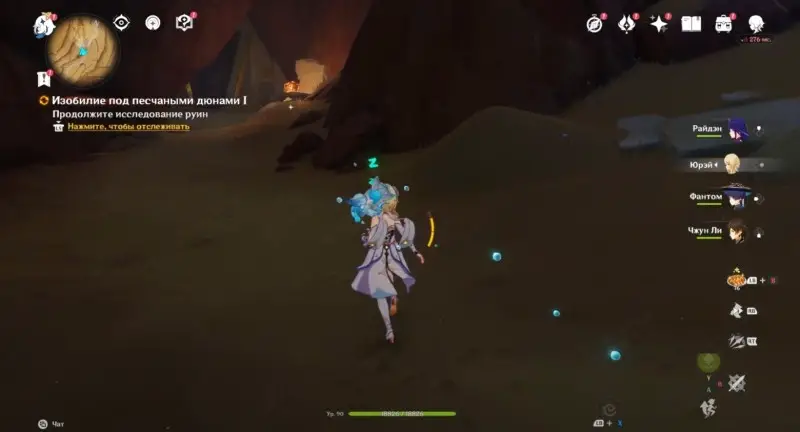
Turn the camera slightly to the left and zoom in on the four leaf symbol. Next, run into the cave and go through the previously opened passage. Keep running through the tunnel until you find yourself in a spacious cave. Here you need to start another mysterious mechanism to fill the tank with sand. Chat with your friend again.


How to Connect the Conduit
Go down a bit to a locked mysterious mechanism that you can't interact with for now. Turn around and activate the second mechanism to close the pipeline and remove the wall ahead on the left.
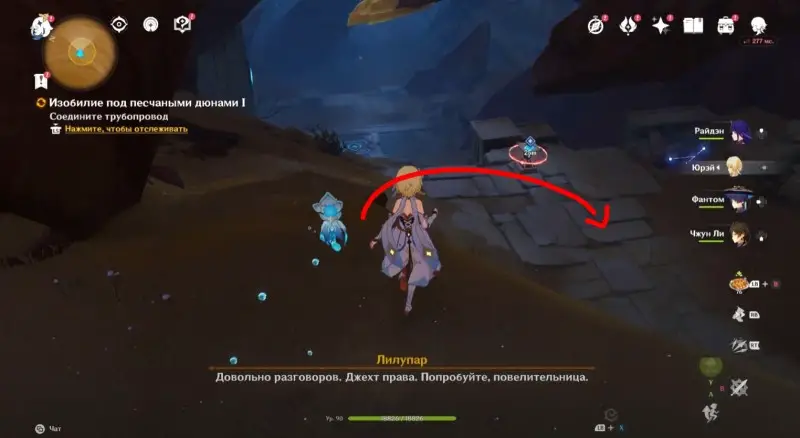

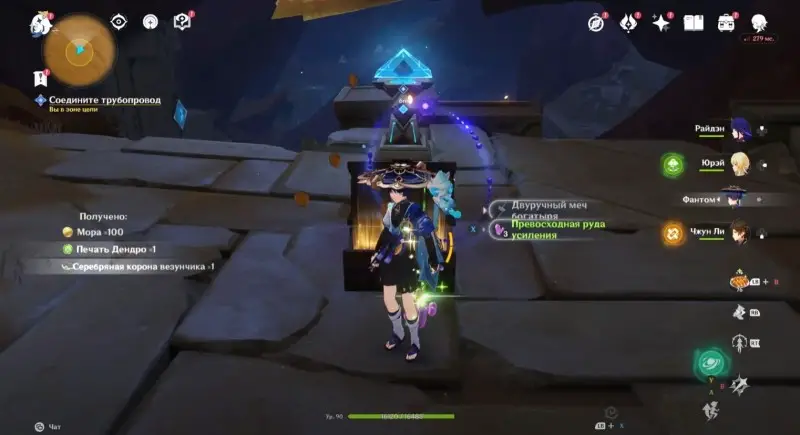
Go into the room and turn the cage once so that the beam hits the prism. You can also pick up a mysterious page near the device. Go back and open a regular chest, then interact with the previously blocked mysterious conduit connection mechanism.

How to get to the central area
You can climb up with the Quatrefoil to deal with the molds and unlock amazing chest. Then continue to explore the ruins, going down even lower. Here you will find another mysterious mechanism surrounded by mushrooms. Deal with enemies and interact with the device.
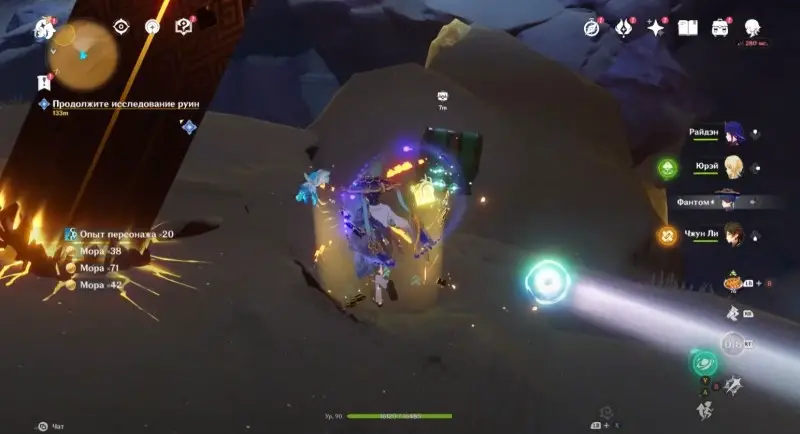

Thus, you will open the door above – run into a new room with a huge crack on the floor. Watch a short cutscene, and then go to the mysterious mechanism on the other side of the room and interact with it. Before that, you can pick up a Dendroculus hanging over a small jutting rock.


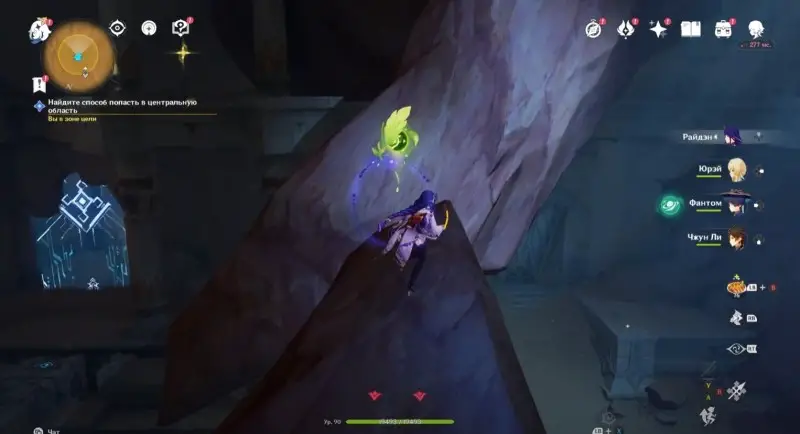

Then approach the unlocked cube on the same side as the blue barrier. Activate it to open the door on the left. Enter inside, run along the corridor and turn left again into a room with pristine structures and a blocked mysterious mechanism. Defeat the enemies and then interact with the plinth on the left to remove the force field.

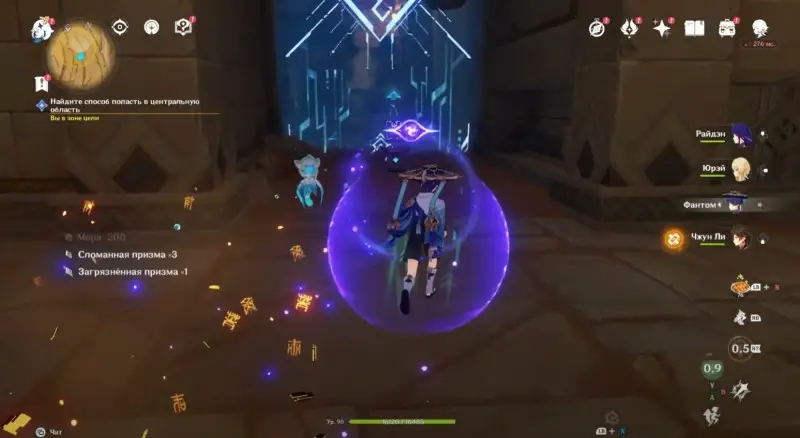
Return to the main hall and interact with the mysterious mechanism again to turn it. Go back to the room where you previously dealt with the primordial structures – the mysterious mechanism will be unlocked, so you can use it to remove the wall on the side. Now just rotate the cell so that the beam from it shines directly into the prism.

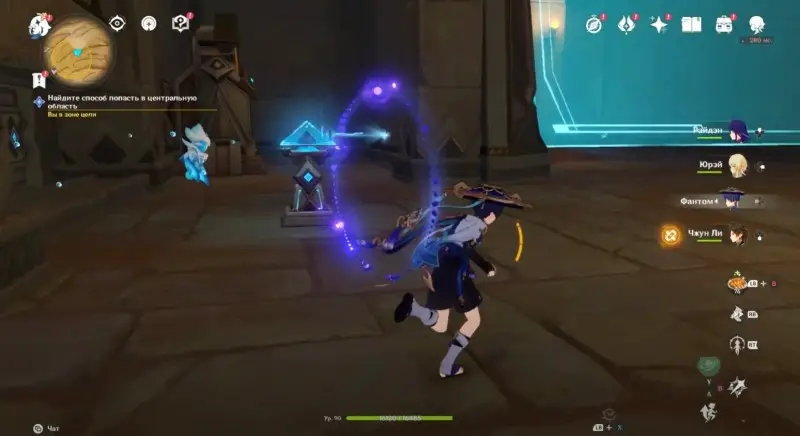

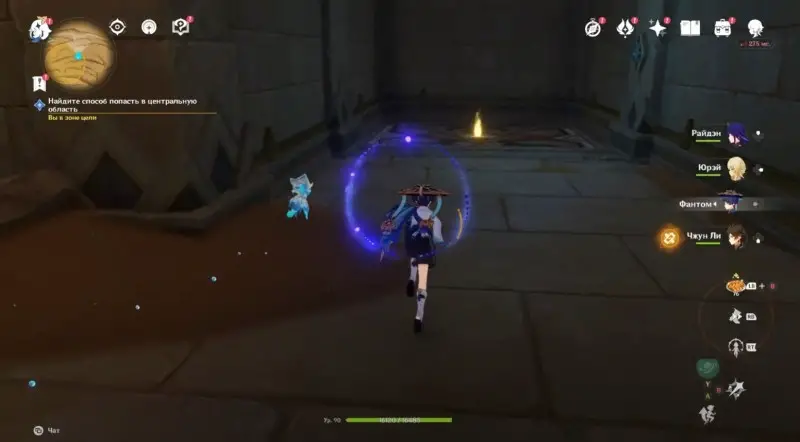
The second blue barrier will then disappear and you will be able to go to the lift indicated by the glowing marker. Climbing down, you will find yourself in a new spacious room with puzzles.
How to solve the cell and mechanism puzzle
First of all, you will need to activate the mysterious mechanism on the left side of the hall, which will cause a stream of sand to appear on the left. Then rotate the nearest cell towards the prism to open the door.

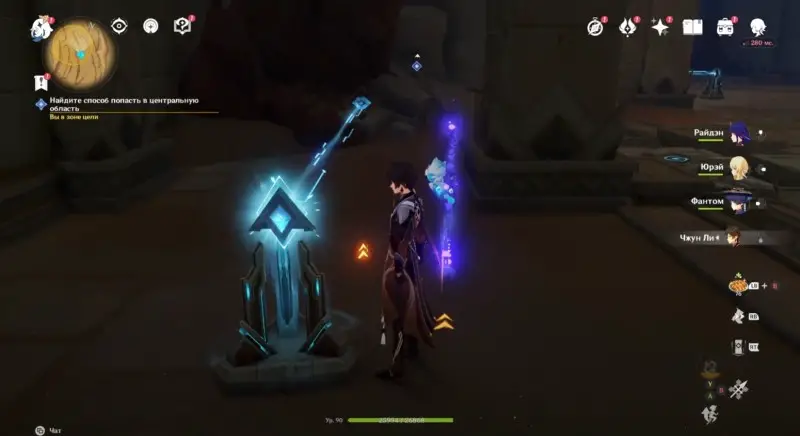
Interact with the Mystery Gear again to make the sand start flowing from the right side. Next, turn the cage a little further to the right to unlock the cube located in the room you recently opened the door to (one pristine construct will be waiting for you there).
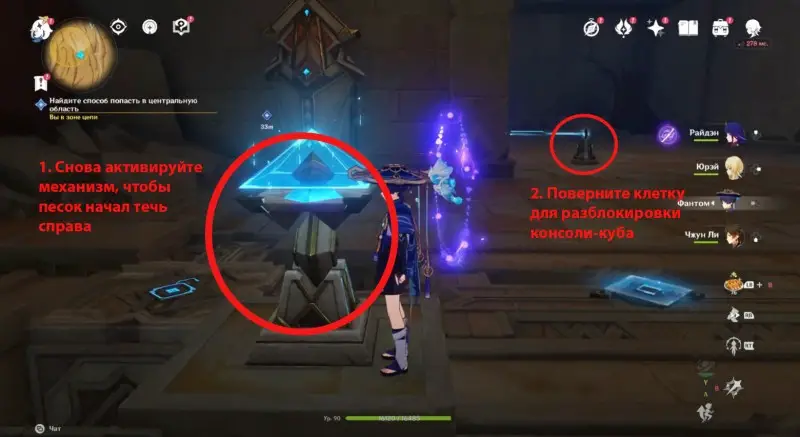

At the end, you just need to click on the cube to open a new passage. Get out into the new cave and take the contents of the usual chest. You will need to continue exploring the ruins.
How to get the Lilupar Fragment
Jump down into the crevasse, following the quest marker, and activate the new underground teleportation point. Go down even lower. Destroy a group of molders to unlock an amazing chest. If you go down even lower, you will see a blocked door with a pedestal.
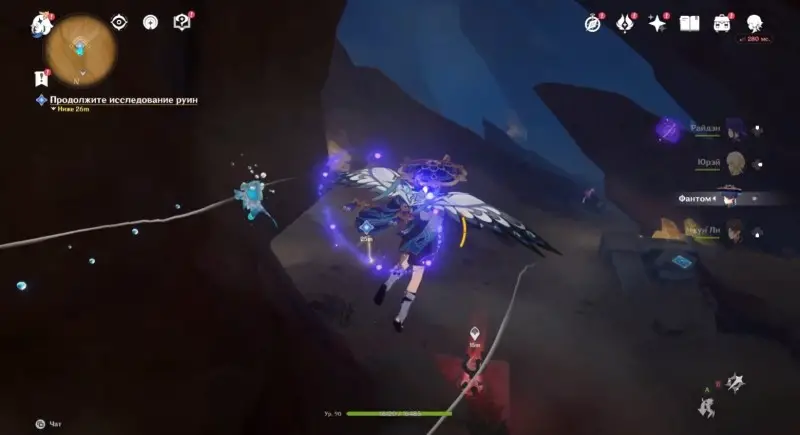

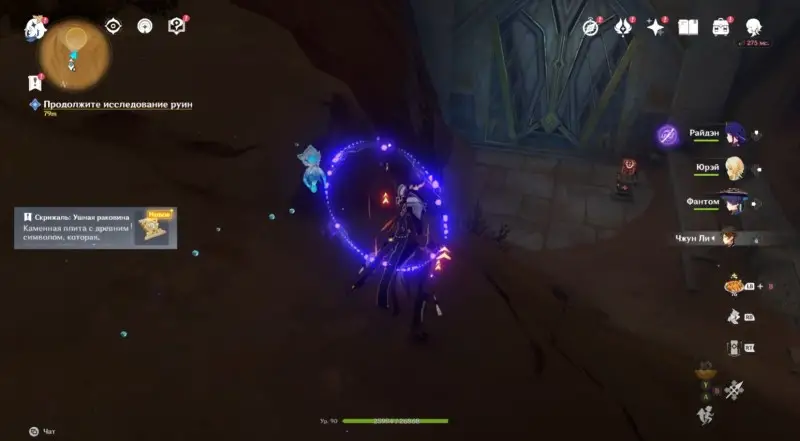
If the stone book glows red, it means you don't have enough Power to interact with it. In a separate guide, we told you how to fully upgrade the Red Sands Plate. Behind this door is a puzzle unrelated to this quest.
Go back upstairs and to the left, and then run forward to the large gate and deal with a few pristine structures. Next, interact with the cube to open a passage to a new area.

Here you will find a primordial obelisk. Turn left and go down the stairs to find a fragment of Lilupar – this will allow you to level up the genie, unlocking new abilities from him. To replenish her strength, you will need to find genie shrines, which are often found in the Hadramavet desert.

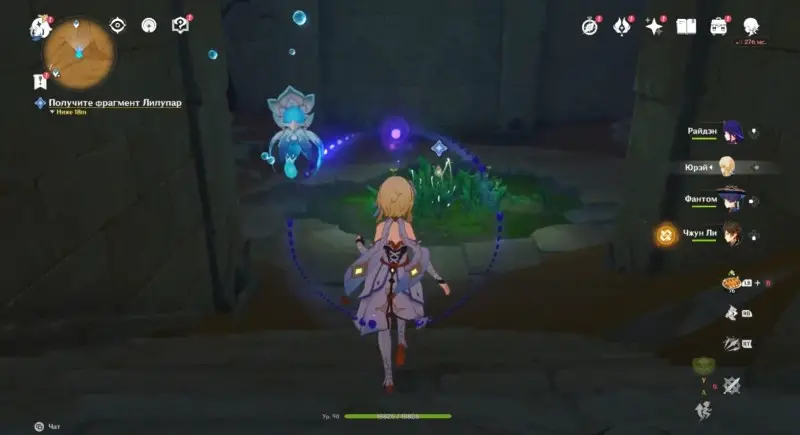
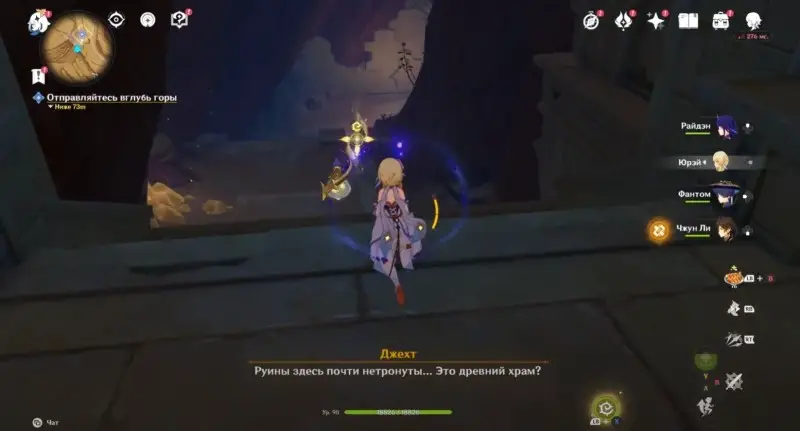
How to get deeper into the mountain and start the mysterious mechanism
Go back to the room with the obelisk and run straight ahead. Go down, turn right and stand near the marker. Then run towards the cube and you will immediately be attacked by a sacred bone scorpion.

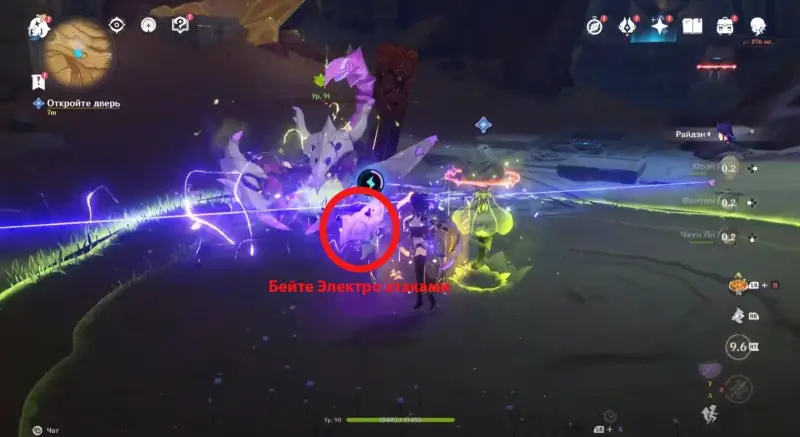
If you hit his scales (shown in the screenshot below) with Electro Attacks while he is enraged, you can deal additional damage to him and stun him for a short period of time.
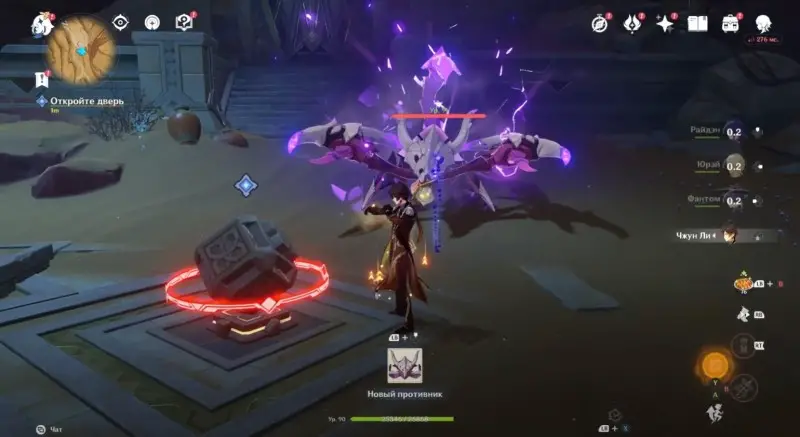
After dealing with the enemy, interact with the console to get a rich chest containing the Border Fort chess piece and open the passage. Start going down the stairs until you reach the mysterious mechanism – start it.
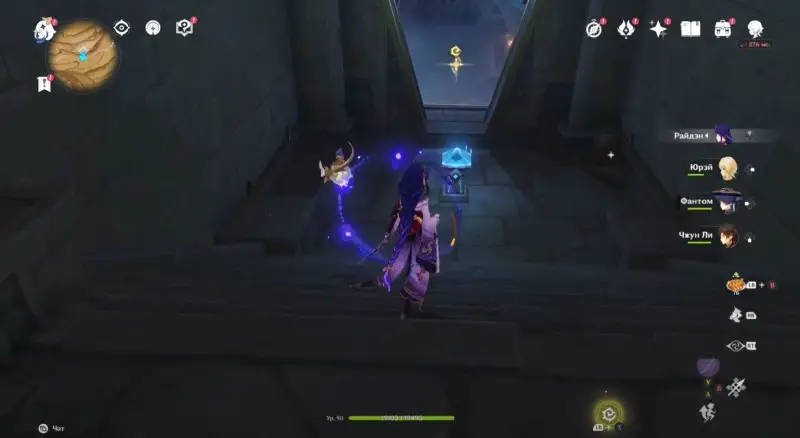
Go to the central area and defeat the monsters
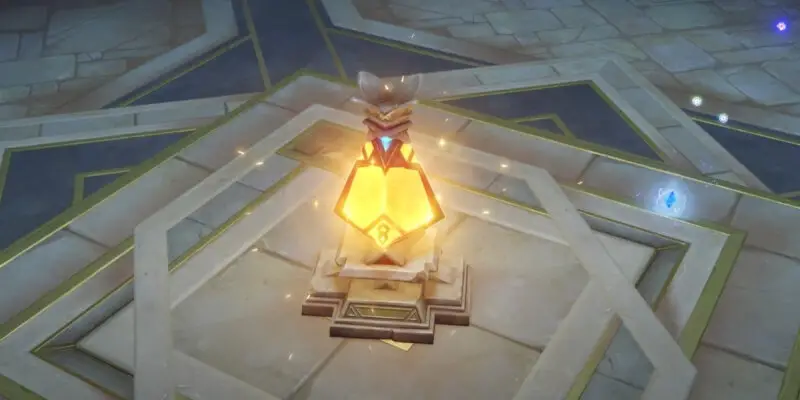
Use the four-leaf symbols to quickly descend to the huge platform below. There, activate the device in the form of a lamp. Next, you will need to deal with four primordial constructs (they will attack you in two waves).

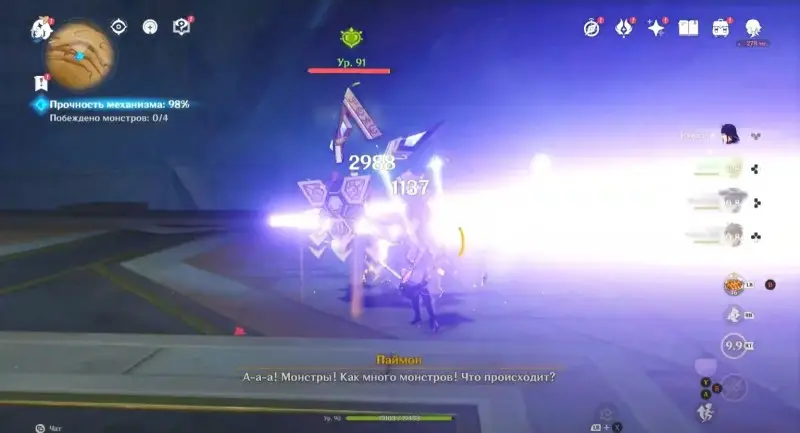
You will need to protect the machine from robots while doing this – the mission will fail if the machine's durability drops to 0%. After dealing with the enemies, watch the cut-scene with the opening of the door. Climb the stairs to the exit and watch another cutscene.
Then you and Jacht get to the surface (if you click on the appropriate dialogue option). There you will be met by Azarik and other hermits. Chat with them. This will complete the task.

Completing the quest will reward you with 450 adventure points, 50 Primogems, 50k Mora, 5 Hero Books, and 4 Enchant Magic Ores. You will also have access to the next mission in the chain called Abundance Under the Sand Dunes II.


