Drawings in ARC Raiders open up new types weapons, modules and equipment. In this guide, you will find out where blueprints drop most often, which locations are considered the best for farming, what has changed since the latest patches, and what types of containers give the maximum chances.
How the blueprint system works in ARC Raiders
To effectively farm blueprints, it is important to understand a simple thing: there are no fixed places in the game, where a specific drawing drops, except when it is tied to a quest or event. The drop chance depends on the quality of the container and the type of room. A similar mechanic is used in finding keys.
The system works like this:
- Ordinary rooms– the chance is minimal.
- High-value premises – these include key rooms, rooms with locked doors, hard-to-reach roofs. The chances are higher here.
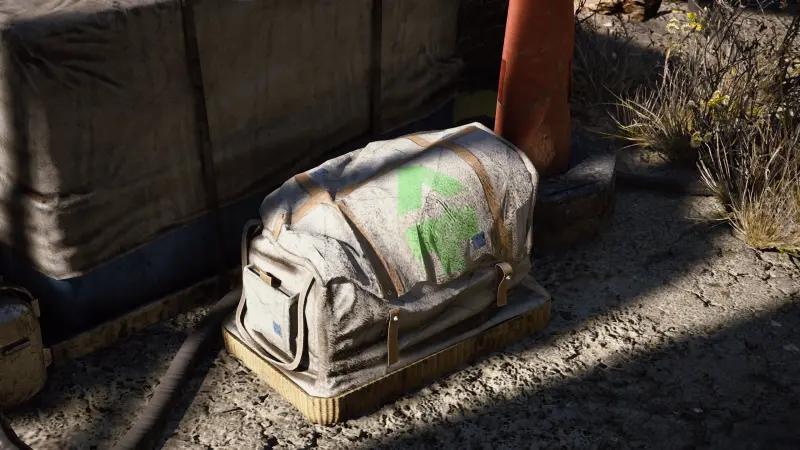
- Individual containers with an increased level of loot: Weapon cases – the highest chance for a blueprint in the game; Raider Containers – high chance; Medical bags – above average.
Patch 1.2.0: what has changed with blueprint drops
After the North Line update, the loot system became more predictable:
- Rare blueprints such as Bobcat, Storm, Vulcan began to drop noticeably more often.
- Bugs that caused players to end up in rooms with too much loot were fixed.
- Cases and containers now update progress in tasks tied to containers.
The best places to farm blueprints
Below is a complete list of the best points on all maps.
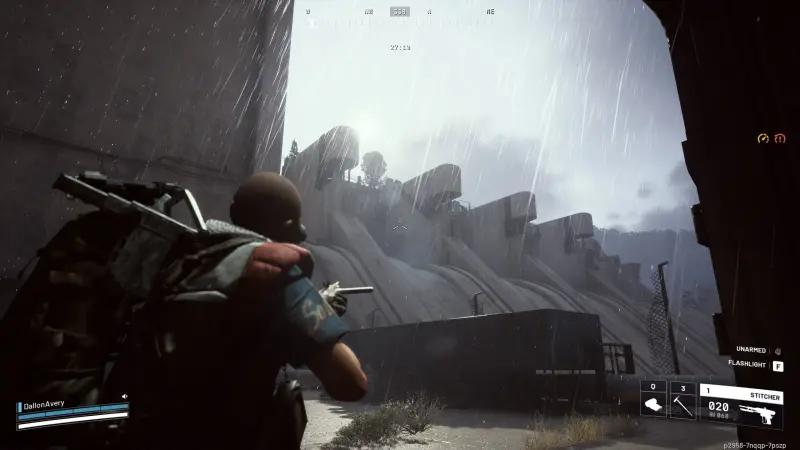
The battlefield at the dam
The secret compartment under the destroyed eastern bridge
This spot is considered one of the two best on the map.
How to get inside:
- Stand on the edge of the collapsed bridge segment
- Move back slightly to start falling
- At the moment of falling, press jump and grab the ledge
- Go down even lower to the second ledge and you will fall into a hidden niche
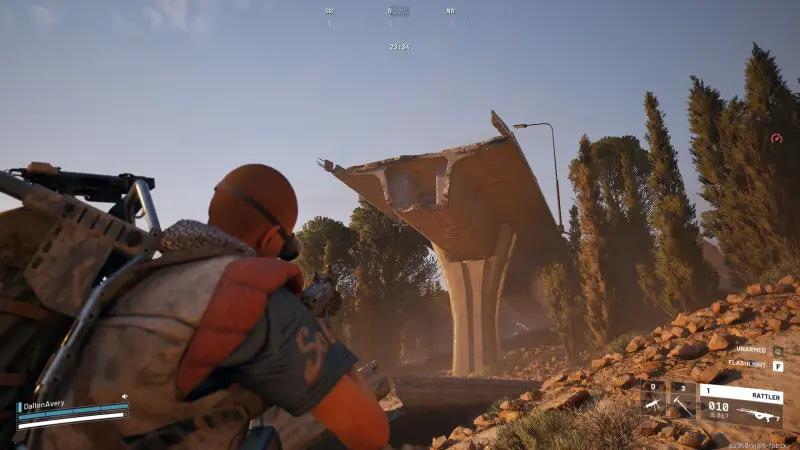
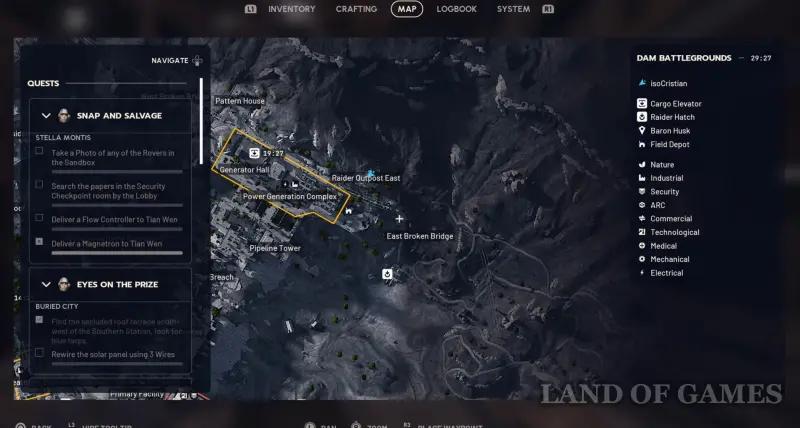
Supporting compartments under the main bridge
Second spot with a high chance.
How to get there:
- On the surface of the bridge, look for levers to control the supporting mechanisms
- Lower the platforms down
- Go down them to the lower technical rooms
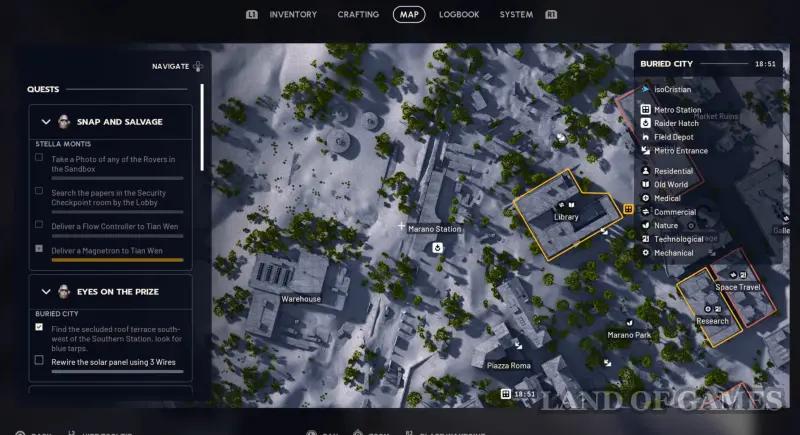
Buried City
If you want to collect blueprints as consistently as possible, Buried City is the best choice. There are many rooms, hidden passages and places with 2-3 weapon cases in a small area.
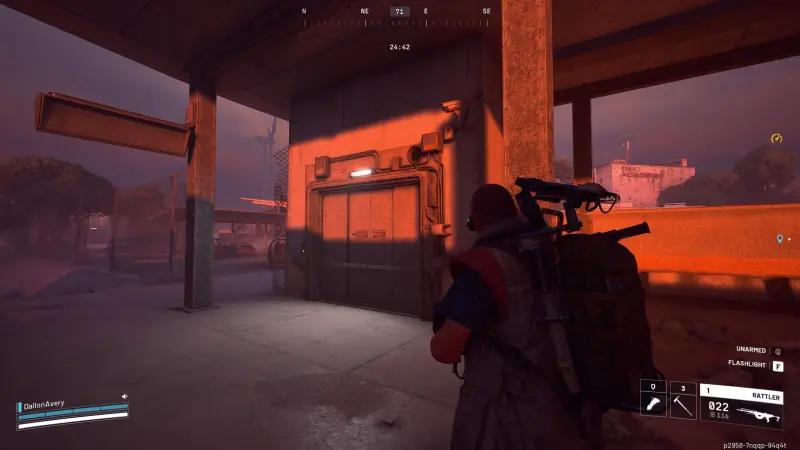
Marano Station
How to get there:
- Move to the northern wall of Marano station
- Find the door leading to the technical room
- Blow it up and go inside
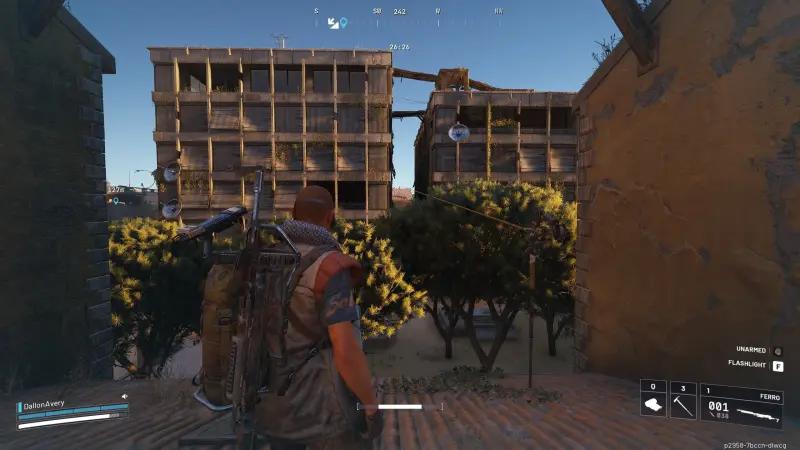
Eastern residential buildings: attic window and first floor window
These are two adjacent points that can be picked off one after another
How to get there:
- Climb to the attic of the house opposite the road and enter through the open attic frame
- Check the weapon case by the stairs
- Jump back, cross the street, enter the neighboring house through the window of the first floor
- Check the case in the far corner

Both rooms are safe, most players run along the roofs and don’t look here at all.
The room to the south with a zipline ascent
This point becomes literally a continuation of the previous two.
How to get there:
- Enter through the bottom window on the south side of the house
- In the kitchen, a weapon case will spawn on the countertop
- Use the zipline to instantly climb to the floor above
- Check for additional small containers
This is a great third check in the attic → ground floor → kitchen chain.
Apartment Room “Grandioso”
How to get there:
- Take the zipline down from Piazza Roma towards Grandioso
- As you fly between the two towers, go down to the right platform
- Enter the room
Rooftops of Grandioso – two cases on the north and south towers
How to get there:
- Climb the north tower, the case is located near the stairs to the upper tier
- Go to the south, through the railing or going down to the intermediate platform
- The case is on the ledge in the corner
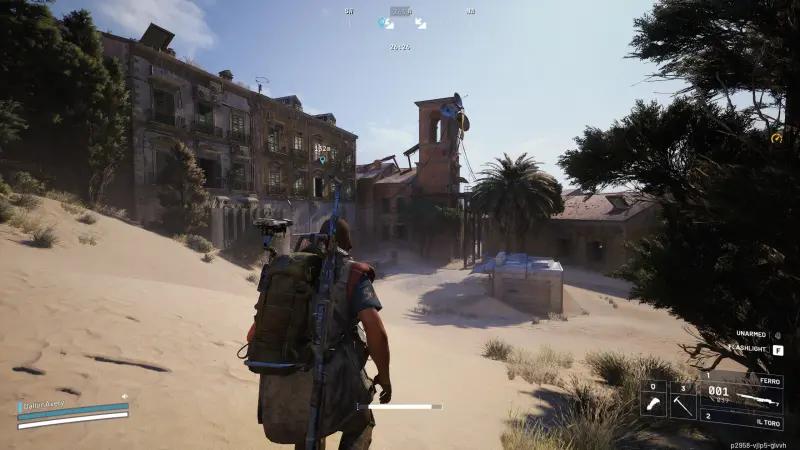
Abandoned Camp on the Highway
Located between Grandioso and the Santa Maria complex.
How to get there:
- Approach the abandoned camp off the highway from the east and move towards the right building
- Pick the locked door to gain access to valuable premises
Inspect cabinets, cabinets, and shelves for items suitable for creating blueprints. A weapon case may appear in the room.
Plaza Rosa Pharmacy
The Pharmacy is located on the east side of the Plaza Rosa district and remains one of the most container-rich blueprint spots on the entire map. Pharmacies are completely valuable zones from top to bottom, so every drawer, shelf, cabinet, medical pouch, and even possible weapon container inside provides an increased chance of finding a blueprint.
How to get there:
- Open the main door to go up to the top floor of the pharmacy
- Search counters, shelves, and medical containers for loot that may contain blueprints
- Go through all levels, checking each container
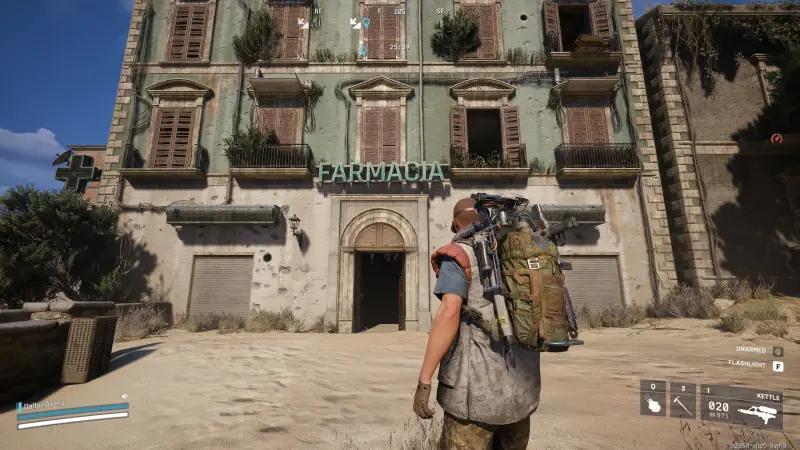
Pay attention to potential weapon cases in the back premises of the building.
Red Tower
The Red Tower is located just northeast of Platz Rosa and stands out with its striking red façade and narrow vertical layout. Although the building is smaller than a pharmacy, it hides several valuable rooms on the upper floors. Each such room may contain medical packs and one or more weapon cases.
How to get there:
- Enter through the window on the east side to reach the first one
- Inspect the red lockers and shelves before going up the internal stairs
- On the next floor, check the point along the staircase railing
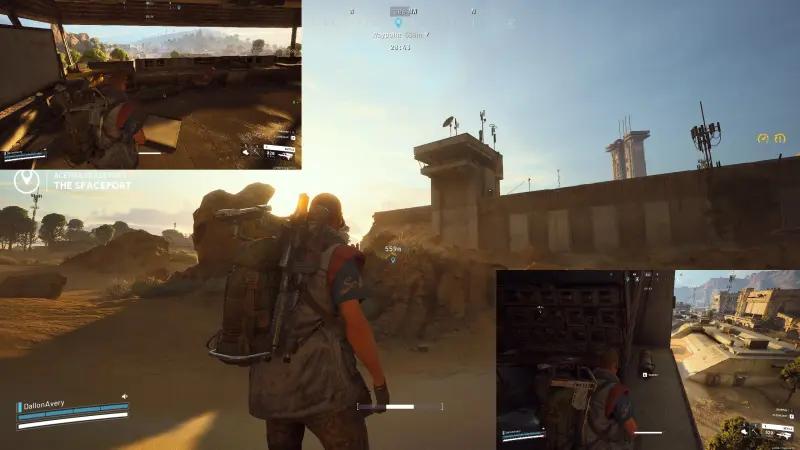
Spaceport
Spaceport is one of the most balanced maps. There is significantly less chaotic movement here than in the Buried City, and most farming points are located along relatively safe routes.
Service Station: Upper Lounge
This is one of the best quiet spots in the Spaceport.
How to get there:
- Located south of Control Tower A6
- Climb the internal stairs to the second level
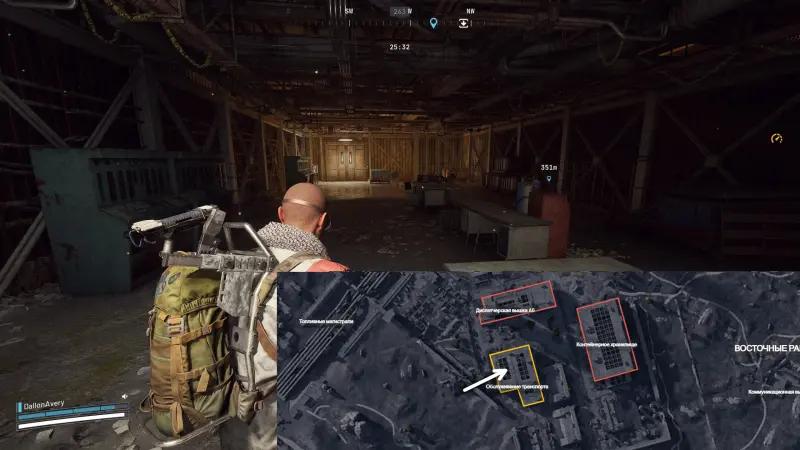
In the far left corner, between the sofas and drawers, a weapon case may spawn. There are also several small containers nearby
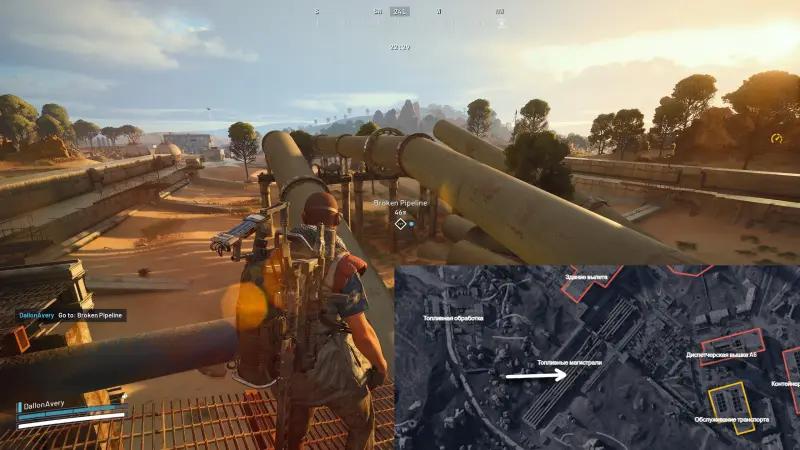
Fuel lines
The lines run along the long industrial trench west of the launch towers. Most of the pipes here lie horizontally on the ground, but one vertical pipe stands out in the center of the area. Inside this narrow hollow pipe, a weapon case can appear
Accessing it can be done in just a few seconds if you know the right pipe:
- Find the only vertical pipe
- Approach it and jump to get inside the hollow part
- Check for the appearance of a weapon case at the back wall of the pipe
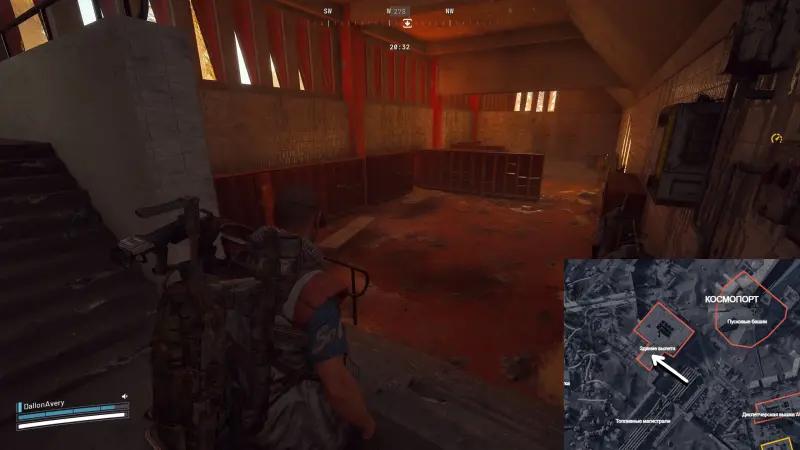
Departure area: staff room
The staff room inside the Departure Area is one of the riskiest places to find blueprints in the spaceport due to its location. This is a huge multi-story complex filled with players completing tasks or checking lockers.
Prior to patch 1.2.0, the door opened normally. After the update, it was made hackable, officially marking it as a high-level loot room.
How to get there:
- Enter the building through the southwest exterior entrance
- Just past the lobby, look for a hackable staff room door
- Inside, check out some red lockers, cupboards, and storage shelves
- Check the weapon case spawn point in the back of the room, often inside the shower
Departure area: southern room
How to get there:
- Approach the western side of the building on the lower level
- Find the door leading to the southern room
- Hack the door and enter
Check for the weapon case to appear on the far table and look at the red lockers around.
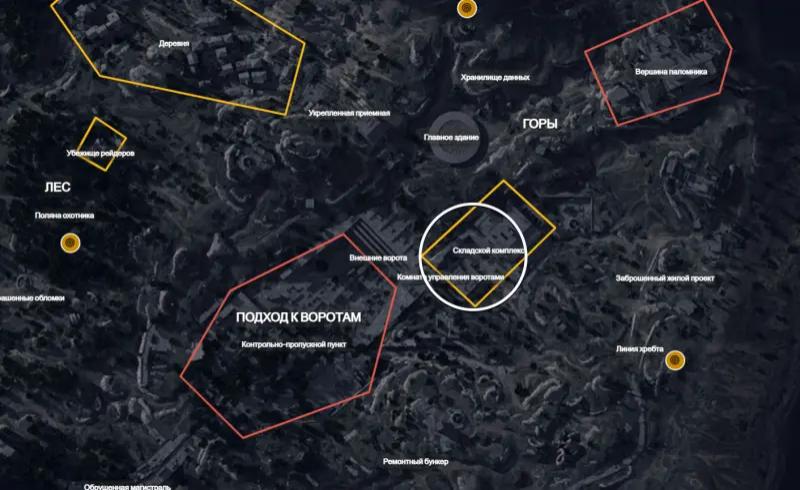
Blue Gate
The Blue Gate map is very different from other maps: it is corridor, dense, and almost all is built around levels and forks where players can often intersect.
Fortified Administration Desk
How to get there:
- Use the zipline from the Fortified Reception to the underground hub
- Activate the small wall terminal and wait for it to blink
- Match this color with the corresponding symbols painted on the walls of the adjacent rooms
- Follow the correct symbol to the panel cache hidden along the wall

Room with red lockers
Located deeper in the same place.
How to get there:
- A breakable door leads to a small storage room with an increased value of loot
- Inside there are several red lockers and standard cabinets that can be searched
Warehouse complex
The ventilation shafts inside the Warehouse Complex are located outside of players' normal routes, making them one of the quieter spots to find blueprints in the central part of the map. From the right angle, you can land directly on the ventilation platforms via the zipline and collect the loot.
How to get there:
- Approach from the upper passages or from the place above the Warehouse Complex
- Zipline down to the large ventilation shafts
- Land on the ventilation platform in the middle
- Check the weapon case spawn point on the vents
- Collect medical bags and containers nearby if they spawn
Stella Montis
There are no safe routes on this map – players meet in any corridor. But this is where the best zones with drawings in terms of density and quality of loot are located.
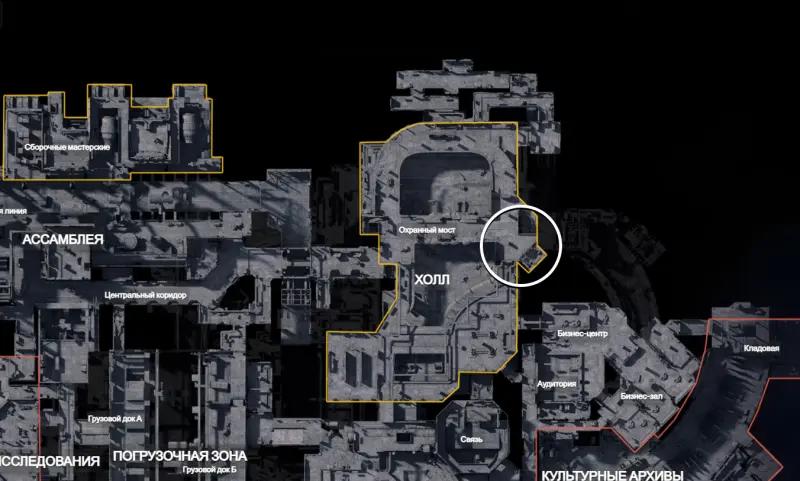
Security Bridge
This is a location located on the east side of the Lobby in the yellow mining zone. The building is built vertically around a central staircase and includes four full floors with rooms, additional spaces and branching corridors. Since every entrance to this area requires a hack, the entire space is considered valuable from top to bottom. This means that all containers have an increased level of loot and significantly increased chances for blueprints compared to regular rooms in the complex.
- The value of a location lies not in one container, but in the density of loot.
- On the lower floor there is a locked room, for which you usually need a key
There is a a two-player exploit that allows entry without a key: one player enters the left corner of the door, and the other jumps into it again. The collision pushes them through the doorframe, after which the door can be opened from the inside. Before the patch, this gave full access to rich blueprint loot.
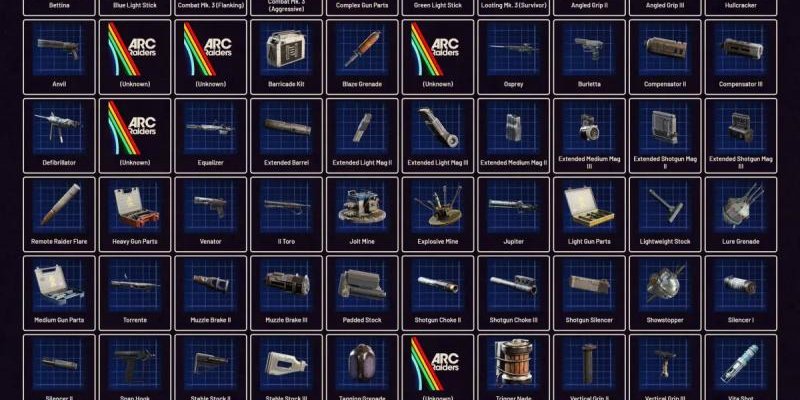
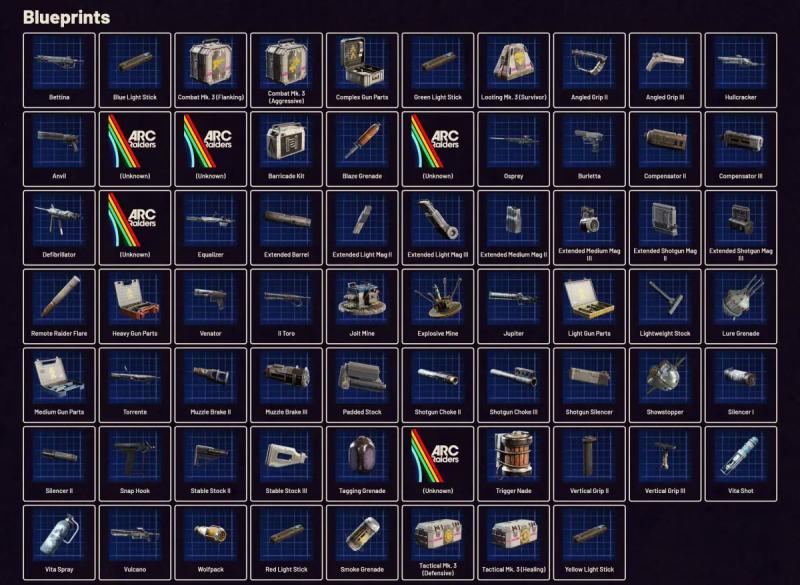
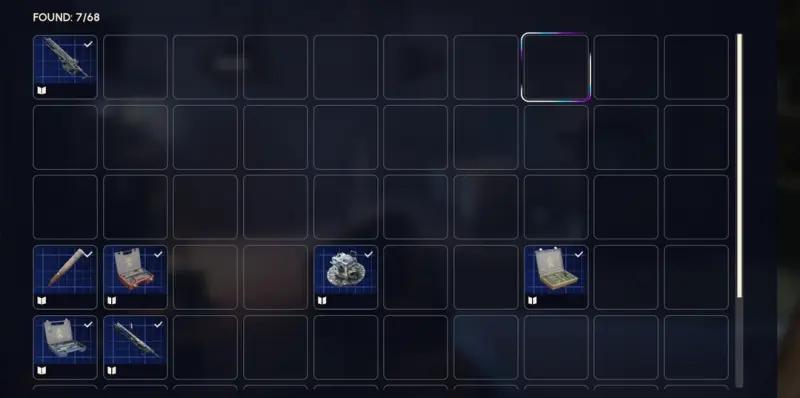
All blueprints in ARC Raiders
Below is a list of all currently available drawings. It is divided into categories so that you can quickly navigate which recipes you need: weapons, modules, gadgets, mines, grenades, medical items and components.
Weapons
Anvil
- Source: randomly dropped
- Craft: 5 Metal parts, 5 Simple weapon parts
- Station: Level 2 weapons table
Aphelion
- Source: boss Matriarch
- Craft: 3 Magnetic Accelerators, 3 Complex Weapon Parts, 1 Matriarch Reactor
- Station: Level 3 Weapon Table
Bettina
- Source: random drop
- Craft: 3 Improved Metal Parts, 3 Heavy Weapon Parts, 3 Canisters
- Station: Weapon table level 2
Bobcat
- Source: drops randomly
- Craft: 1 Magnetic accelerator, 3 Light weapon parts, 2 Exodus Modules
- Station: Weapon table level 3
Burletta
- Source: reward for the quest Industrial Espionage
- Craft: 3 Metal parts, 3 Simple weapon parts
- Station: Weapon table level 1
Cracker hulls
- Source: drops randomly
- Craft: 1 Magnetic Accelerator, 3 Heavy Weapon Parts, 1 Exodus Module
- Station: Level 3 Weapon Table
El Toro
- Source: random drop
- Craft: 5 Metal parts, 6 Simple weapon parts
- Station: Level 1 Weapon Table
Equalizer
- Source: event “Collector”
- Craft: 3 Magnetic Accelerators, 3 Complex Weapon Parts, 1 Queen Reactor
- Station: Level 3 Weapon Table
Jupiter
- Source: “Collector” event
- Craft: 3 Magnetic Accelerators, 3 Complex Weapon Parts, 1 Queen Reactor
- Station: Level 3 Weapon Table
Storm
- Source: drops randomly
- Craft: 1 Magnetic Accelerator, 3 Middle Weapon Parts, 2 Exodus Modules
- Station: Level 3 Weapon Table

Torrente
- Source: drops randomly
- Craft: 2 Improved metal parts, 3 Middle parts of guns, 6 Steel springs
- Station: Weapon table level 3
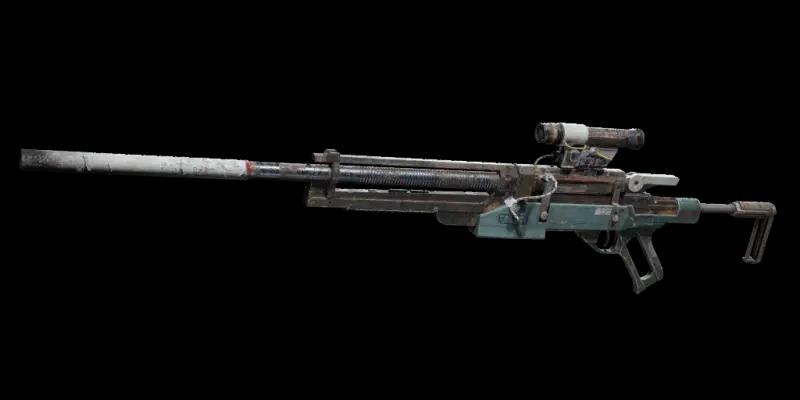
Venator
- Source: drops randomly
- Craft: 2 Improved metal parts, 3 Middle gun parts, 5 Magnets
- Station: Weapon table level 3

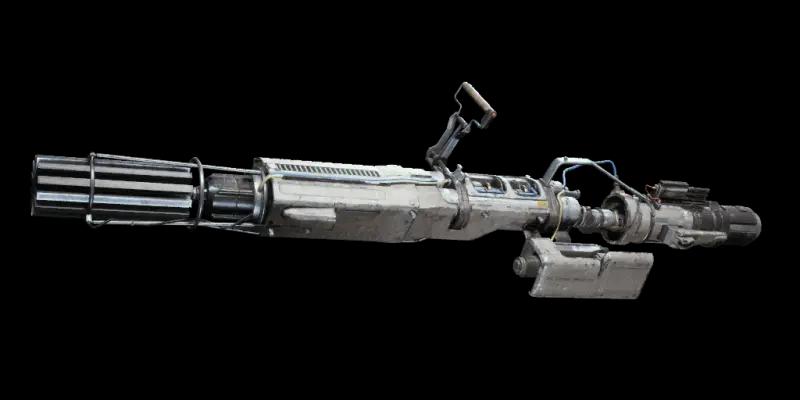
Vulcan
- Source: drops randomly
- Craft: 1 Magnetic Accelerator, 3 Heavy Weapon Parts, 1 Exodus Module
- Station: Level 3 Weapon Table
Osprey
- Source: drops randomly
- Craft: 2 Improved metal parts, 3 Middle gun parts, 7 Wires
- Station: Weapon table level 3
Weapon modifications
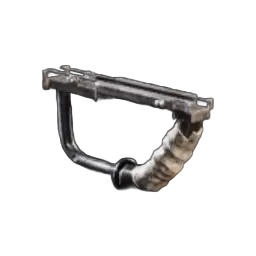
Handles
- Angle grip II
- Angle handle III
- Horizontal handle

- Easy butt

- Soft butt

- Stable stock II

- Stable stock III

- Vertical handle II
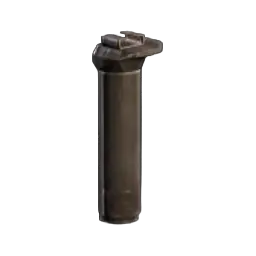
- Vertical handle III

All are randomly dropped. Craft: combinations of Metal Parts, Modification Components, Adhesive Tape. Stations: weapon table 2 and 3.
Muzzle devices
- Compensator II
- Compensator III
- Muzzle Brake II
- Muzzle brake III
- Muffler I

- Silencer II

- Muffler for a shotgun

All drop out randomly. Crafting: require Metal parts, Modification components, Wires.
Magazines
- Extended light magazine II–III

- Extended medium store II–III


- Extended store for shotgun II–III


Everything is dropped randomly. Craft: require Metal parts, Steel springs, Modification components.
Explosives, grenades, mines
Mines
- Explosive mine
- Electric mine


Craft: 1 Electrical component, 1 Battery. Station: level 2 explosives.
Grenades
- Fire grenade

Craft: 1 Explosive, 2 Oil. Station: level 3 explosives.
- Baiting grenade

Craft: 1 Speaker component, 1 Electrical components. Station: utility level 2.
- Marking grenade
Craft: 1 Electrical components, 1 Sensor. Station: utility level 3.
- Grenade with remote detonation

Craft: 2 Crude Explosives, 1 Processor. Station: level 2 explosives.
- Smoke grenade

Craft: 14 Chemicals, 1 Canister. Station: utility level 2.
- Show-Stopper

Craft: 1 Improved Electrical Component, 1 Voltage Converter. Station: level 3 explosives.
- Wolf Pack

Craft: 2 Explosive connections, 2 Sensors. Station: Level 3 Explosive Station
All – drop randomly.
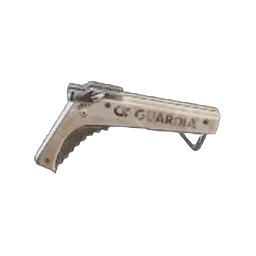
Gadgets and tools
- Barricade set

Craft: 1 Mechanical component. Station: utility level 2.
- Carbine with latch
Craft: 2 Power Rods, 3 Ropes, 1 Exodus Module. Station: auxiliary level 3.
- Remote flare

Craft: 2 Chemical, 4 Rubber parts. Station: utility level 1.
Components
- Complex weapon parts

Craft: 2 Light Weapon Parts, 2 Medium Weapon Parts, 2 Heavy Weapon Parts. Station: level 3 purifier.
- Heavy weapon parts

Crafting: 4 Simple weapon parts
- Light weapon parts

Craft: 4 Simple weapon details
- Middle parts of the gun

Craft: 4 Simple weapon parts
- Chemical flashlight

Craft: 3 Chemical
All – drops out randomly. Station: level 2 purifier.
Conditions affecting drops
The blueprint system in ARC Raiders is designed in such a way that you can obtain any blueprint of any rarity from any type of interactive container. A container is any object that can be searched: boxes, bags, refrigerators, suitcases, cars, trash cans, etc.

The chance of dropping depends almost entirely on luck, but there are situations when the probability increases:
- A night raid gives approximately +150% to the chance of dropping a drawing
- The Electromagnetic Storm event gives the same bonus
- Rooms that require additional actions (breaking doors, keys, parkour entrances, riddles) also have an increased chance
Thus, if you set a goal to collect all the drawings, you will have to work with the maximum amount of randomness and rather low predictability drop.
General principles of farming blueprints
Search everything you can
The most universal and reliable approach is to loot any interactive objects in areas where there are a maximum of them. At night and in a storm, performance is significantly higher.
Play in difficult areas
The more dangerous the area, the richer the loot there. This is due to the fact that the developers tie the reward value to the threat level.
Use a hidden pocket
If you want to farm blueprints without risk, go into the raid completely without equipment. In this case, you have a secret pocket where you can hide valuable finds. Even if you are killed, the drawing will remain.
Create consumables directly in the raid
Choose plastic, fabric and chemicals in your loot – using the “Create Items in the Field” and “Road Master” skills you can craft bandages and adrenaline on the spot.