
In Honkai Star Rail, Tit for an Tat is a Jarilo-VI adventure mission in which you help the Silvermane Guardians and Oleg in the destruction of the monsters of the Fragmentum. To do this, you have to pass a series of tests at three levels of difficulty. In this guide, we'll show you how to start the quest, use the snow torch, defeat all enemies, and complete the conditions for additional rewards.
How to start the Eye for an Eye quest
Before you can take on this quest, you will need to meet a couple of conditions, namely:
- Achieve at least level 26 of Mastery.
- Complete a Mastering mission called “Time Waits, My Friend”.

< p>
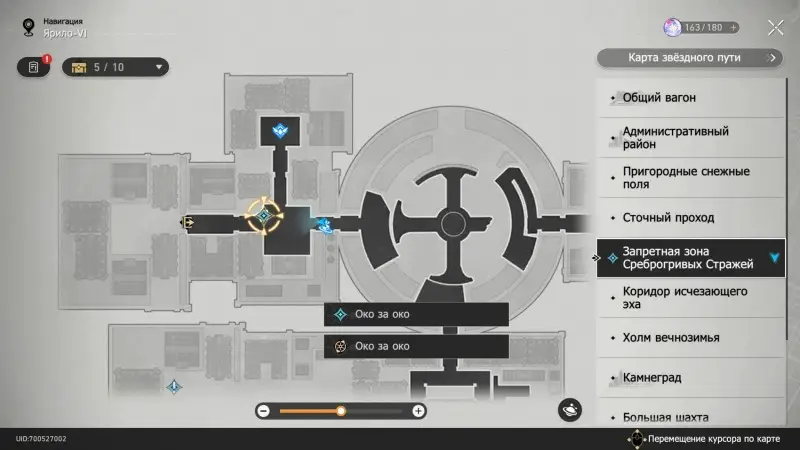
Oleg should contact you once you've completed the above requirements. Read his message, in which he will ask you to help in the counterattack on the monsters, organized by the guards. Next, travel to the northwestern Dimensional Anchor of the Silvermane Guard Forbidden Zone and speak with William there.
 < /p>
< /p>
Helpful Tips
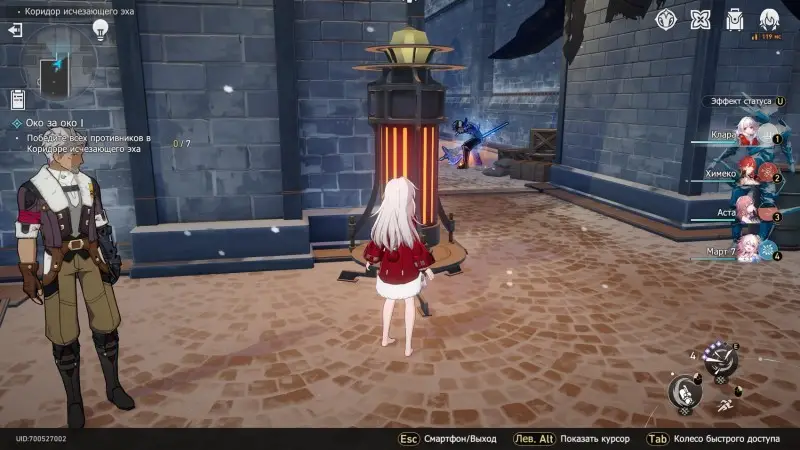
The soldier will tell you about the objectives of the mission and about the new defense system – the snow burner. Next, select the first test and talk to Oleg, who will be waiting for you on the right side. He will tell you about the principles of the new device.

For the snow burner to work, you must first pick up a thermocore (red sphere), and then insert it into the device, which will lead to the appearance of an orange circle around it. All enemies in the device's area of effect will receive a fire vulnerability and lose their frost damage bonus.
 < /p>
< /p>
Here are a few more tips for completing this challenge:
- Get more healers ready and empowering consumables, as you can use them between battles.
- Keep an eye on the mini-map, as the general map will not work here. Nearby enemies are shown as red dots.
- If necessary, you will be able to leave the Corridor of Disappearing Echoes and save your progress. You can also replay previous stages if you didn't manage to reach all the objectives the first time.
- Try to attack monsters only when they are in the area of the burner. If the enemies are too far away, draw their attention and then run towards the device.
- You can heal and resurrect your characters using support anchors, which are sometimes found in locations.
Recommended characters and commands

Note that most enemies in all trials will be vulnerable to fire (to a greater extent) and physical damage. For this reason, we advise you to take characters of the corresponding elements, such as Himeko or Clara. The table below shows a few optimal commands, consisting of both paid and free heroes.
| Main-DD | Sub-DD | Sub-DD/Support | Support |
|---|---|---|---|
Himeko | < p>
Hook |
Asta | < p>
Fire Pathfinder |
Himeko | < p>
Clara |
Pathfinder (fire. ) |
Natasha |
Sushan < /td> |
Hook | < p>
Asta |
Natasha |
Hook < /td> |
Fire Pathfinder |
Asta |
Natasha |
Himeko | < p>
Asta |
Fire Pathfinder |
Natasha |
Clara | < p>
Himeko |
Asta | < p>
March 7 |
Tit for an Eye I
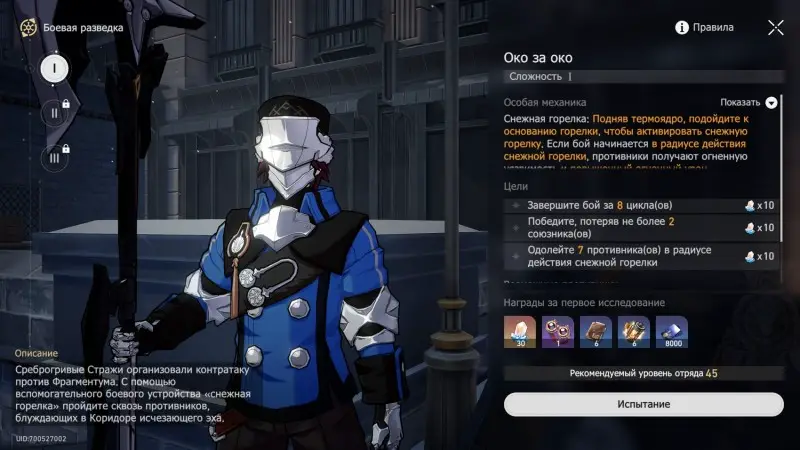
The image below shows the 3 objectives of the challenge. Completing each one will earn you an additional 10 Star Jades. Be sure to study the vulnerabilities and the level of the enemies (depending on your Balance rank) – the level of your characters should not be lower.
First battle
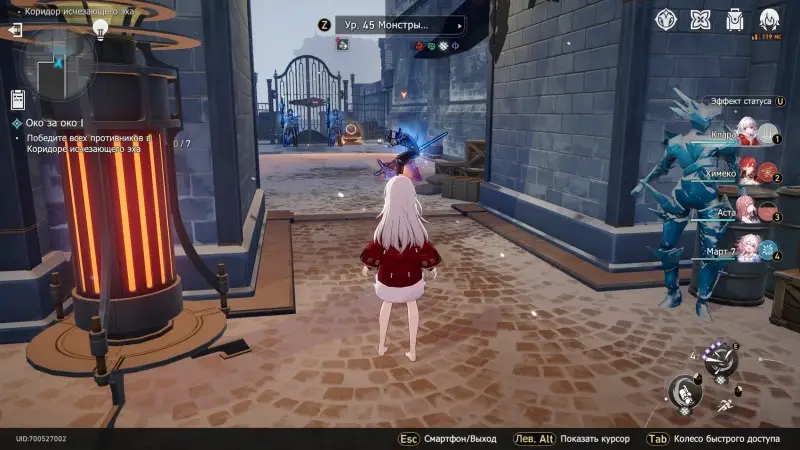
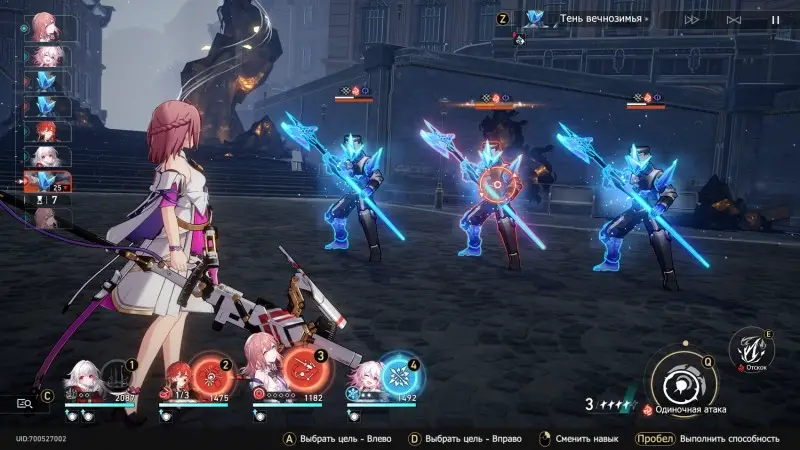
So, after a short tutorial, pick up the core and insert it into the device. Then attack the first enemy in front. The vulnerabilities of opponents are shown in the screenshot below. They will be under the action of the burner, so they shouldn't cause you any problems.
 < /p>
< /p>
Second fight
The other two enemies will be standing outside the range of the device, so first lure them into it, and then attack. For luring, it is best to use Asta, as you can then shoot at opponents from afar. You will have to fight with two waves of mobs.

Third battle
Next, interact with the controller and go through the opened passage. You will enter a spacious area. There will be two groups of enemies patrolling here. Wait until they move to the right, and then run to the core and insert it into the burner. Now you can safely attack the mobs.
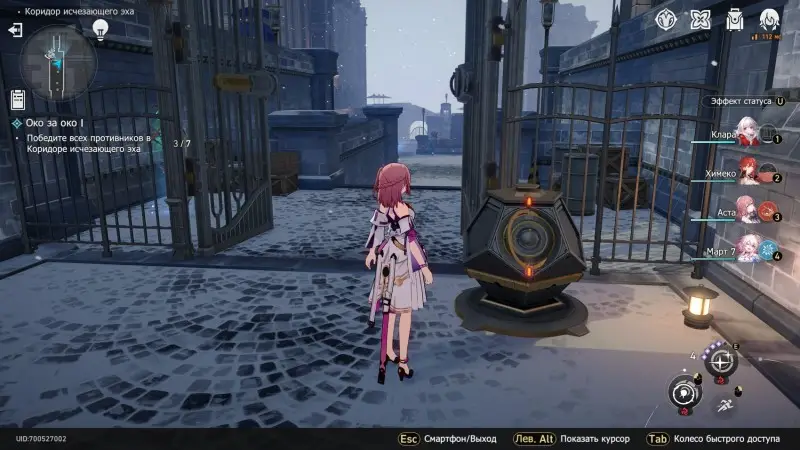
 < /p>
< /p>

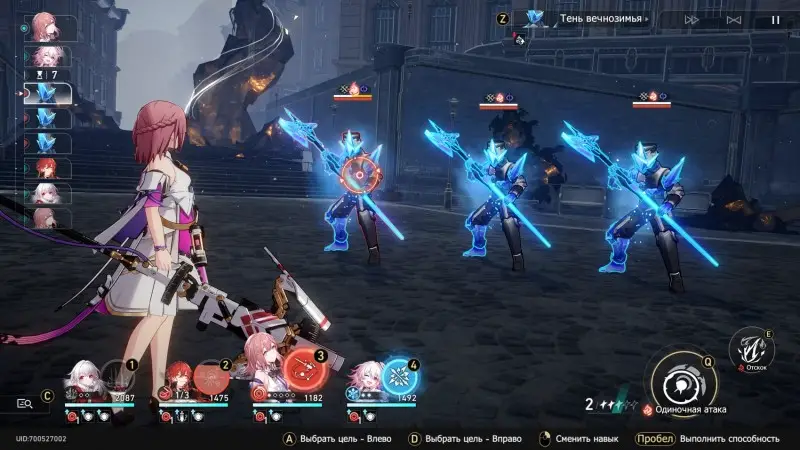
You will again have to fight two waves of opponents. Their vulnerabilities are shown in the screenshots below.
Fourth battle
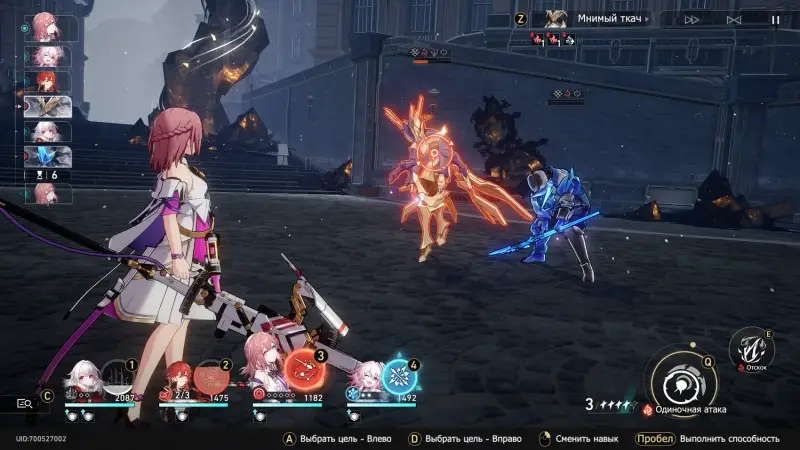
The sixth enemy can be found on the left – go up a little and lure the shadow to the burner, and only then attack it. Try to deal with the Phantom Weaver as quickly as possible, which usually goes first and deals a lot of damage.

Fifth battle
The seventh opponent is on the right side, at the bottom of the stairs. Lure him to the device and attack with a fire strike. Mob vulnerabilities are shown in the picture below.

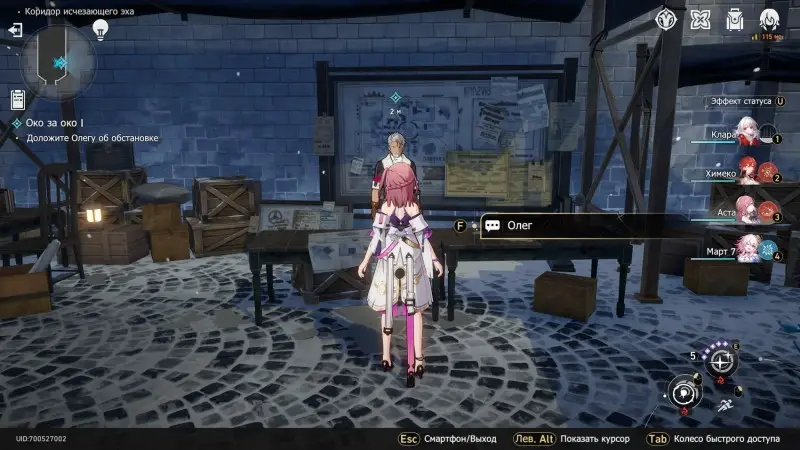
After dealing with 7 groups of enemies, return to the base and talk to Oleg. This completes the first level of difficulty. If you complete all the objectives, you will receive 8000 credits, 60 star jade, 6 adventure logs, 1 obsidian blacksmith's glasses and 6 condensed aethers as a reward.
An Eye for an Eye II
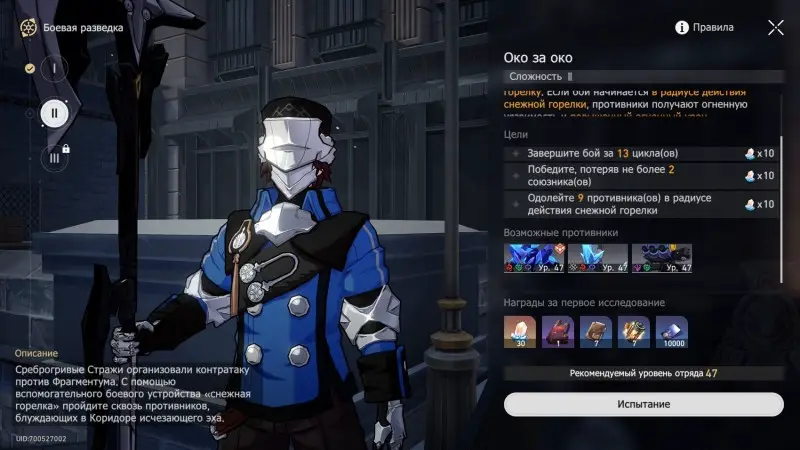
The image below shows the 3 objectives of the challenge. Completing each one will earn you an additional 10 Star Jades. Be sure to study the elements and the level of the enemies (depending on your Balance rank) – the level of your characters should not be lower.
First battle
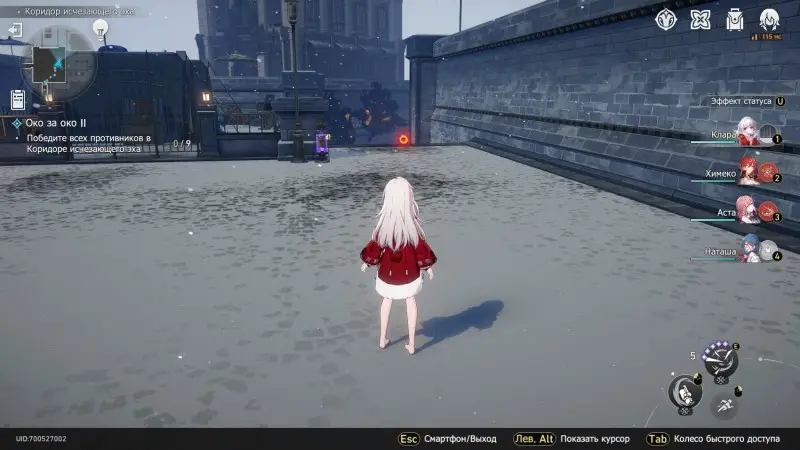
First of all, chat with Oleg. Then run forward and pick up the fusion core on the right side. Insert it into the snow burner at the bottom of the stairs. Note that there is one group of enemies patrolling here, so be careful.

 < /p>
< /p>
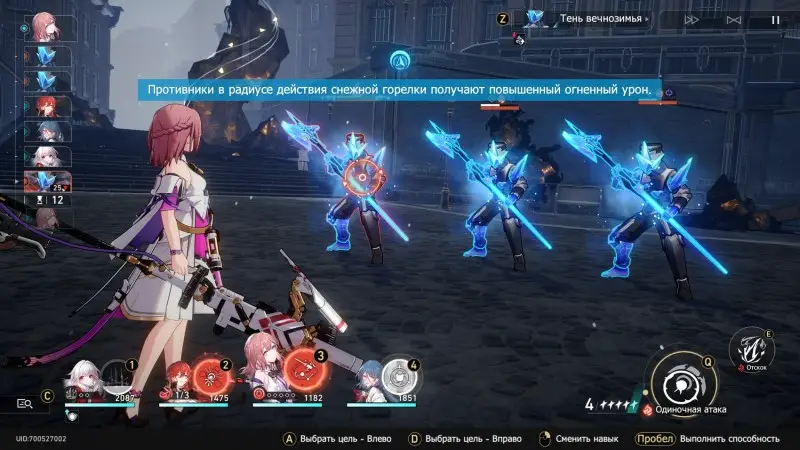
Insert the core and attack the opponents. Their vulnerabilities are shown in the screenshot above. These shadows of everwinter shouldn't cause you any problems.
The Second Battle
Ahead you will see two squads of Imaginary Weavers. Lure them to the device and then attack. Try to deal with the weavers first, as they almost always go first and deal area damage.


Third battle
Go down the stairs, turn left, pick up the core and insert it into the second device. Then interact with the controller on the left and select the “Rotate bridge counterclockwise” option. This will allow you to cross the bridge to the right.

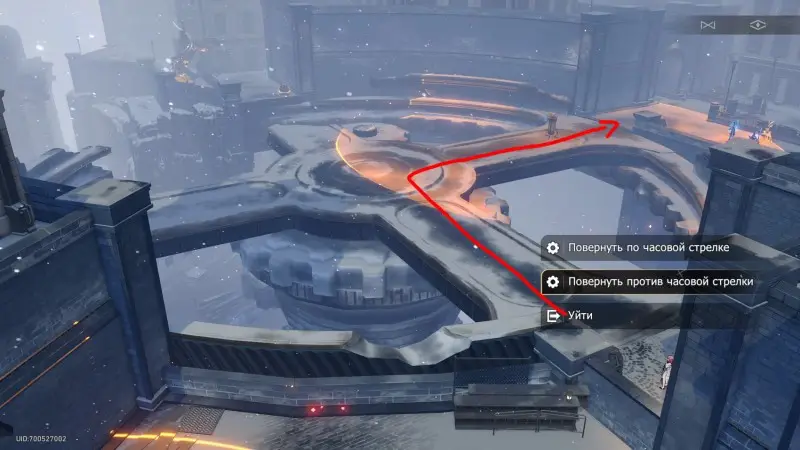
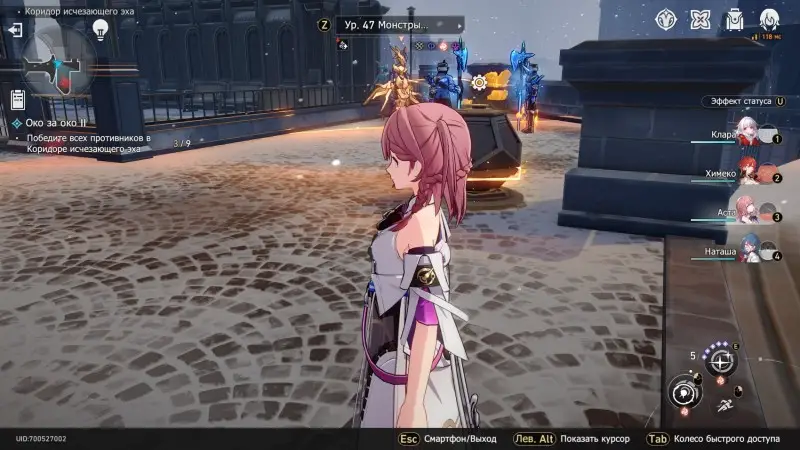
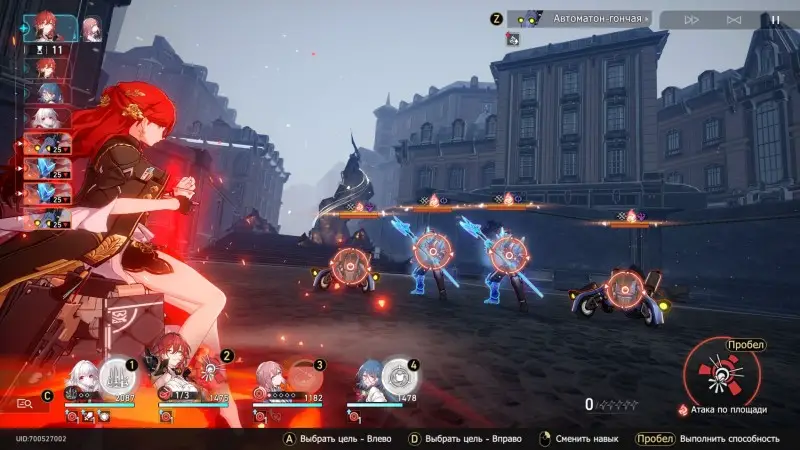
Three groups of enemies will be waiting for you here, so get ready for a long fight. Use healing or defensive abilities in time to prevent your heroes from dying. Again, try to deal with the Imaginary Weaver first.
 < /p>
< /p>
Fourth battle
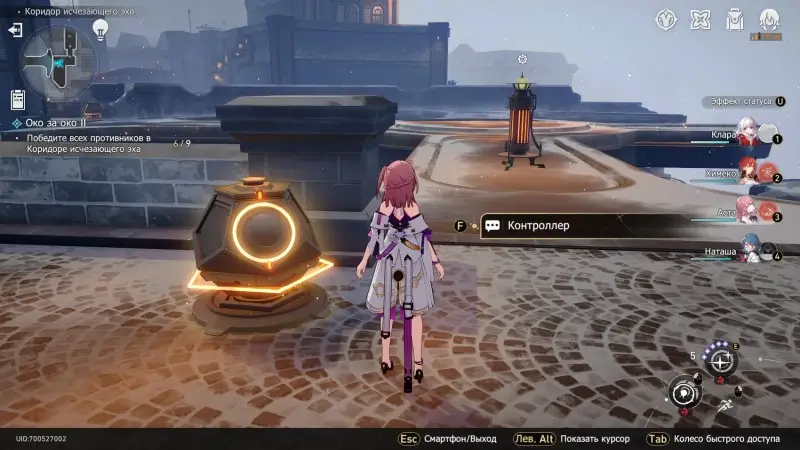
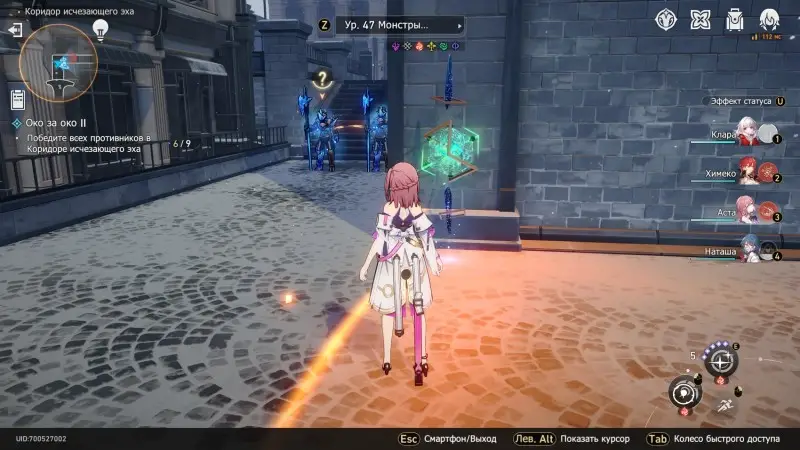
Next, click on the controller on this site and rotate the bridge counterclockwise again arrows. Cross the bridge to the right again and recover next to the anchor. Two groups of enemies will be waiting for you in the right lane – lure them to the device and attack.
 < /p>
< /p>
Fifth battle
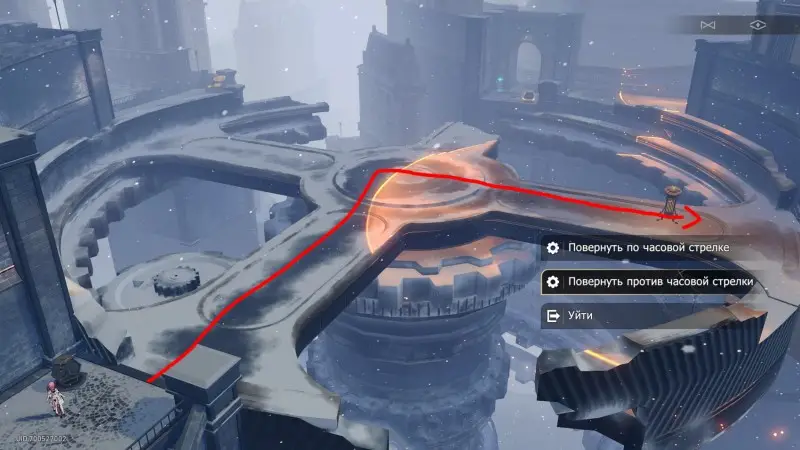
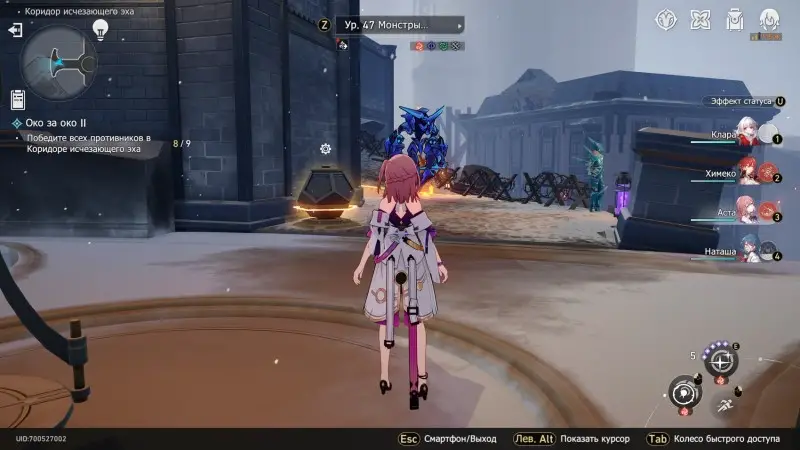
Press the controller again and turn the bridge counterclockwise again. Move to the right, where the Ice boss from space will be waiting for you. First of all, deal with ordinary mobs to reduce incoming damage, and then concentrate all attacks on the boss. Constantly knock down his stamina to keep him stunned. Don't forget to heal characters or put shields on them.

 < /p>
< /p>
After dealing with the 9th enemy, return to Oleg and talk to him. If you complete all objectives, you will be rewarded with 10,000 credits, 60 star jade, 7 adventure logs, 1 fireproof blacksmith's apron, and 7 condensed ethers.
An Eye for an Eye III
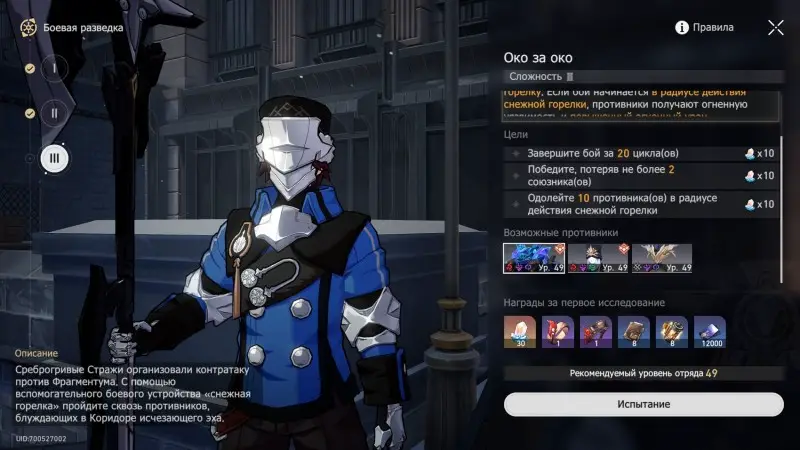
The image below shows the 3 objectives of the test. Completing each one will earn you an additional 10 Star Jades. Be sure to study the elements and the level of the enemies (depending on your Balance rank) – the level of your characters should not be lower.
First battle
First of all, chat with Oleg. Then run forward to the square. Here you will find the Shadow of the Devourer and two patrolling Shadows of Everwinter. Wait until the patrolmen leave to the right, and then run into the left passage and pick up the core.
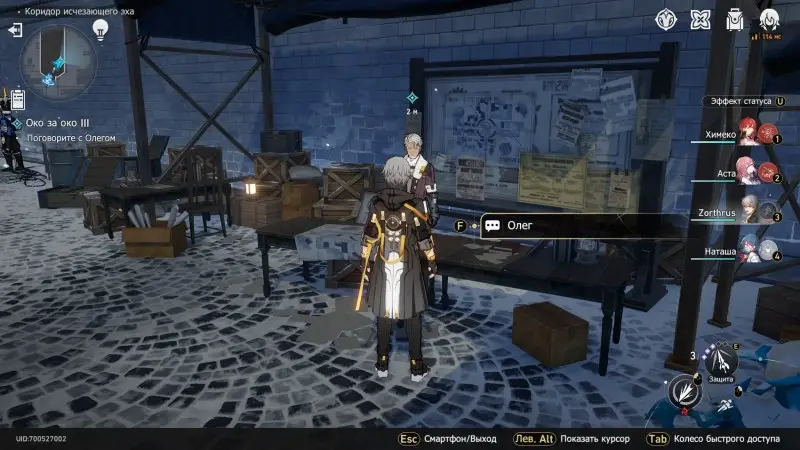
 < /p>
< /p>
Next, insert the sphere into the device and attack the enemies. You can try to fight them individually or hit them all at once (you will have to fight with three waves of mobs). The vulnerabilities of the enemies are shown in the screenshots below. Don't let the devourer's shadow hold all 9 calibration levels or your characters will take significant damage.

< p>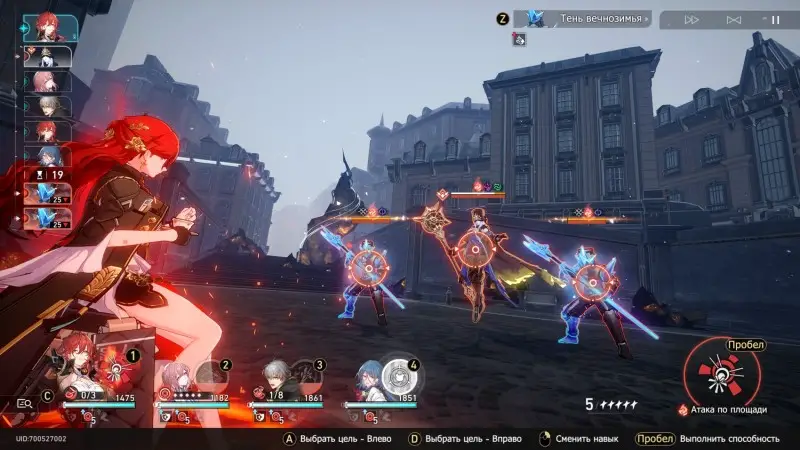
 < /p>
< /p>
Second fight
Next, move to the left and open the grate with the controller. Climb down to the anchor, pick up the core in the center of the gear bridge and place it in the burner in front.

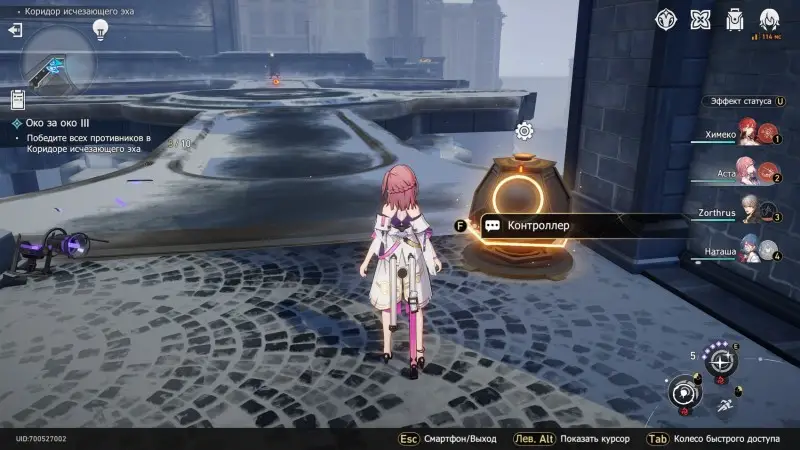
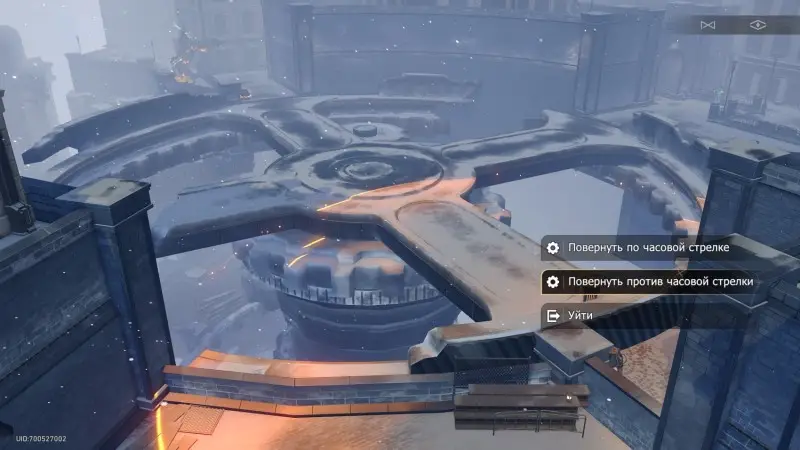
Go back, click on the controller and rotate the bridge counterclockwise. Then run to the right to a group of three monsters. Stand in the nook behind the controller so the monsters can't see you, then click on the panel and turn the bridge counterclockwise 2 times.
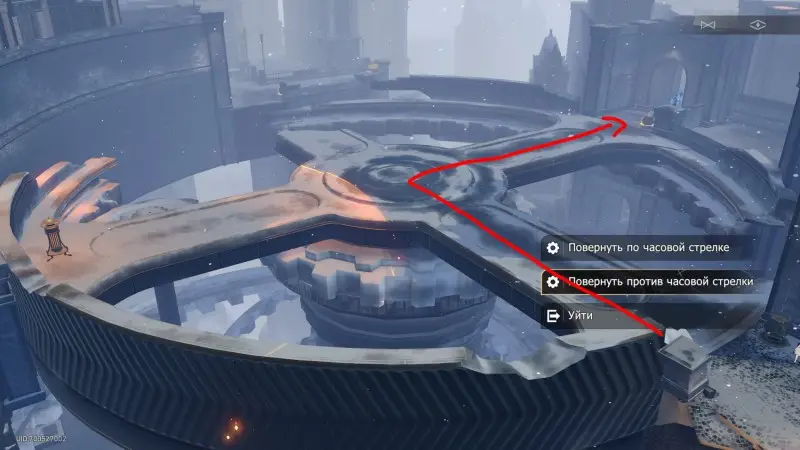
 < /p>
< /p>
 < /p>
< /p>
This will bring the burner to you and you will be able to attack the monsters. 3 waves are waiting for you again, one of which will contain Imaginary weavers (try to destroy them first).
Third battle
Click on the controller and rotate the bridge clockwise. Move to the right and click on the panel there. Rotate the structure 2 times clockwise to bring the burner towards you.

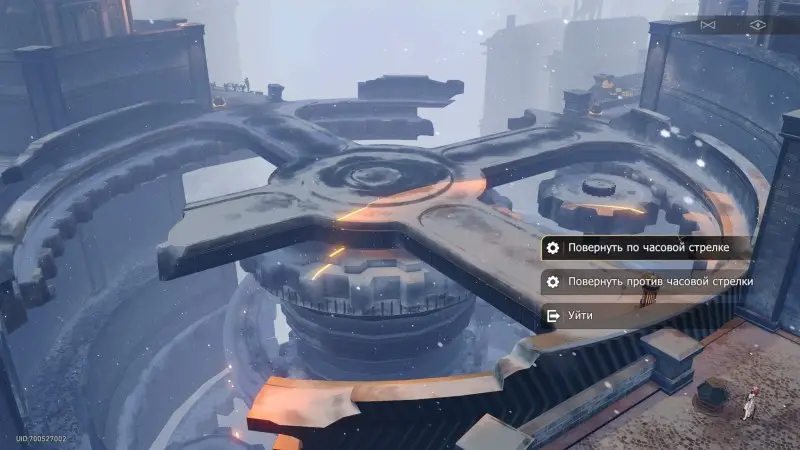
 < /p>
< /p>
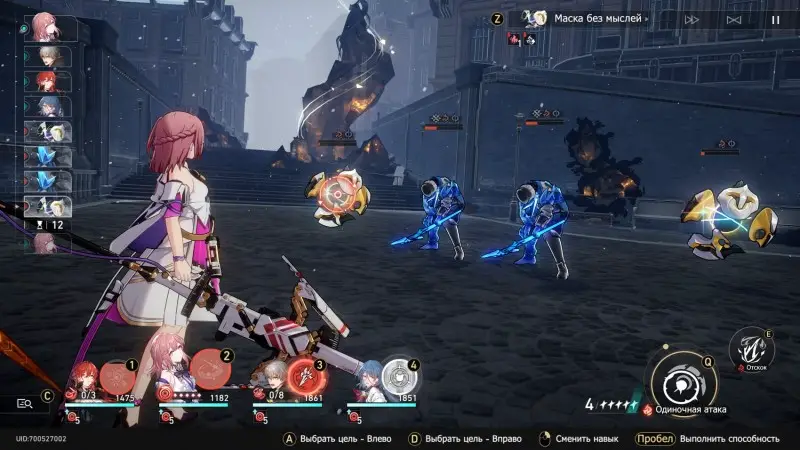
Next, taunt three groups of enemies in the left passage and attack them when they are in range of the device. Their vulnerabilities are shown in the pictures above.
Fourth battle
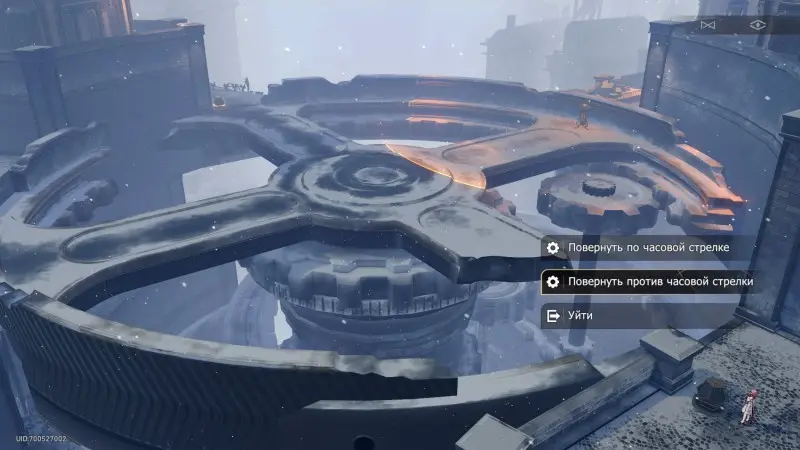
After dealing with the enemies, click on the controller and turn the bridge counterclockwise. Then return to the alley where you defeated the three groups of enemies earlier and go up the stairs.
 < /p>
< /p>
Here you will find a puzzle with a chest of a klutz. Just push forward the crate shown in the screenshot below and go forward. Here you have to fight the Froststrider.

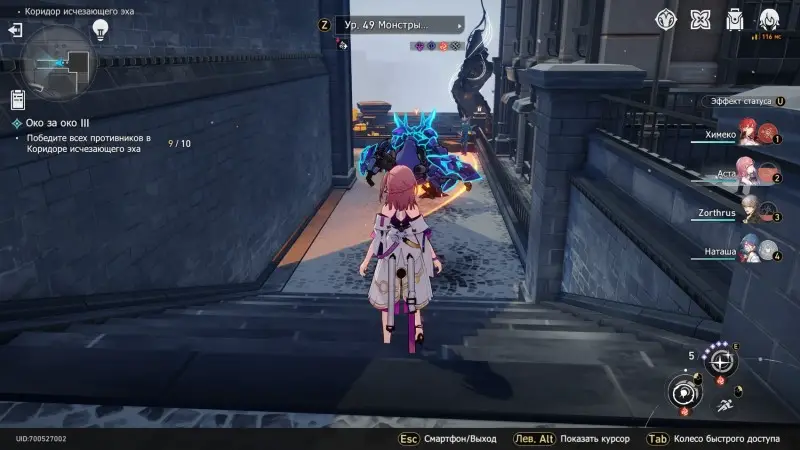
First of all, deal with the Illusory Weavers, and then concentrate all your efforts on the boss. Try to destroy the mobs he summons as quickly as possible, otherwise he will absorb them, strengthening himself.


When all enemies are dealt with, return to Oleg and report to him about the situation. If you complete all the objectives, you will be rewarded with 12,000 credits, 60 star jade, 8 adventure logs, 1 cast blacksmith's foot, 1 blacksmith's mastery ring, and 8 condensed aethers.


