
In Genshin Impact, Ancient Sacrifice of the Sacred Comet is a quest for the world of Chenyu Valley and part of the quest chain “Jade Blessing” During it, you will have to deal with the miasma, prepare for the Jade Blessing ritual, investigate clues, collect spiritual orbs and defeat the Xuanwen Beast. If you have any difficulties obtaining and completing this mission, then study our guide.
Completing the quest “Ancient Sacrifice of the Sacred Comet”
How to start a mission
It should start automatically immediately after completing the previous mission in the line called “Jade in the River, Chenyu Treasure”. Just find it in your quest log and start tracking it. If this does not happen, then try logging out of your account, wait 20-30 minutes and re-login.

Deal with the miasma
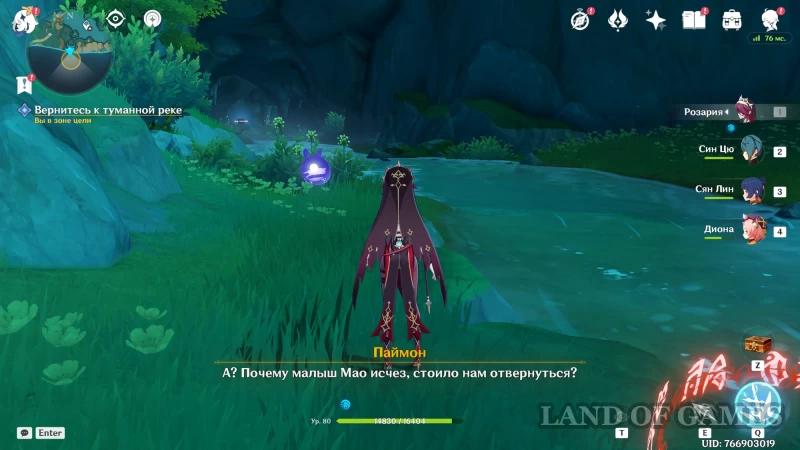
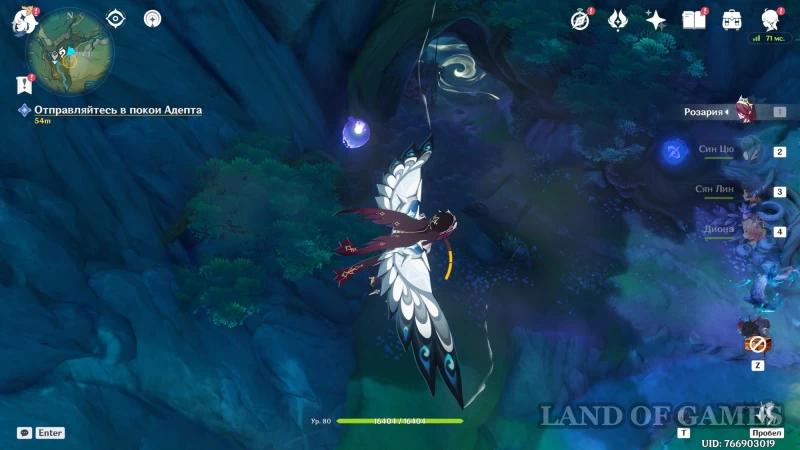
From the Jade Vent, run further south along the riverbed rivers. At the marked point, a cutscene will begin where you will meet Mao's friend Lazurya.

After talking to the “dragon”, run forward into the cave to the next highlighted area. On the way, you can deal with a group of hilichurls to open a rich chest.


Going even further, you will come to a spacious area, and you will see the miasma ahead. Deal with the leader (there is a blue light above him), and then deal with the pollution using the power of the Adepts. There is no need to beat the rest of the hilichurls, as they will constantly appear until you remove the miasma.

Go forward and kill the hilichurl archer with a blue light hanging over him. After this, remove the second miasma by pressing the “T” key.


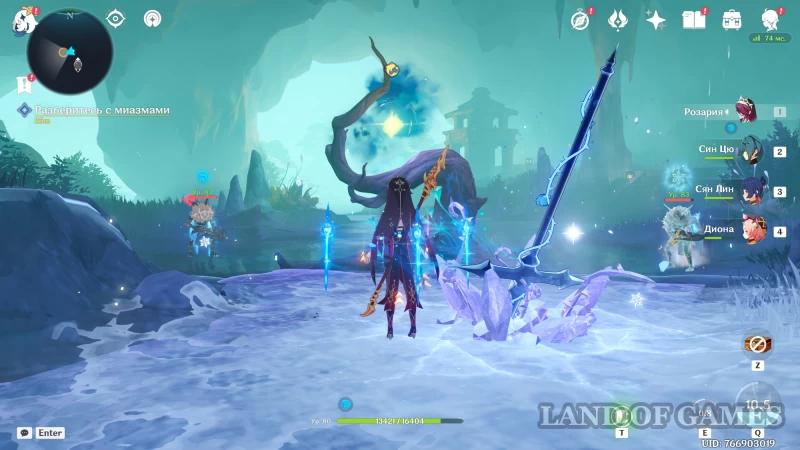
Now you will need to defeat Hydro Shamachurl, who is protected by two Mithachurls. This is not a very strong opponent, however, we still advise you to take your most well-trained heroes. After killing the shamachurl, immediately cleanse the miasma.


Prepare for the Jade Blessing Rite
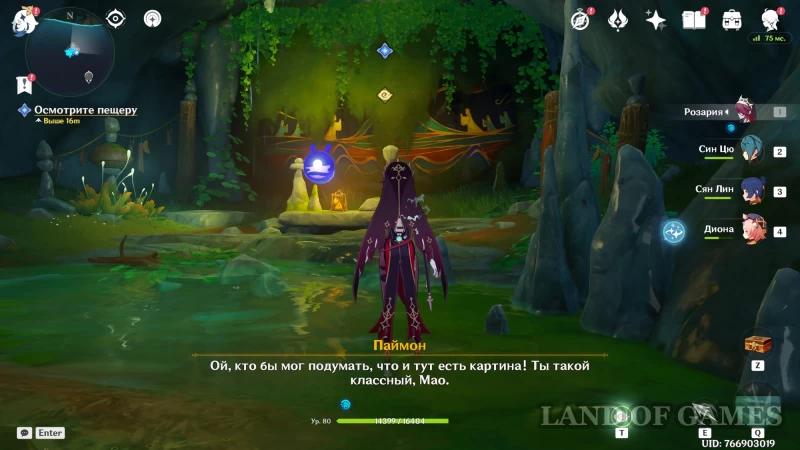
Get the contents of the precious chest and go to opened cave. You will find another rock painting in it, which also needs to be cleared of moss. Talk to Mao, and then you will meet the golden carp again.

Run after the fish into a spacious cave. Then enter under the dome created by the adept and continue forward, moving straight through the water. Protect the carp from Hydro Mimics. Returning to land, activate the teleporter and go up the hill along the path. Chat with Fu Jin again.


First riddle with simulacra
Next, you will need to solve two riddles with simulacra. Let's start with the one located a little to the south. Glide towards the island ahead, but don't go towards it yet. Halfway along the path you will see a fairy and flashes of water next to her – examine them so that the spirit moves on.


You will need to do this several times, and at the end deal with two Hydro Mimics. Bring the fairy to the house for a sacred simulacrum to appear. Now influence it with the power of the Adepts (key “T”) and place it on the stone platform just below.


The second riddle with simulacra
Now run to the northern island and climb up to elevation. Jump onto the platform and from it into the air current to reach the next platform in the air. Use the power of the Adepts and pull the third platform towards you.


Start running along the platforms that appear in front of you, and then use the golden carp's jump and shoot yourself to the platforms located a little ahead and below. Here you will discover a sacred simulacrum. Pick it up and return to the island, then place the statue on the highlighted square.


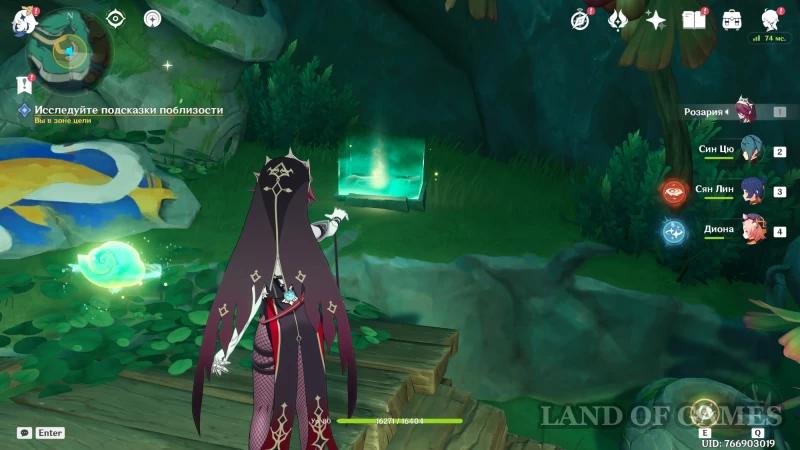
Explore clues nearby
After solving the riddles, return to Fu Jin and chat with her. She will ask you to find golden carp to restore your strength. Head to the Adept's chambers, located in the eastern part of the location. To do this, you can move to the Geo Archon statue in the east, and then go south.

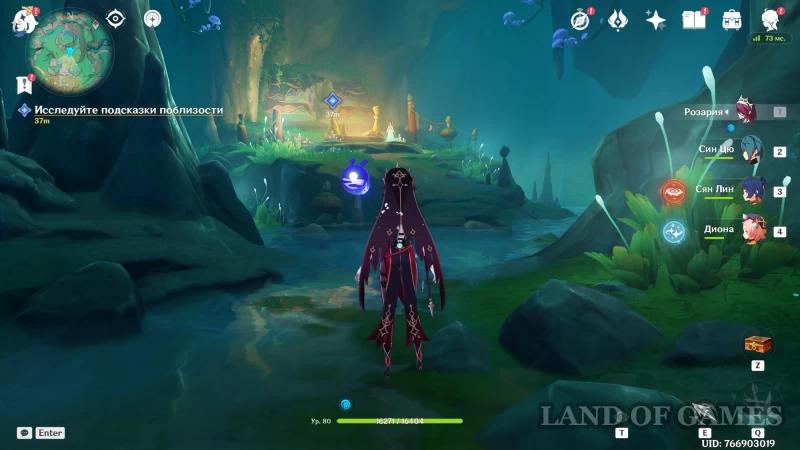
You will see a cave entrance below. There will be a miasma in front of it that you have to clear. To do this, as usual, deal with the leader, and then use the power of the Adepts. You have to destroy three branches. In the first one you need to defeat Mitachurl, and in the second – Hydro Shamachurl.


At the end, you will need to deal with the rogue Anemo Hilichurl, who acts as a mini-boss. What distinguishes him from a regular enemy is his increased health bar. We do not recommend using Anemo damage dealers against him, as he is highly resistant to this element.

Having dealt with all the enemies, go inside the cave. Move to the quest marker ahead. Along the way, capture the sacred simulacrum. Then go upstairs and place the statue on the illuminated area. Next, interact with the stone slab on which a golden carp is drawn.


You will be transported to the Chizhang Wall location. Go forward to the next rock painting. Watch the new video with an adept.

Examine the drawing and head to Xuanlian Mountain
After the conversation, you will return back to the adept's cave. Go to the drawing of a carp and press the “T” key. Fu Jin herself will bring the carp where it needs to be, so you will need to go to the appointed place, which is located on the surface.

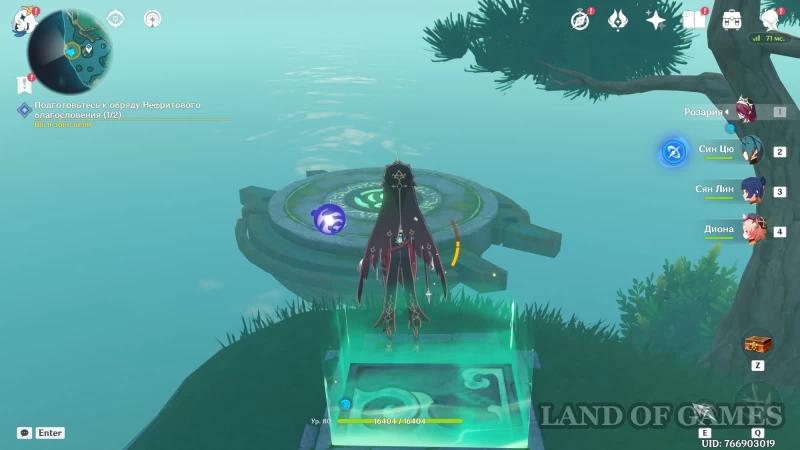
We recommend that you teleport to Mount Aotsang, and from there glide down to the quest marker. Go down into the gorge and activate the teleport. Next you will have to explore Mount Xuanlian.


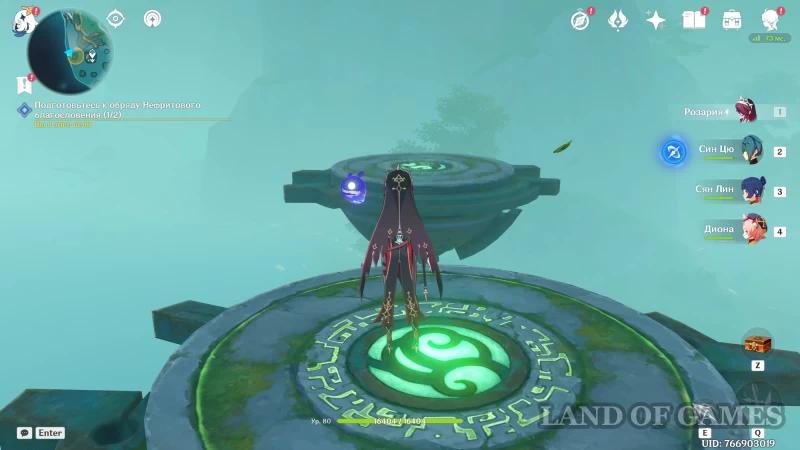
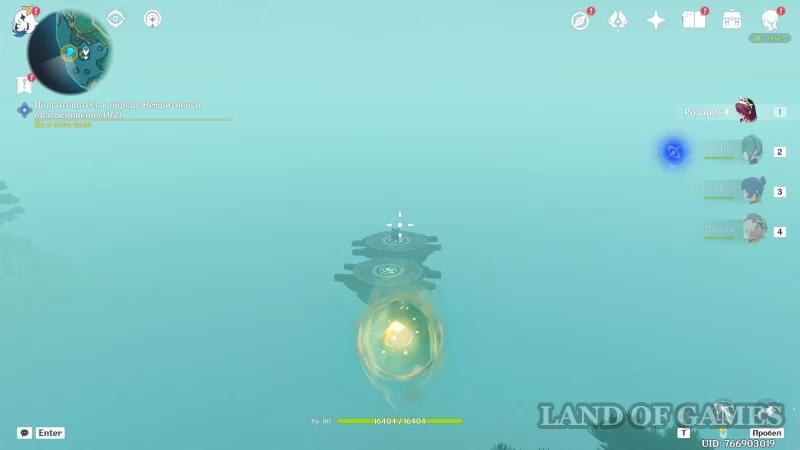
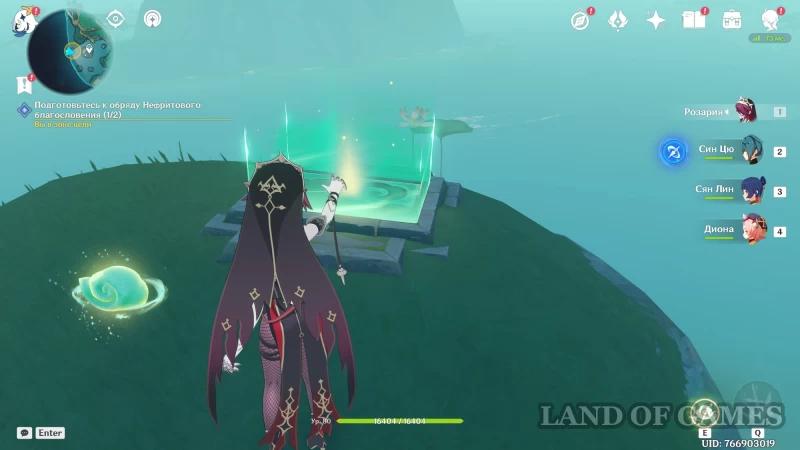
To do this, run forward to the water pearls, and use them to climb up to the clot of energy with a blue light. Interact with him to immediately get to the island above with a teleport. Activate it and fly towards the stone gazebo to start a new video.


Collect spiritual spheres
Walkthrough is in the process of being written…