
in the recently released released Hades 2 One of the most complex bosses is Kronos. It will be necessary to fight with him in the final of the underground world, and to promote the plot of the game you will have to do this several times. If you have difficulties with a victory over it, we recommend that you study our leadership.
Where to find Kronos
Kronos is one of the two final bosses of the game, so to get to him you must complete the Underworld. The underworld consists of four regions, each of which also has its own boss, which can complicate the battle in advance: it is quite possible that the protagonist (Melinoe) will come to the final boss quite weakened. However, in the room in front of the boss there is Charon's store, where you can buy useful things.
Features of the battle with Kronos
As in the battle with Aid, the final boss of the first part, the battle with Kronos is divided into two phases. The first phase of the battle takes place in the House of Aida. In it, Kronos mainly uses close -up attacks, although it can also cause damage at a distance. Slopic blow

Nearby attack. Kronos makes a wide scope of a scythe, leaving a break on the scene.
2. A jerk with a scythe
Slightly modified first attack, mainly used if Melinoe is far from the boss. A rift also remains in the direction of Kronos's dash.
3. Scythe throw
Kronos unwinds his scythe and throws it towards Melinoe. A rather unpleasant attack, since the scythe flies in an arc, and the trajectory of its movement is quite difficult to predict.
4. Summon projectiles around you
Kronos surrounds himself with projectiles, preventing him from being damaged. This attack is most often combined with the previous three.
5. Dome

The area that after a while is covered with a dome. If at this moment Melinoy falls under the dome, she will freeze for a few seconds, not having the opportunity to move or attack.
6. Allies call

Kronos summons satyrs to attack Melina. Mobs should be dealt with as quickly as possible, not so much because of their danger to Melinoe, but because while they are on the field, Kronos is protected by a shield.
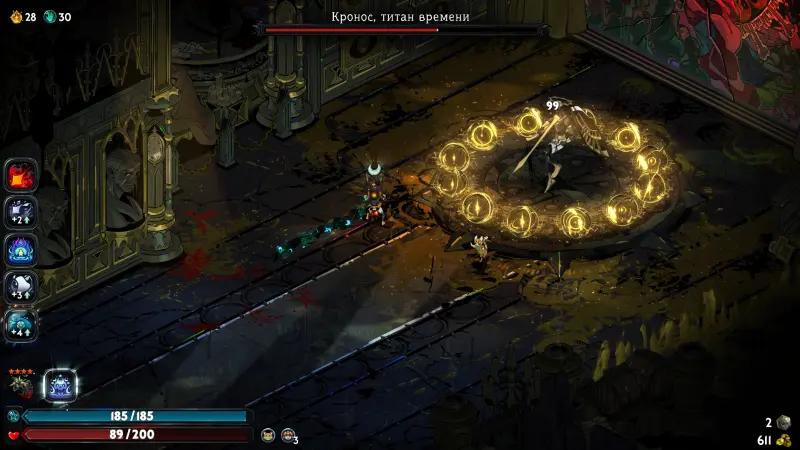
7. Summoning Obelisks
From 2 to 4 obelisks appear in the arena. They are almost unaffected by Melinoe's magic damage techniques, but the obelisks collapse quite quickly from normal and special attacks. Destroy them as quickly as possible, since while they are active, Kronos is practically invulnerable.
8. Sand Stream
Kronos creates a stream of sand towards Melin, trying to pull it to him. At the end of the attack, he strikes a scythe. The attack itself is unpleasant not so much as the fact that during its action Kronos receives damage only from attacks in the back. However, if you managed to get to him, this is a chance to significantly reduce the health of Kronos.
9. Circular shells

the battlefield is covered with several waves of shells. They move along one trajectory, but take up a lot of space.
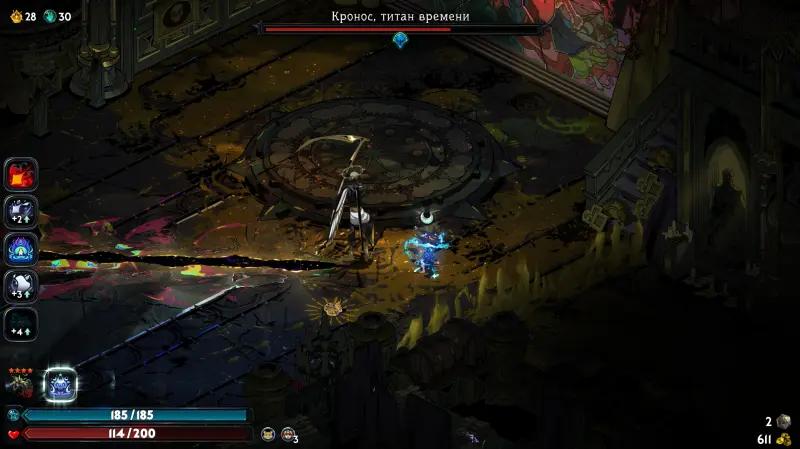
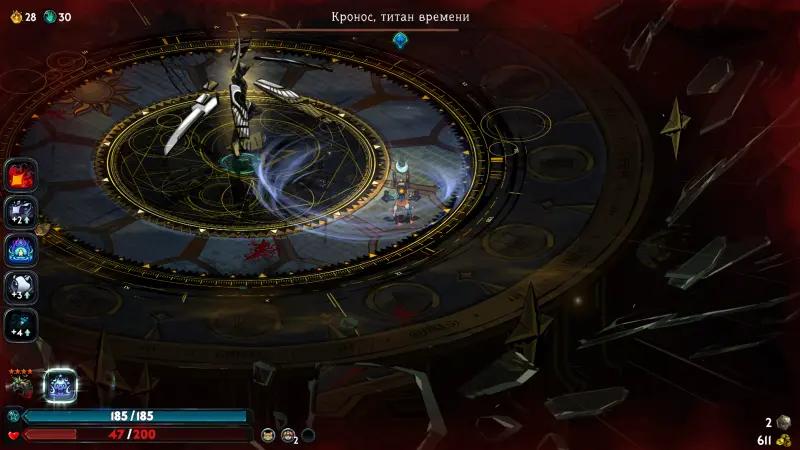
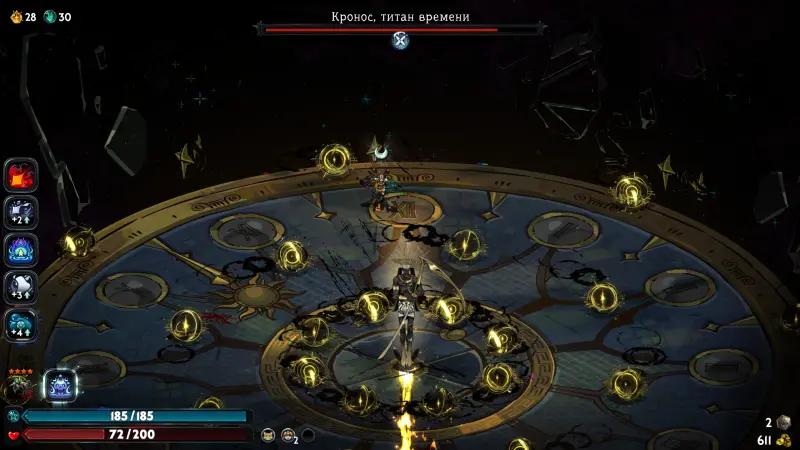
The second phase

In the second phase, the arena becomes a huge clock, and the shape of the arena greatly influences the battle. The battle becomes much more difficult, primarily due to the appearance in Kronos’s arsenal of two attacks at once, which can kill Melina with one blow. At the same time, he uses the scythe attacks from the first phase, and also continues to summon mobs. Another unpleasant detail that affects the battle is that Kronos regularly slows down time, and with it the heroine’s movement; accordingly, it becomes much more difficult to evade attacks.
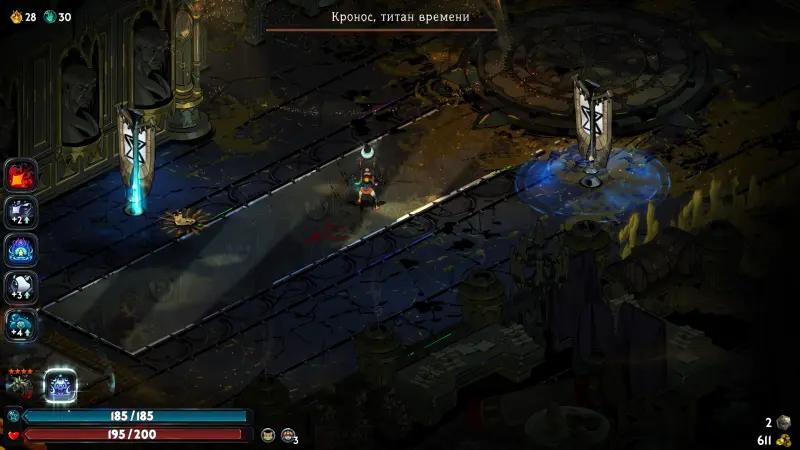
1. Number on the clock
The second phase always begins with this attack. It is very easy to track, but it does not become less dangerous from this. As soon as the entire battlefield, except for one of the numbers, darkens, immediately run to this figure (it is selected randomly) and stay there. If you do not have time to do this, after a certain period of time, Kronos will inflict a huge damage that will instantly kill the heroine. Even when using the divine regime (in which the resulting damage is reduced by a maximum of 80%) it is almost impossible to accumulate such a amount of health that will allow this attack. During the battle, Kronos uses this attack several times.
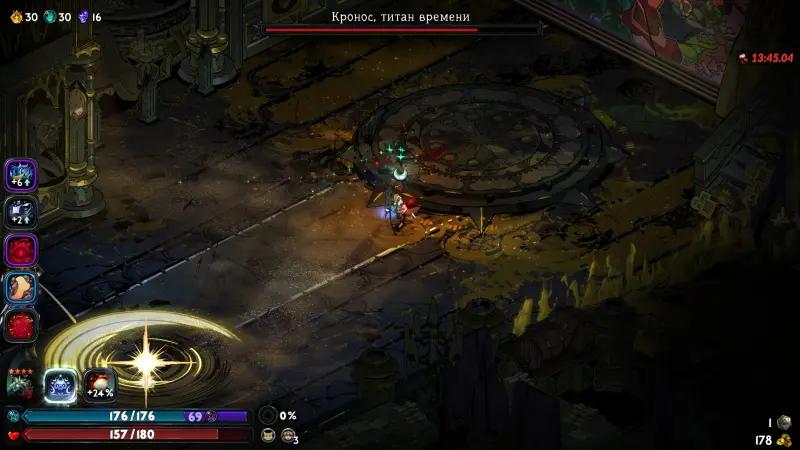
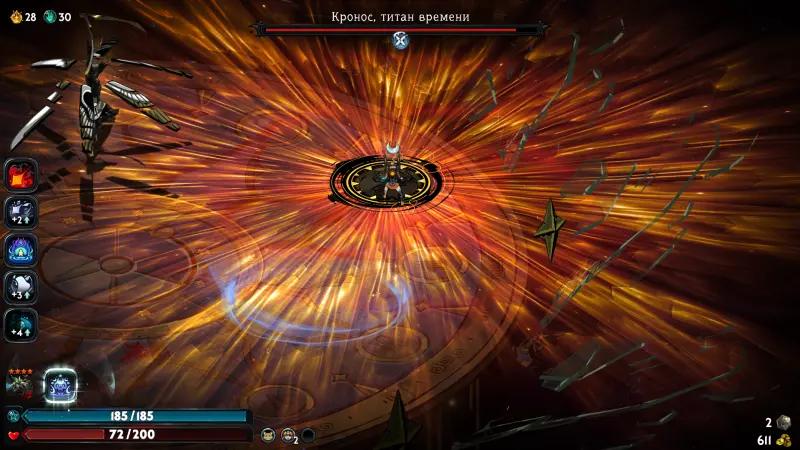
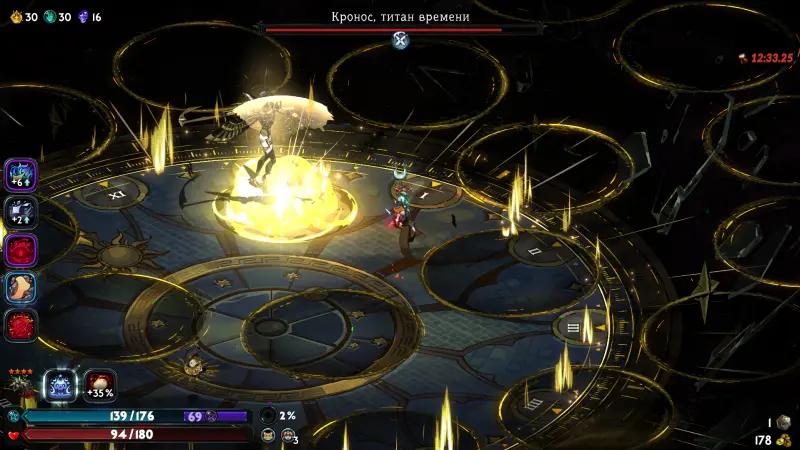
2. Two circles
An analogue of the first attack with one change: now the safe zone is not the number on the clock, but two circles (they are visible in the screenshot). Otherwise, it works on the same principle: you need to have time to occupy the space highlighted by the light in order to avoid fatal damage.
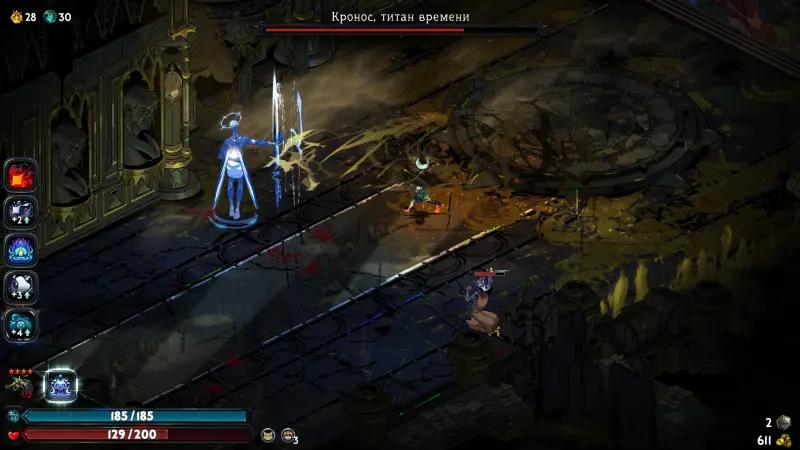
3. Summoning allies
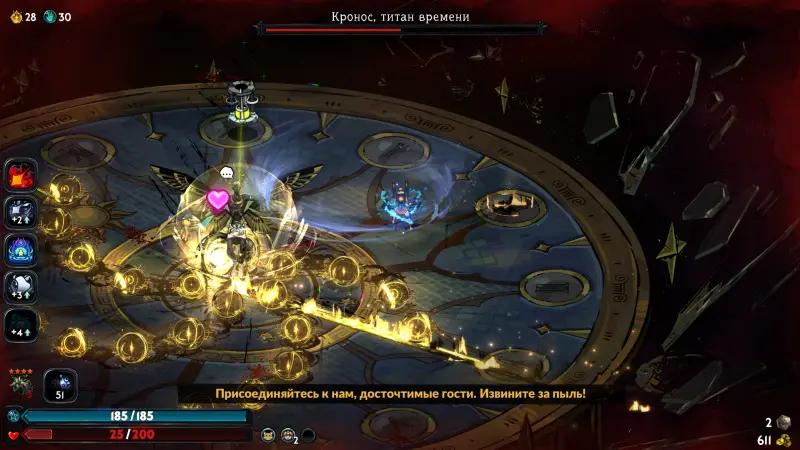
As in the first phase, Kronos actively calls mobs to his aid. We recommend destroying them first, because in this phase they not only attack Melina, but also restore Kronos' health.
4. Arrows
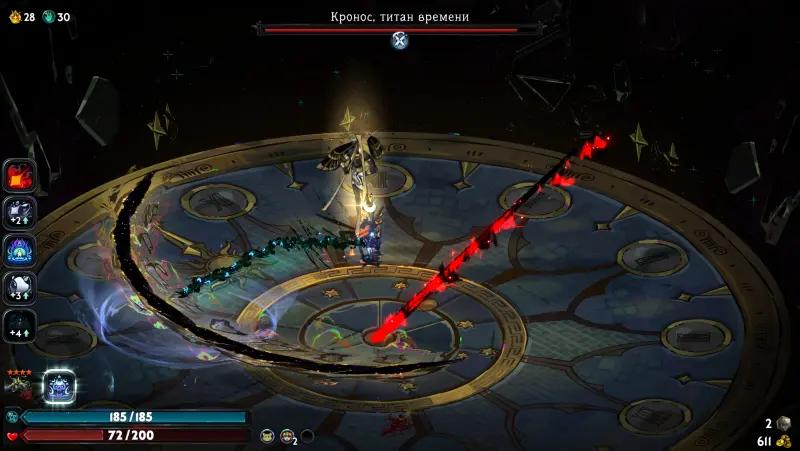
Kronos creates a clock hand that gradually moves across the field (moves clockwise). If Melinoe touches her, she will take damage. Towards the end of the battle, Kronos will begin to summon many more arrows, covering almost the entire arena.
5. Domes
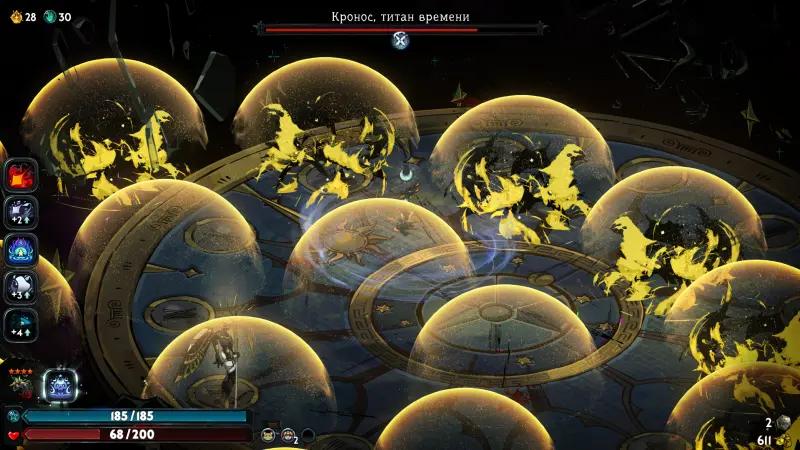
Instead of one dome, as in the first phase, Kronos covers almost the entire battlefield with them. If Melinoe gets under them, she will freeze, so you need to take a safe place as quickly as possible.
6. Projectiles
An attack similar to the first phase. The arena is covered with many projectiles moving in an arc.
7. Shrinking Circle
A circle appears in the arena, quickly narrowing to a point in the center of the arena. You need to quickly cross its border using a dash.
How to prepare for the battle with Kronos
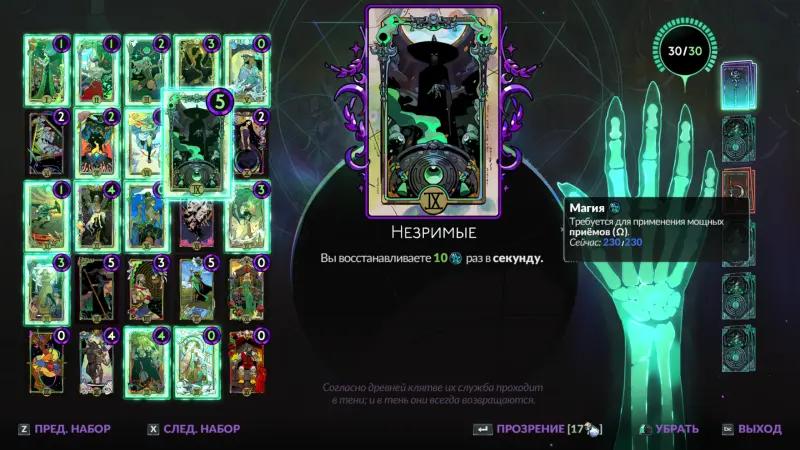
1. Arcana
First of all, we advise you to pump up the available Arcana to the maximum. While most of them are quite useful, the game is designed so that you won't be able to select them all at once. However, a good combination can be put together almost from the very beginning of the game.

Class = “Aligncenter” SRC = “/WP-Content/Uploads/2025/10/Kronos-V-Hades-2-Kak-Pobedit-A6A4917.WebP” Alt = “Kronos in Hades 2: How to Win”/>
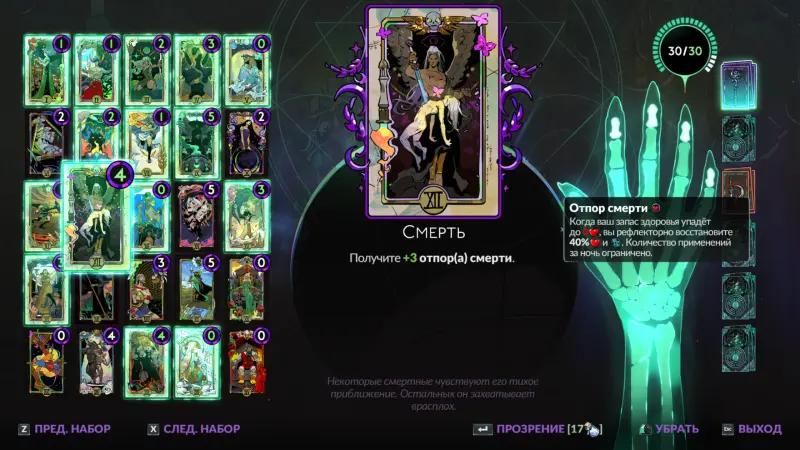
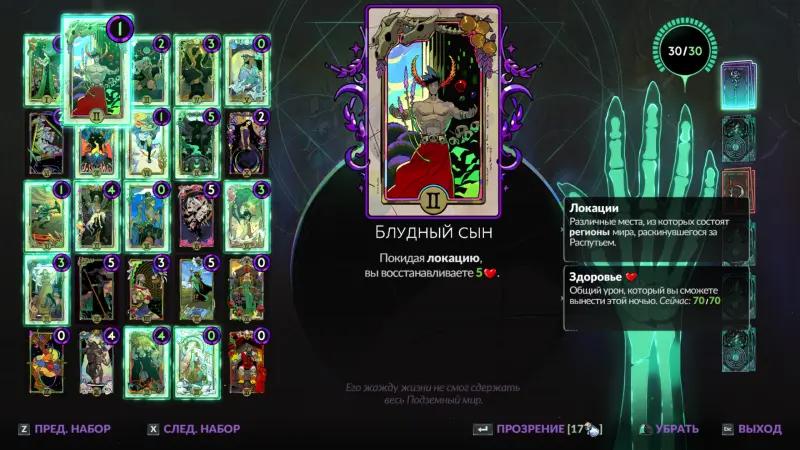
The Archkan Death , which will allow 1 time (with full pumping 3) to survive deadly damage, in case you did not have time to dodge the deadly attacks in the second phase. Prodigal son Allows you to restore a little health, leaving the location, which can become a good help. The card is invisible automatically restores magic, which is necessary at any stage of the game, since techniques for which magic are required are many times more damage than ordinary attacks. The sorceress allows you to spend less time charging receptions, respectively, less a chance that the enemy’s blow will interrupt the charging. Arkan lovers gives a shield that allows you to avoid boss’s attacks several times, which also facilitates the battle.

one of the workers is given above one of the workers assemblies, but, of course, there are much more of them.
2. Weapons

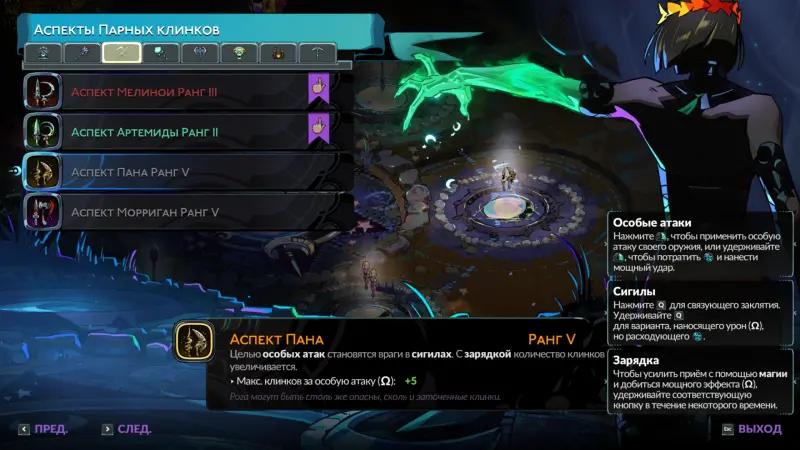
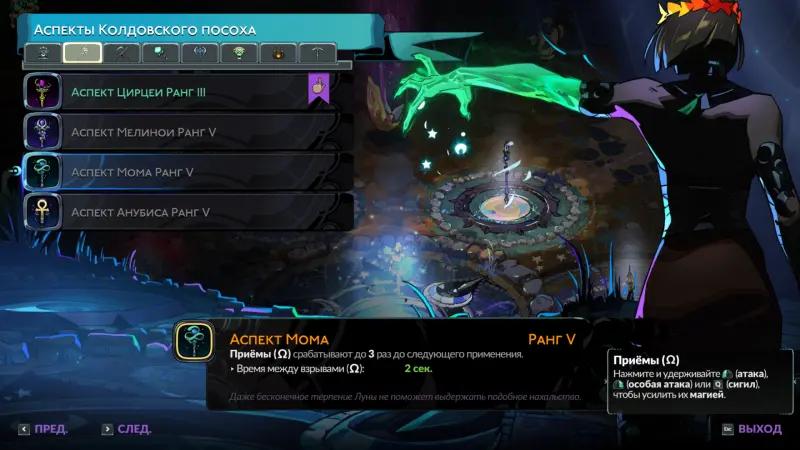
Weapons available in the game are maximum varied, it is difficult to single out the strongest, so we recommend choosing one that suits your fighting style. For example, if you care about strength rather than speed of attacks, the Zorefet Ax is ideal, especially if you take the aspect of Thanatos, which accelerates attacks, and if you rely on speed and a large number of attacks, thedual blades Lim and Oroswould be an excellent choice. A universal option is also the Descura witch's staff – it has a simple set of moves, and is available from the very beginning.
3. Souvenirs
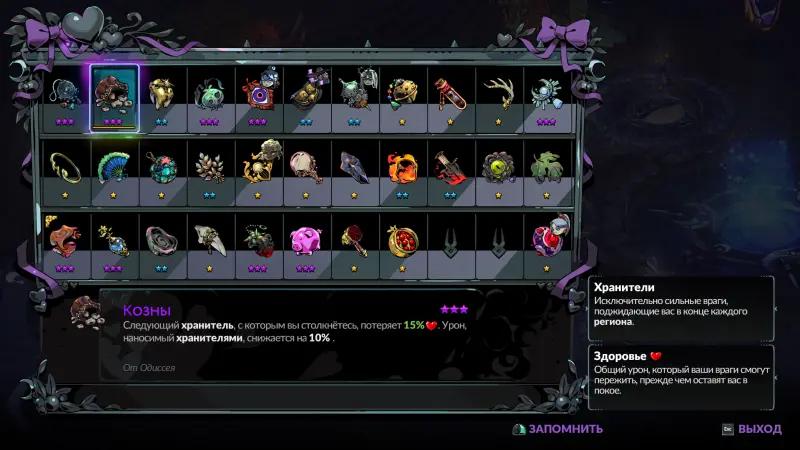
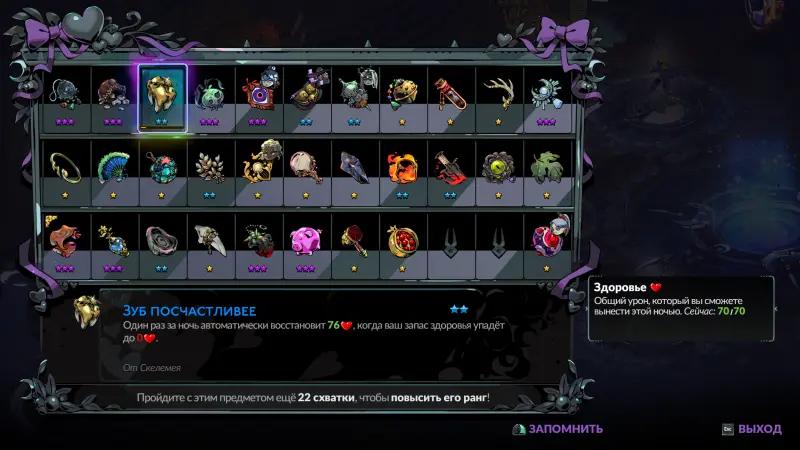
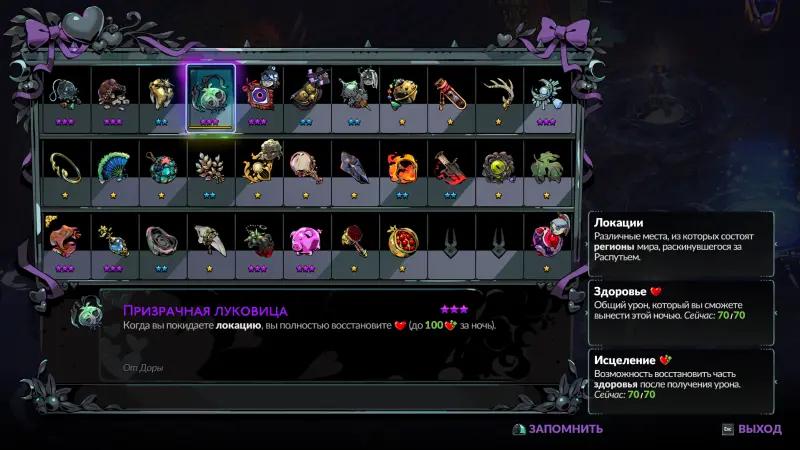
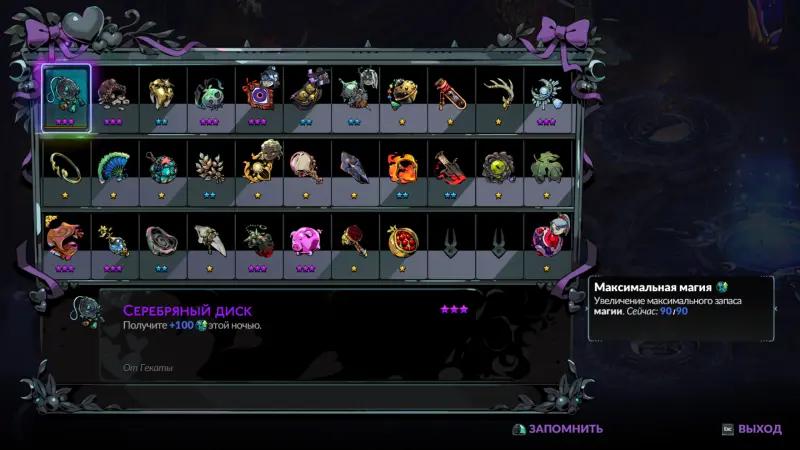
An excellent choice of souvenirs would be Koznythat can be obtained from Odyssey. They reduce all the damage caused by the bosses, and if you equip them in Tartar (the last region of the underground world), Kronos will receive additional damage. Any souvenirs that increase survival are also good: to the tooth is lucky than the , obtained from Skelli, makes it possible to survive deadly damage, The ghostly bulb , which is issued by the Dora, restores health after passing the rooms (there are quite strong enemies in Tartar, so it will not be unnecessary), but it will not be too much), but it will not be too much), but it will not be too much), but it will not be too much) Silver disc from Hecate may not affect health, but it gives additional magic, which will allow you to use techniques more often.
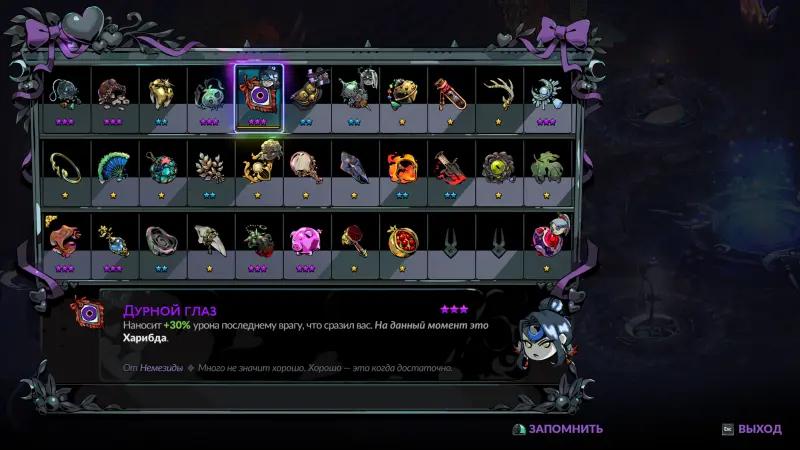
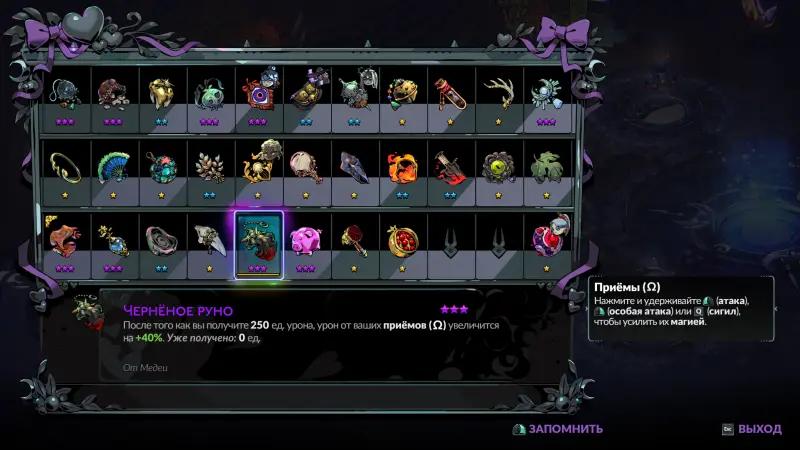
There are more specific, but strong souvenirs. If in the past passage you could not defeat Kronos, we recommend that you take bad eyes before Tartar (it is given by Nemesis). With it, you will apply to Boss much more damage. Also useful will be Black Fleece from Medea, which also affects the personal damage of Melinoi. Its activation condition may seem difficult, but if you have reached the end of the race, with a high probability of 250 damage in total you have already received.
4. Familiarity
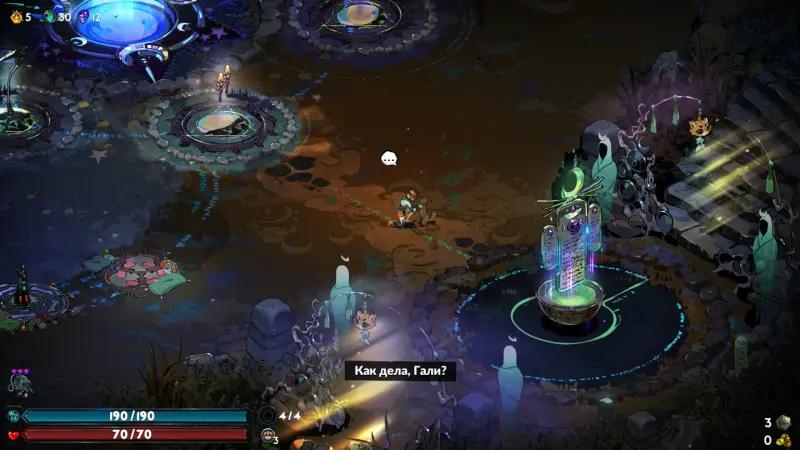
Any familiar is very useful, especially if pump it up to the maximum, but highlight Tula the most, a cat that can be found on the surface in Erebus or the Thessalian Rift. Not only does it deal great damage to enemies, but it also gives another stack of Death Defy. Also useful are the frogFrinos, which gives an increase in health, and the weaselGali, which can block damage from enemies, and also gives an increase in speed and chance to evade attacks. Note that, unlike souvenirs, which can be changed between regions, a familiar is selected before the start of the race, and in order to choose again, you will have to restart the race.
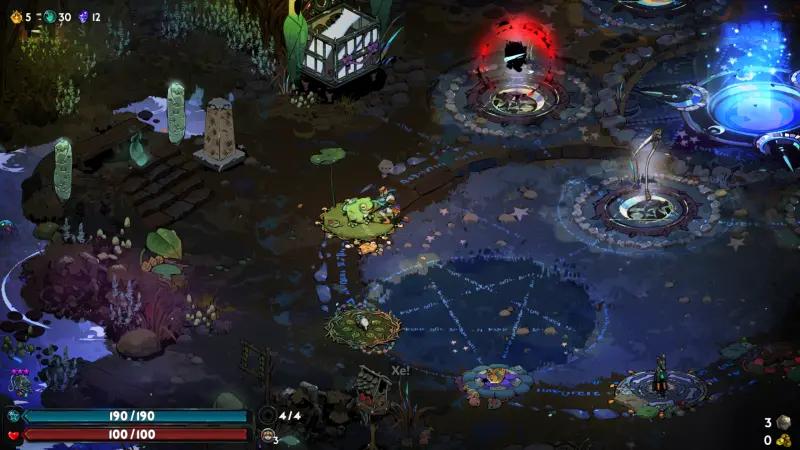
5. Help Hades
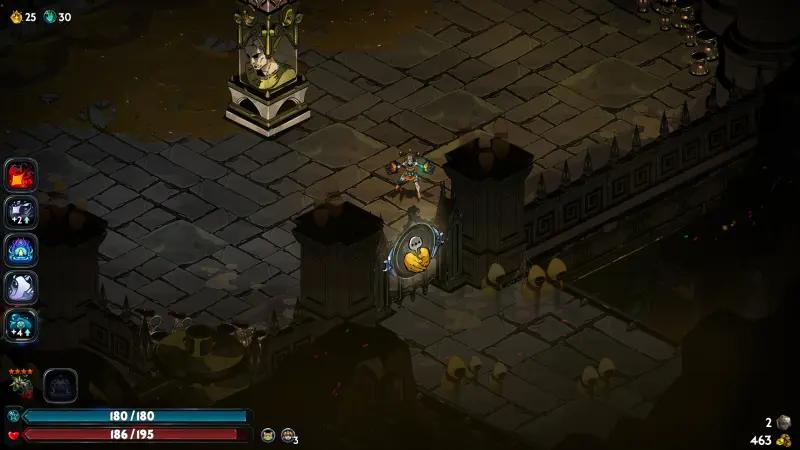
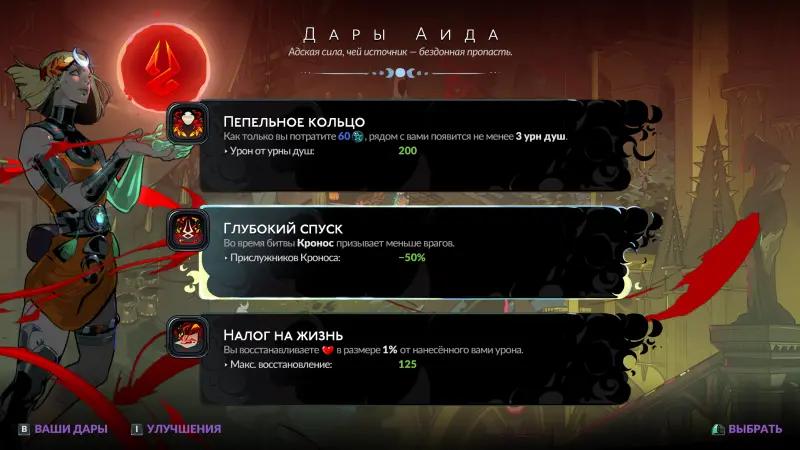
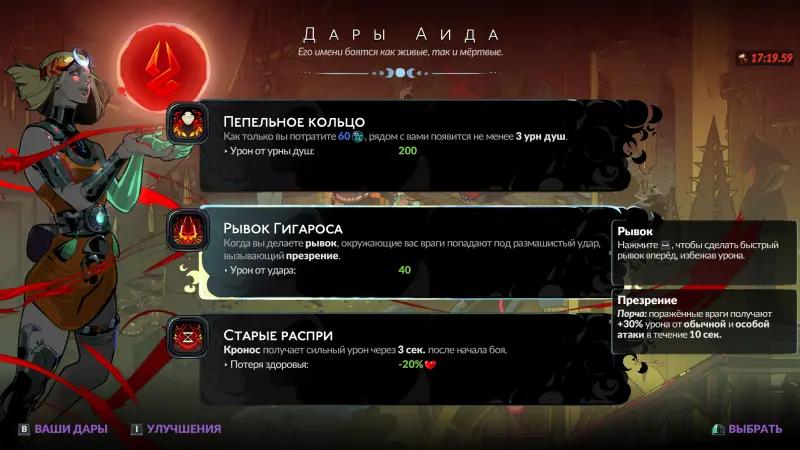
Another condition that greatly facilitates the battle is help from Aid. It can be found in Tartar (the room with it is indicated by a special symbol highlighted in the screenshot above). Any gift either significantly strengthens with machinated or significantly weakens Kronos. If you have problems with Melinoi’s personal damage, we recommend choosing a gigaros jerk , which inflicts additional damage to the opponents after a jerk and also weakens them, if the main difficulty is Kronos, the best choice will be Deep Descentor Old Feuds. The first gift reduces the number of Kronos' allies, the second automatically deals a lot of damage to the boss at the beginning of the battle – both of these effects can play a huge role in the battle.
6. Gifts from the Gods
There are a huge number of gifts in the game, and it is simply impossible to list them all here, moreover, most of them go well with each other.


Also very strong are any buffs from Hestia that overlap burning. Watched enemies receive damage once a second, and if you use a rapidly attacking weapon, like paired blades, this damage can be increased to unimaginable sizes (maximum 999, but the status can be updated constantly).

Gifts of Hera in one way or another bind enemies among themselves, after which everyone receives the damage caused to someone alone. This is almost indispensable against crowds of enemies in the regions and in the battle with Kronos it will also be useful, since he calls the allies almost constantly.

Well, if you are confident in your abilities, you can seek help from chaos. Its gifts are quite chaotic (literally), at first they do not strengthen Melin, but, on the contrary, put debuffs on it. But then they begin to work in full force, and most often all the inconvenience pays off. We recommend going down to the chaos at the beginning of the race, while ordinary enemies are relatively weak so that the debuffs do not deliver too strong problems.
7. Divine mode

If, despite all of the above, the battle remains too difficult for you, the game has a Divine Mode feature (you can enable it in the settings). After activating it, you will automatically receive less damage, and with each defeat, damage absorption will increase further. The maximum resistance is 80%, that is, you will only receive 20% from each enemy attack. Otherwise, Divine Mode does not affect the gameplay at all, and you can turn it on and off at any time.
Tips in the battle with Kronos
During the first phase, try to stay as far away from Kronos as possible. Any weapon from Melinoe's arsenal allows you to attack from a distance (most often this also deals more damage), so attack the boss while keeping your distance. The battlefield in the first phase is narrow, but long enough to allow you to dodge most attacks.
There is another strategy, more risky: get as close as possible, inflict great damage, then quickly dodge and run away. This tactic is more likely to justify itself in cases where there is a technique that can apply a lot of damage at a time (for example, a series of attacks zorefet ax ). Selena), which resurrects the dead enemy and makes him fight on your side. If you pump the spell to the maximum, the mob can apply quite a lot of damage, and in any case it distracts the enemies of himself.
In the second phase, one important point should be taken into account: while some attacks are charged (in particular, the first two), Kronos himself actually remains in place and does nothing. If you managed to take a profitable position and you have attacks that are hitting at a distance, ideally in a large area, it's time to use them. There are quite a lot of such techniques in the game, but a complete eclipse from Selena, which causes huge damage in the area, and smoldering a coal from Hestia, which overlaps burning. In addition, if in the first phase, Kronos uses a scythe’s blows almost without a break, and therefore it is difficult to get closer to quickly, then in the second he still alternates them with attacks that affect the characters, but on the arena (for example, watch arrows). That is, it is quite possible to use the already mentioned technique: to wait for the activation of such attacks (excluding inflicting deadly damage), to quickly approach the boss, to inflict as much damage as it is possible to quickly move to a safe distance.