В Genshin Impact Light of Wandering is one of the events in Update 6.0, in which you will have to go to various photo locations and fulfill all the conditions to get successful shots. As a reward, you will receive source stones, pestilence, and upgrade materials. In this guide, we will tell you how to quickly and easily complete all stages.
How to start the “Light of Wandering” event
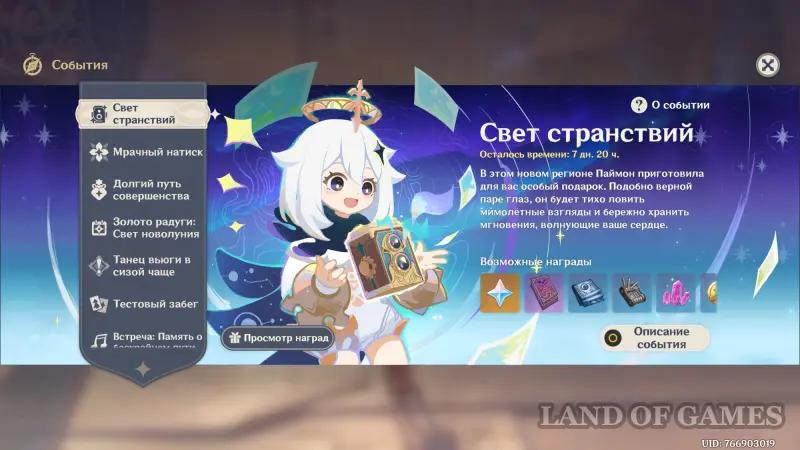
The event started on October 10, 2025 at 10:00 server time, and will end on October 21 at 03:59 am. To take part in it, you will first need to meet certain conditions, namely:
- Achieve at least Adventure Rank 20.
- Complete the story mission called “Song of Dragon Freedom”, which is the third chapter of the Prologue.
Having dealt with the specified conditions, you should automatically receive the starting mission of the event “The Gift of Memories”. If this does not happen, then go to the event page in the corresponding menu and click on the “Add to task” button. Further content will be opened gradually.
Task “The Gift of Memories”
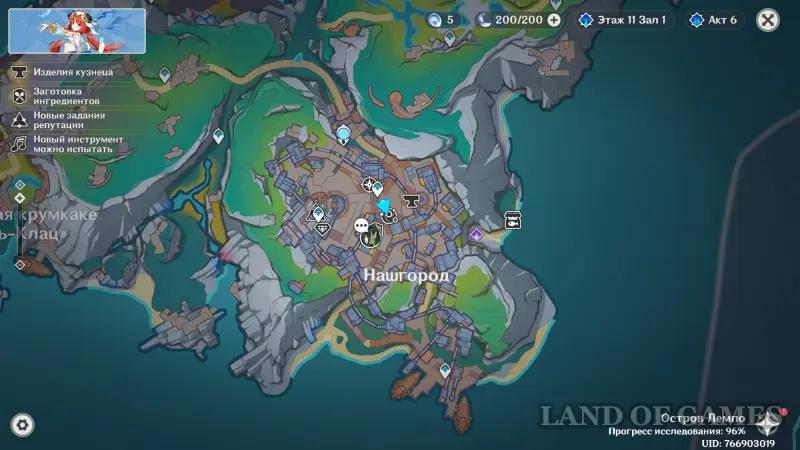
Travel to Nashtown, and then go to the local alchemy workbench, located just south of the Adventurers' Guild. A short cutscene with Paimon will begin here, during which you will receive a new Travel Camera from your companion. This will complete the task, and you will have access to the tests.
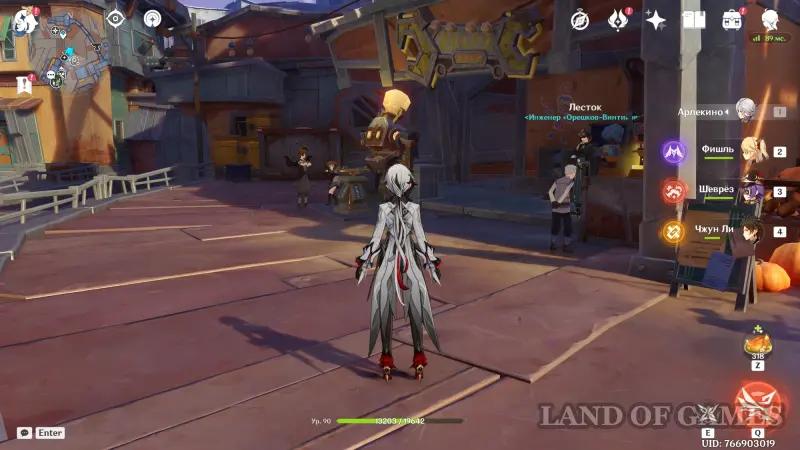
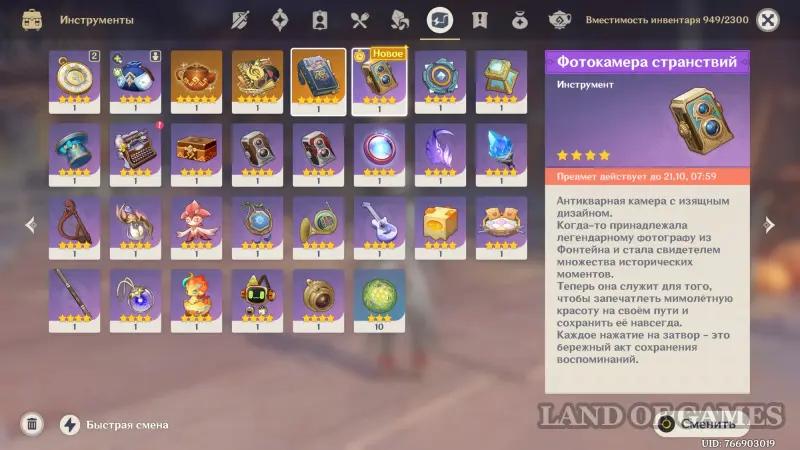
We recommend that you immediately equip your character with a new camera. To do this, go to your inventory, open the “Tools” tab, select the desired gadget and click on the “Equip” or “Change” button.
Light of Wandering (Day 1)
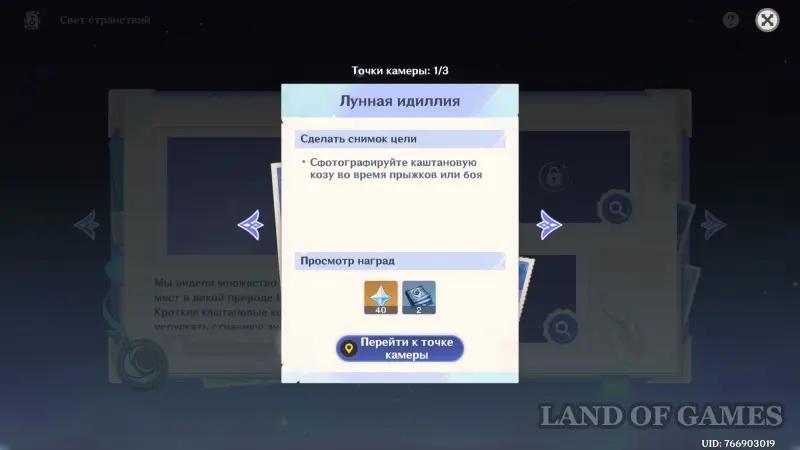
Moonlight idyll
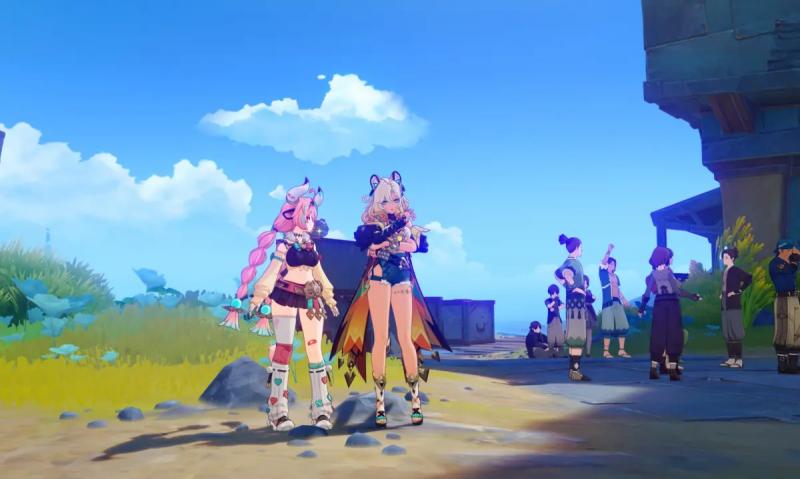
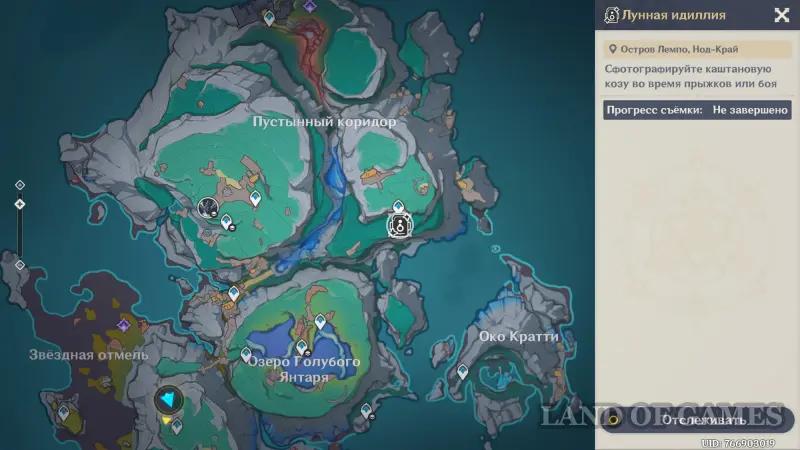
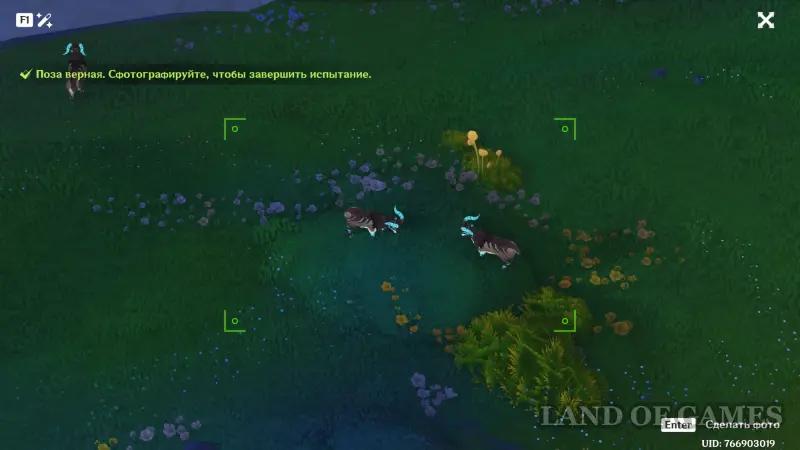
Open the event page, select the first test and go to the camera point located in the southeastern part of the Desert Corridor (Lempo Island). Once in the highlighted area, turn around, go to the edge of the area and look down. There you will see goats.
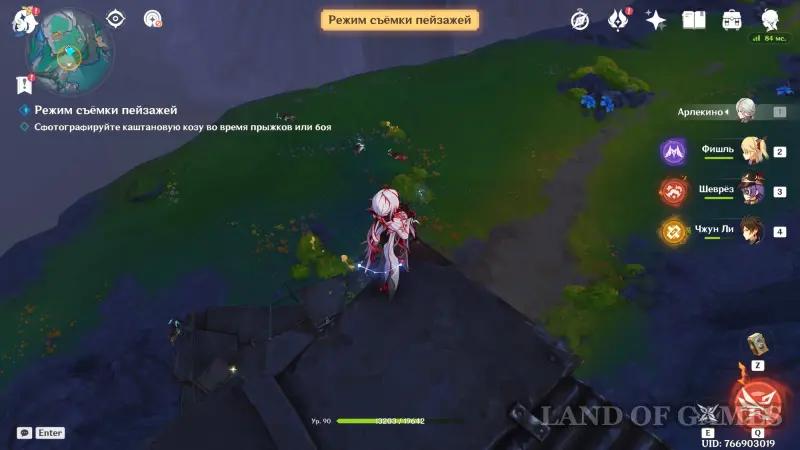
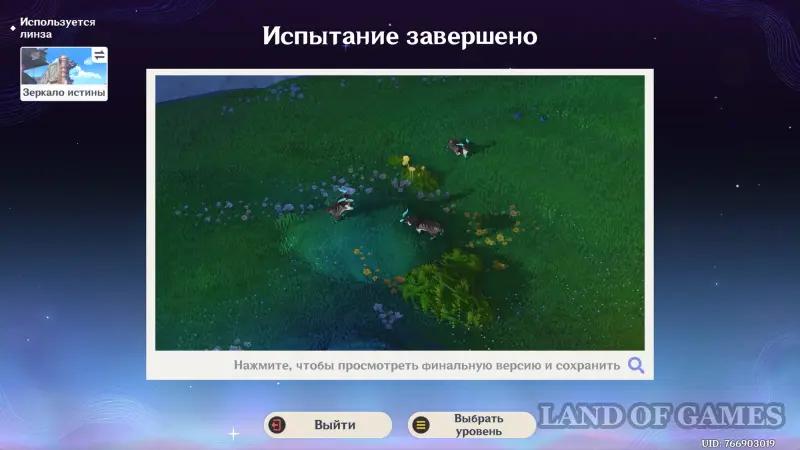
Now take out your camera (key “Z”), point the lens at two animals standing opposite each other and wait until the frame lights up green (the goats will be preparing to attack), and an inscription about the correct pose appears at the top, and then take a photo by clicking on “Enter”.
Joy donations
Go to the northern part of the Blue Amber Lake (Lempo Island) and find the Sniffing Mole here, who will stretch out his hands to you. Stand in the Kuuwiaki plant behind, grab a drop of Kuuwiaki dew on the left (“T” key) and give it to the animal to make it happy.

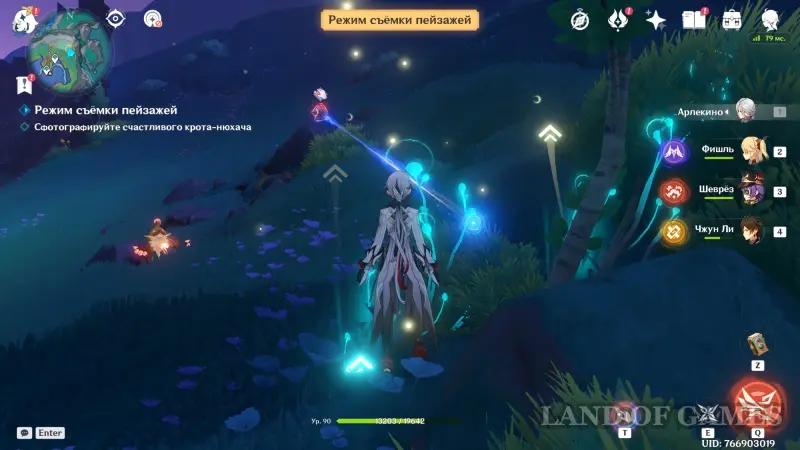
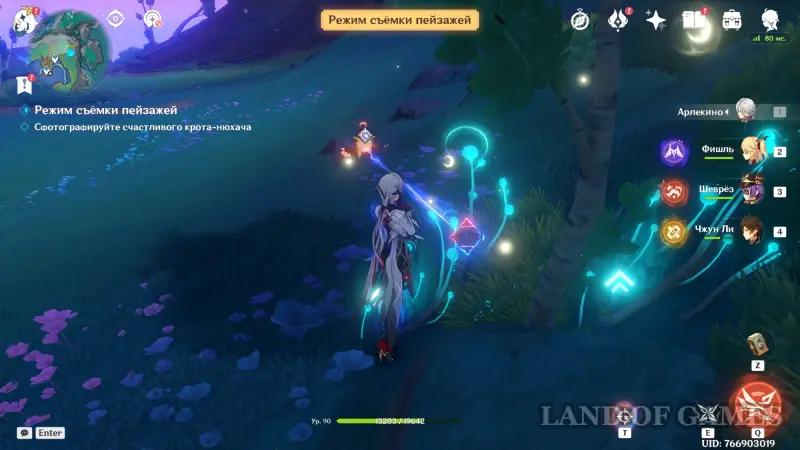
Now quickly take out your camera, point the lens at the mole and take a photo of it. If you don't have time to take a photo, you'll have to take the dew again and give it to the animal.
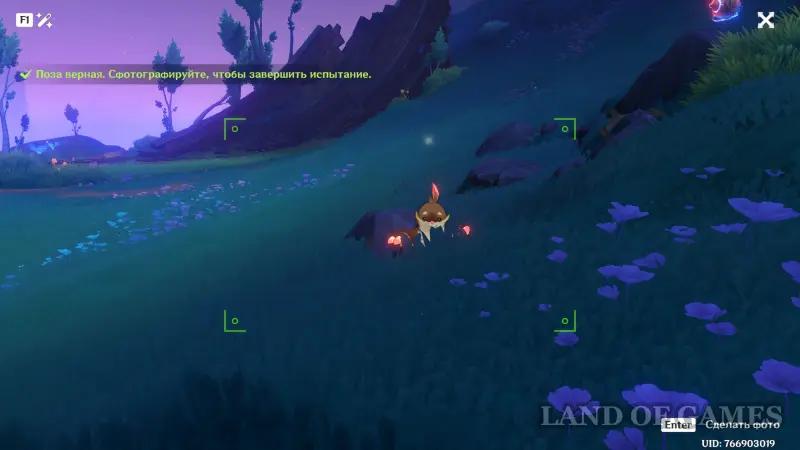
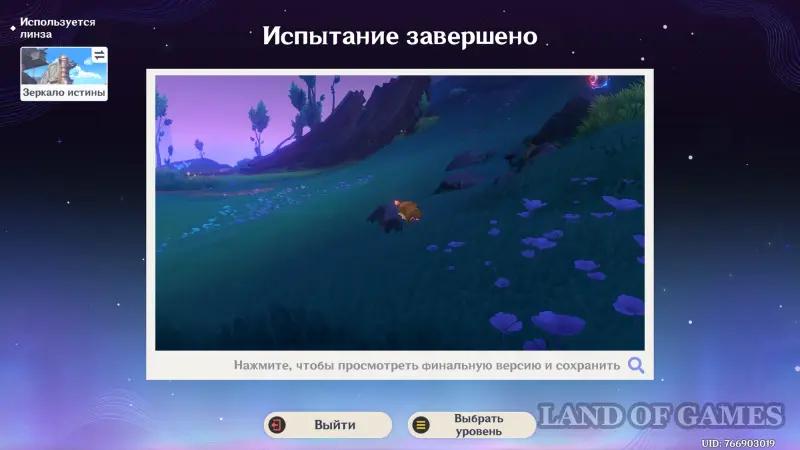
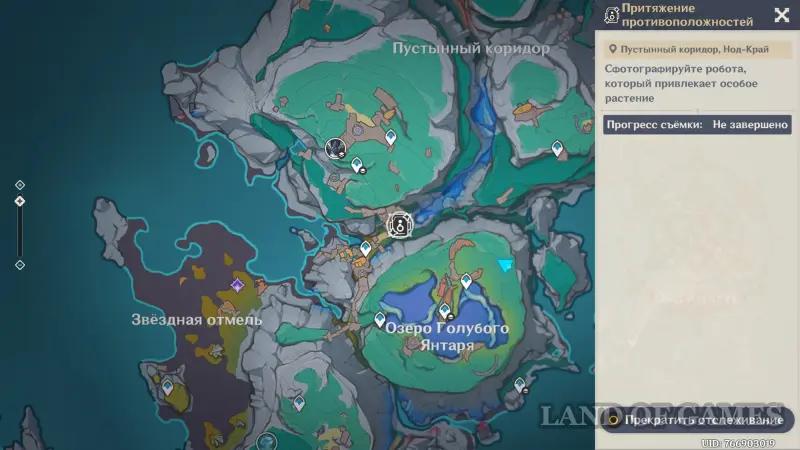
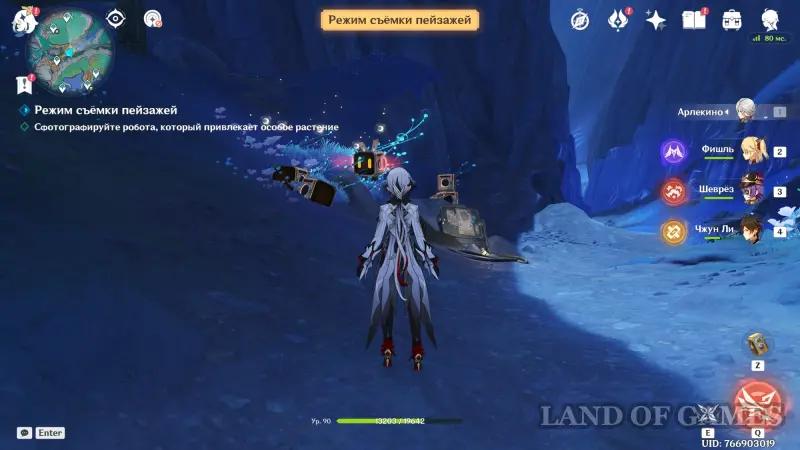
Attraction opposites
Head to the very beginning of the Desert Corridor, located northwest of the Blue Amber Lake, and approach the amazing bot floating in the area. Then wait for the moment when it flies near the kuuvaki plant and take a photo of it.
Light of Wandering (Day 2)
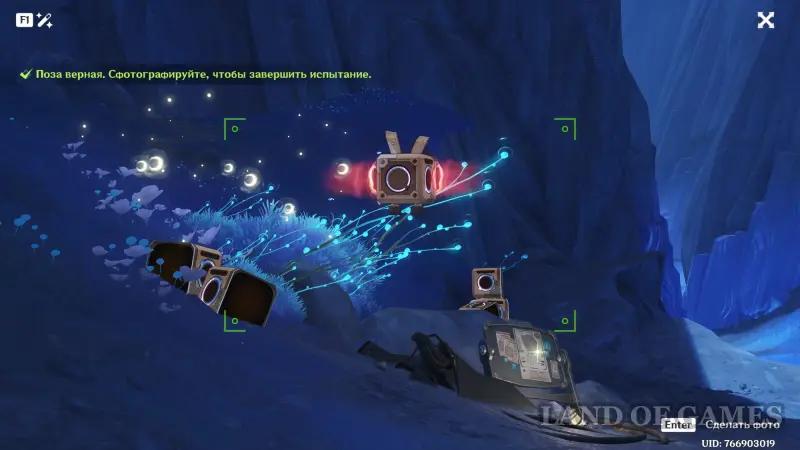
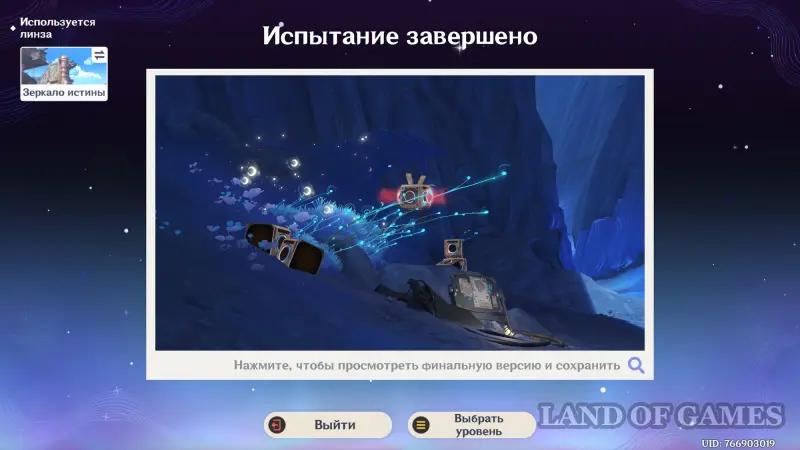
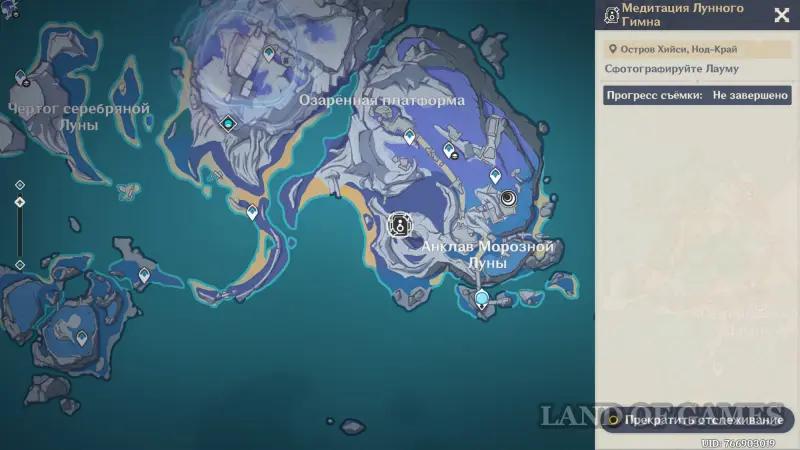
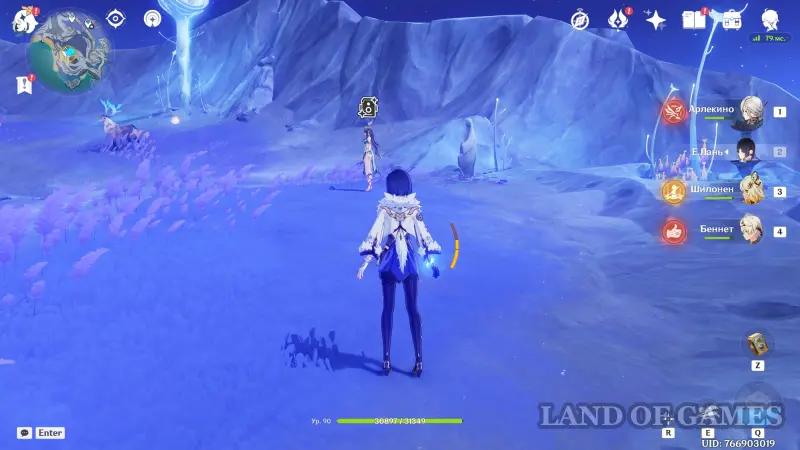
Moon Hymn Meditation
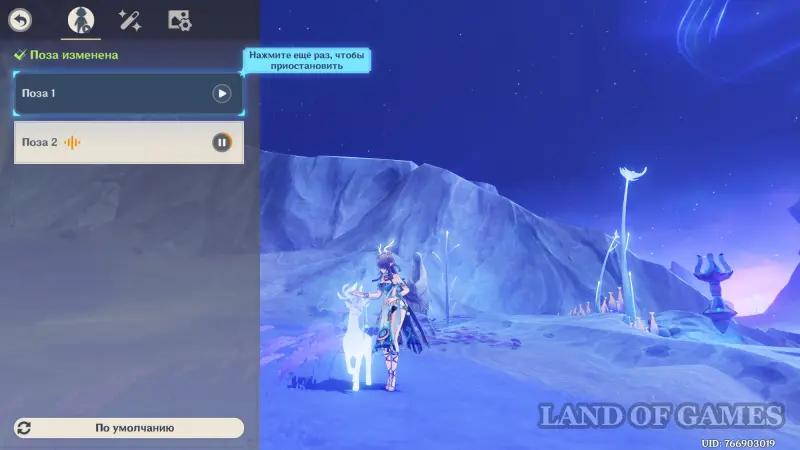
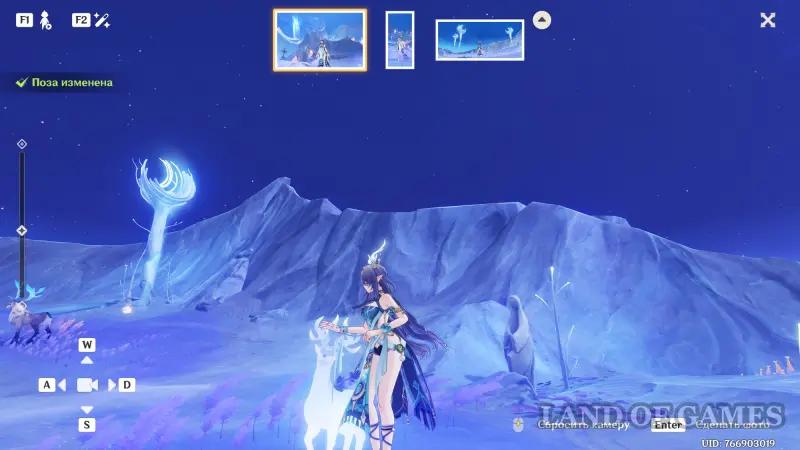
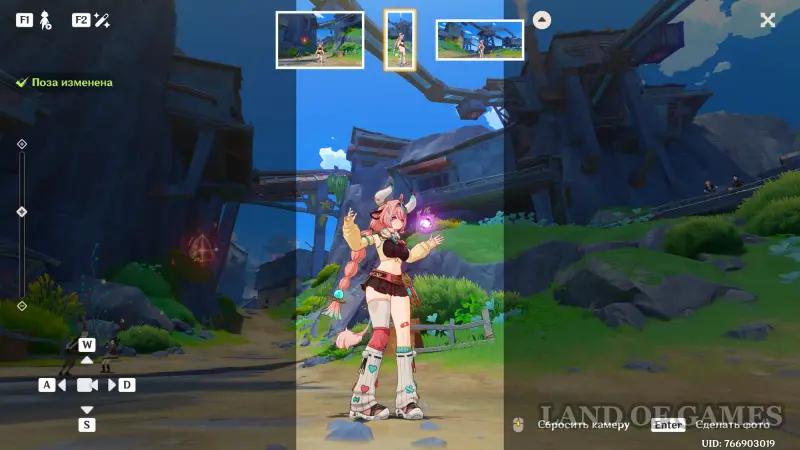
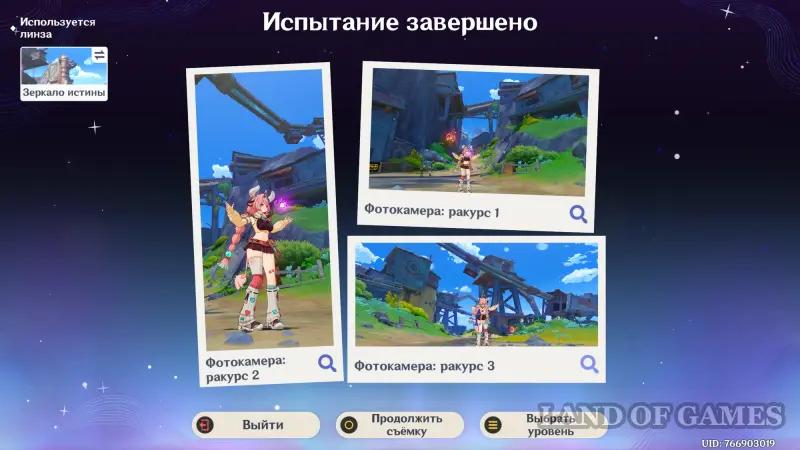
Travel to Frostmoon Enclave on Hiisi Island (Nod's End) and head west to the highlighted area. Here you will find Lauma – talk to her and ask her to stand in the pose you want (any will do), then set up the camera and take a photo.
Automaton Fist
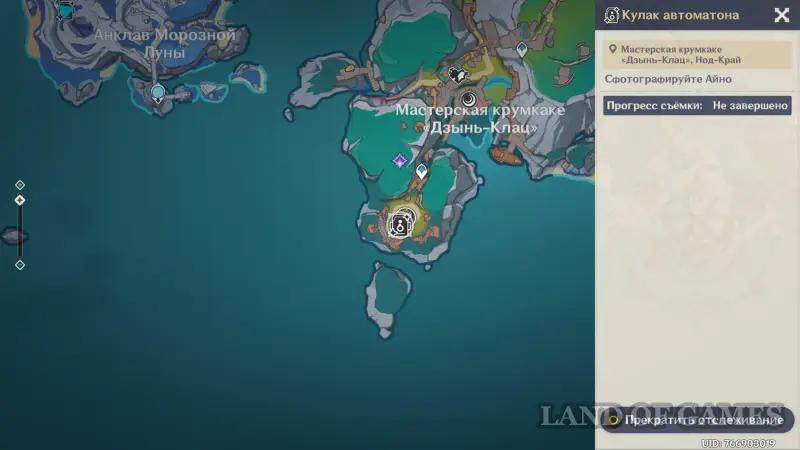
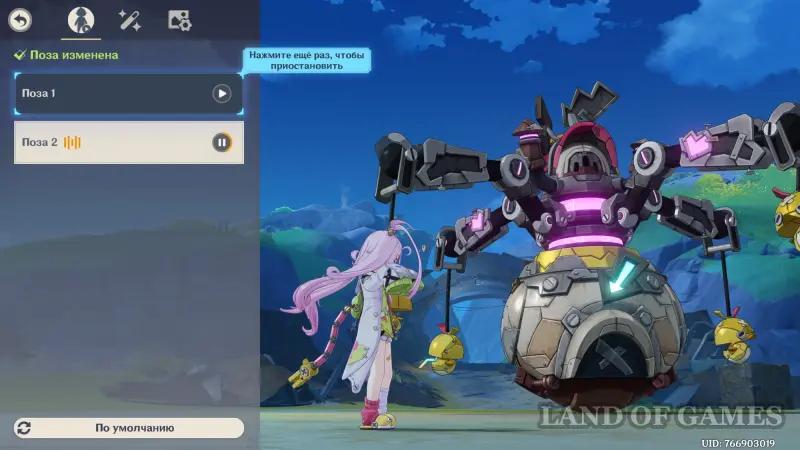
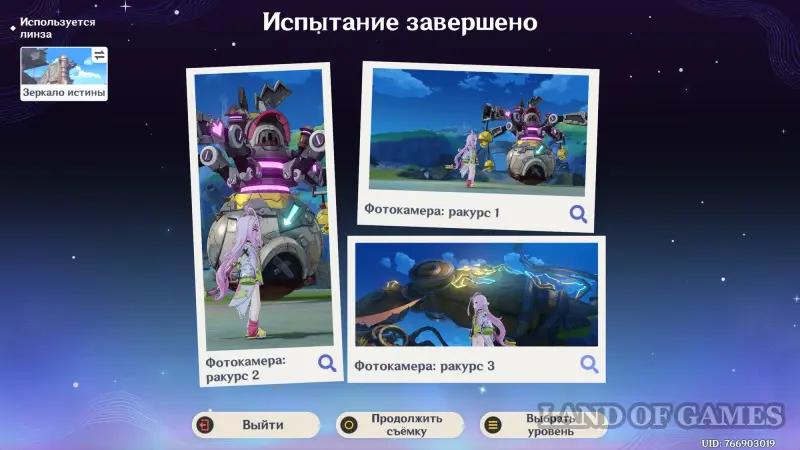
Teleport to the arena with the Iron Duckling and find Aino there – chat with the girl and ask her permission to take a photo of her in front of the workshop. Then choose the pose and angle you want to take the photo.
Light of Wandering (Day 3)
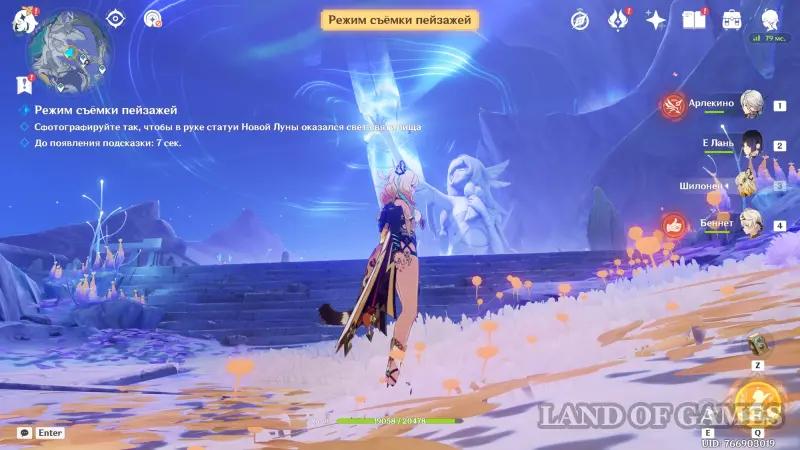
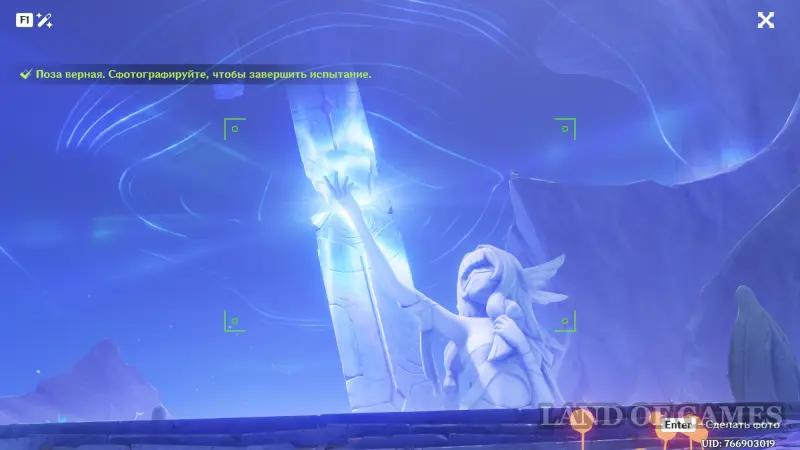
Shining Palm
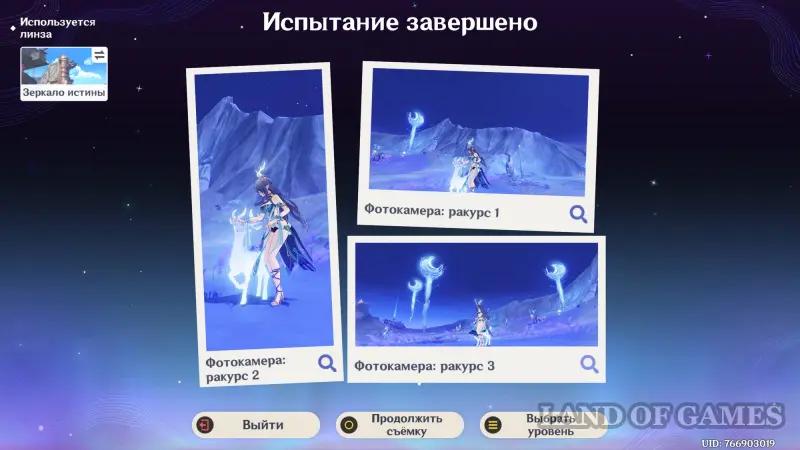
Go to the Illuminated Platform on Hiisi Island and approach the statue dedicated to the Moon Goddess. Then choose an angle so that the statue appears to be holding the moonlight in its hand. The required location is shown in the screenshots below. Then just take a photo.

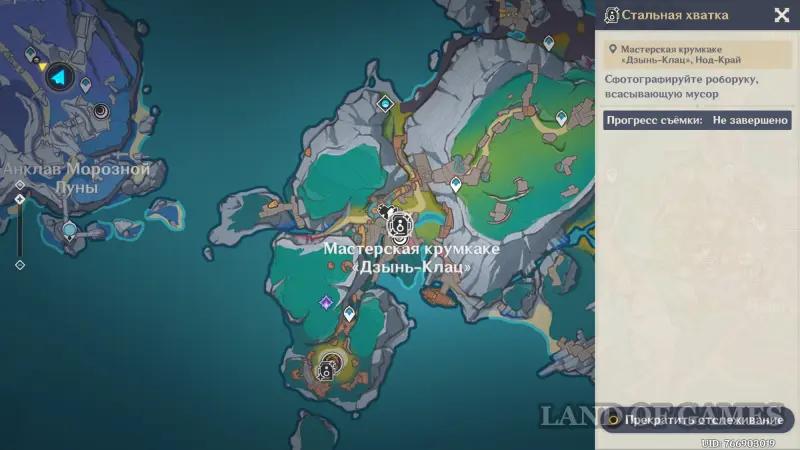
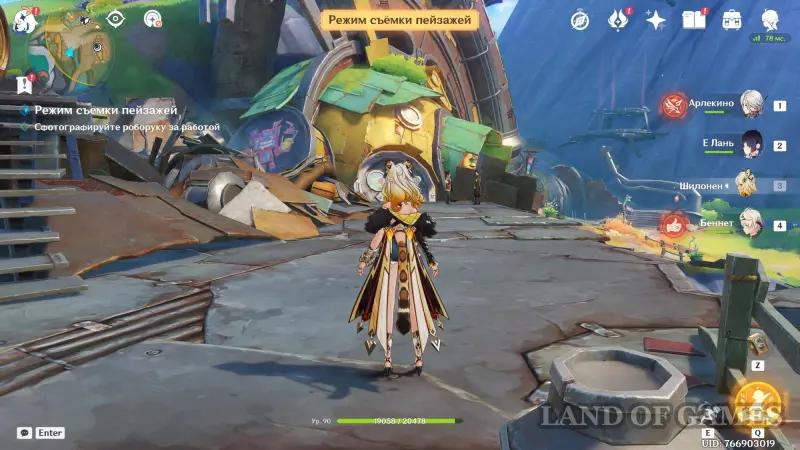
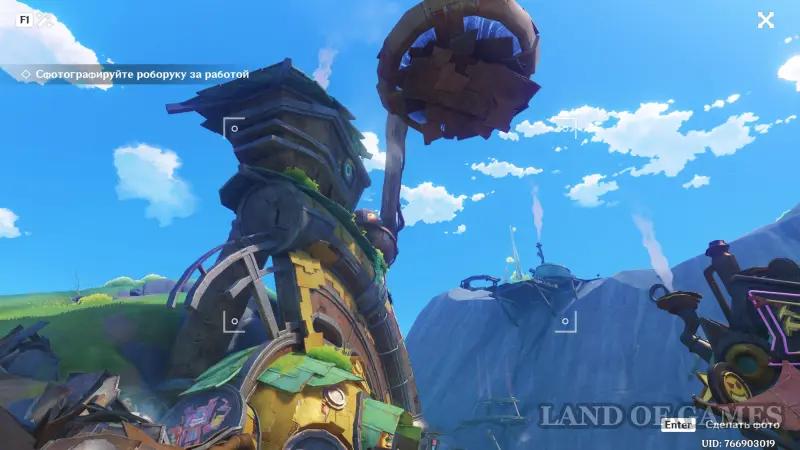
Grip of Steel
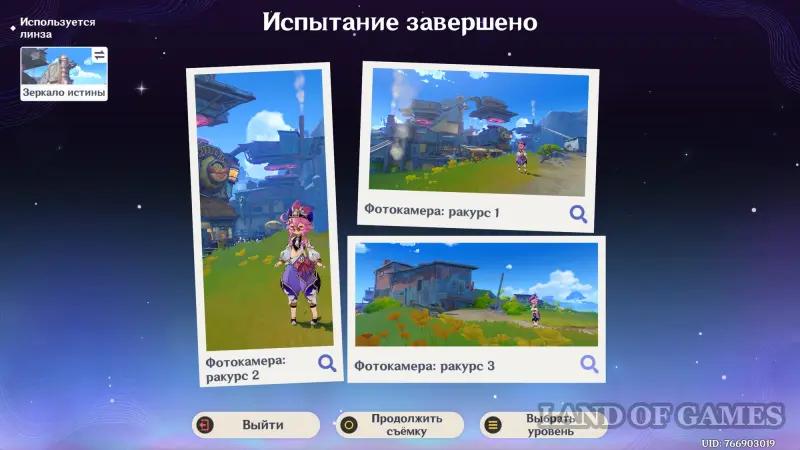
Move to the Krumkake Workshop on Lempo Island and approach the pile of scrap metal that is constantly collected by a huge crane with a magnet. Then take the camera and wait for the moment when the robotic arm picks up the metal from the ground and begins to lift it – immediately take a photo of it.
Light of Wandering (Day 4)
Relaxing in Other Lands
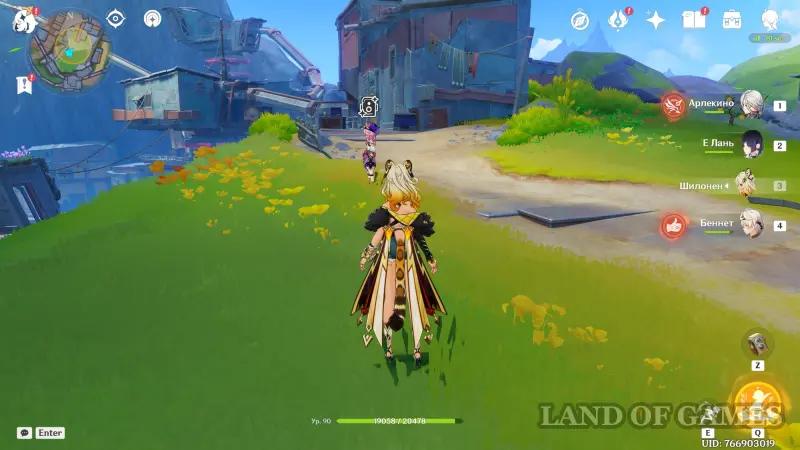
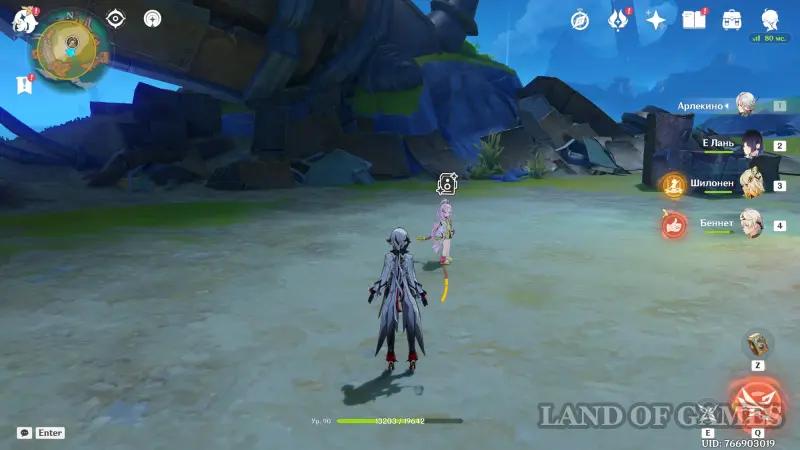
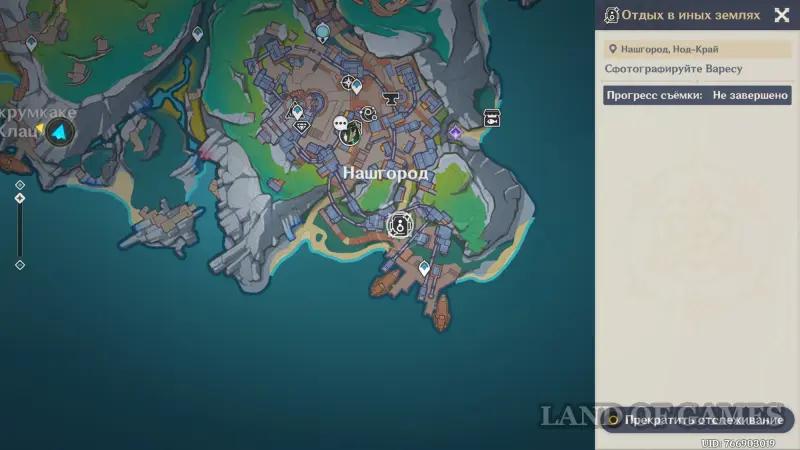
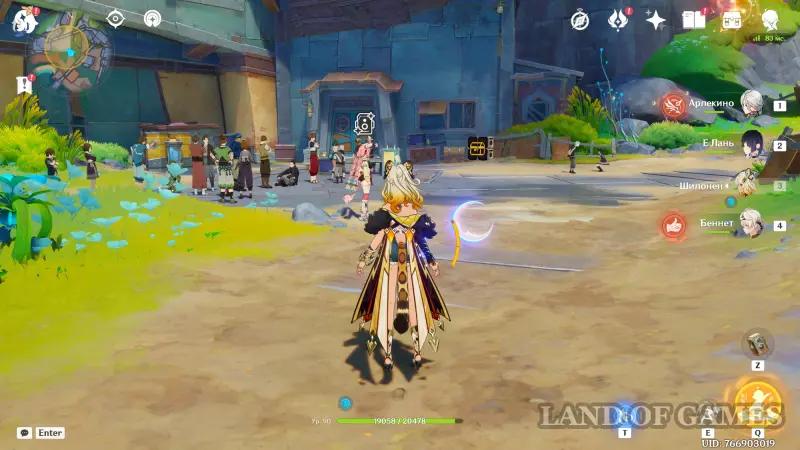
Teleport to the southern waypoint of Nashgorod, and then go a little to the northwest, and you will meet Varesa here – chat with the girl, and then ask her for permission to take photographs. Next, choose any pose and angle and take a photo.
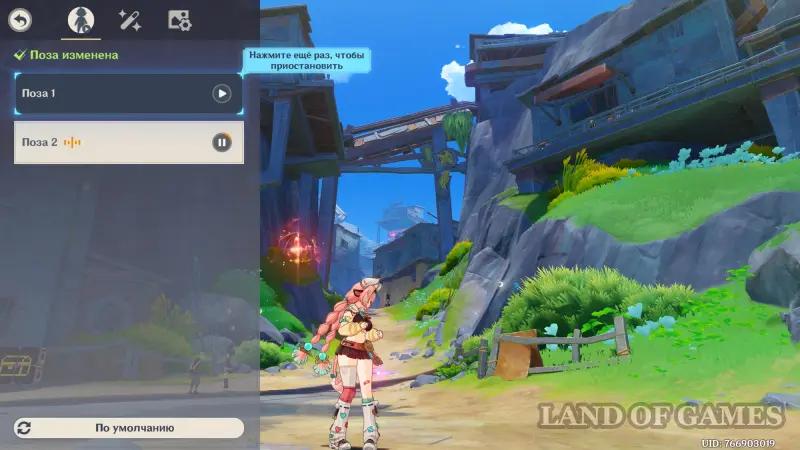
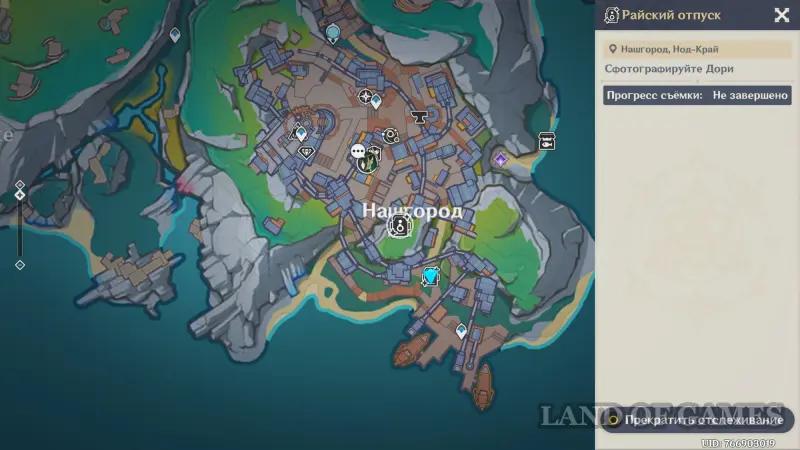
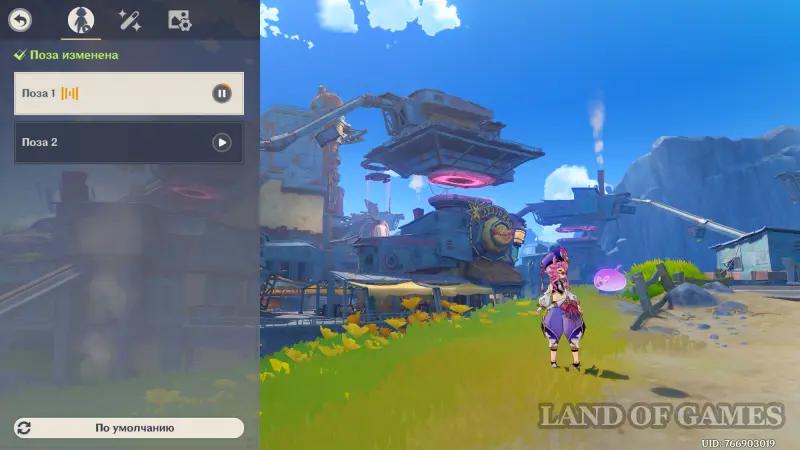
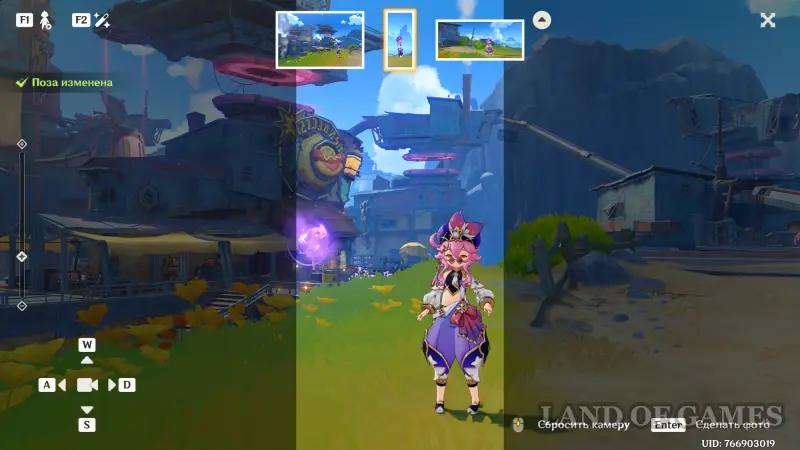
Rayskiy vacation
From the previous location, go even further to the northwest, climbing onto a rocky ledge. Here you will find Dory – chat with her, and then, as usual, choose a pose and camera angle for her, and then take a photo.