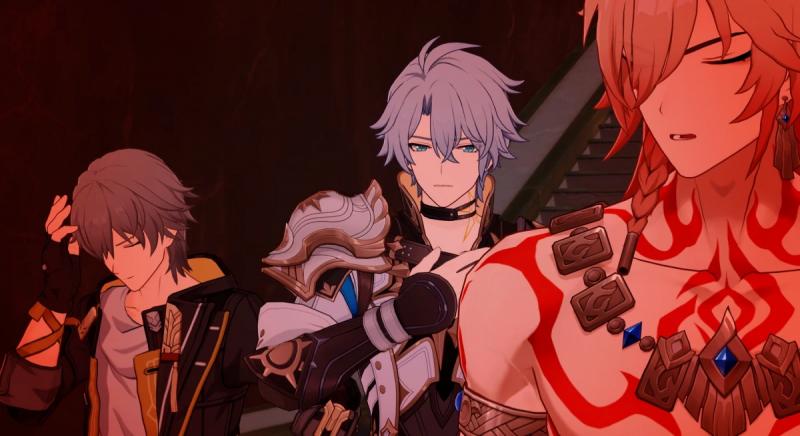
In Honkai: Star RailO Wasted Land, Remember the Glory is a Reclamation mission and part of the Tales of Flamechasing Heroes quest chain, which takes you to Kremnos and explores it. You'll have to solve puzzles with secret paths and prophecy tablets while collecting information and fragments. If you're having trouble getting or completing the quest, check out our guide.
O Wasted Land, Remember the Glory Walkthrough
How to Start the Quest
It starts automatically immediately after completing the previous quest in the chain called “Oh Night Stars, Don't Forsake Me During the Long Night”. So just open your journal, find the corresponding mission and start tracking it. If this does not happen, try logging out of your account, wait 20-30 minutes and log back in.
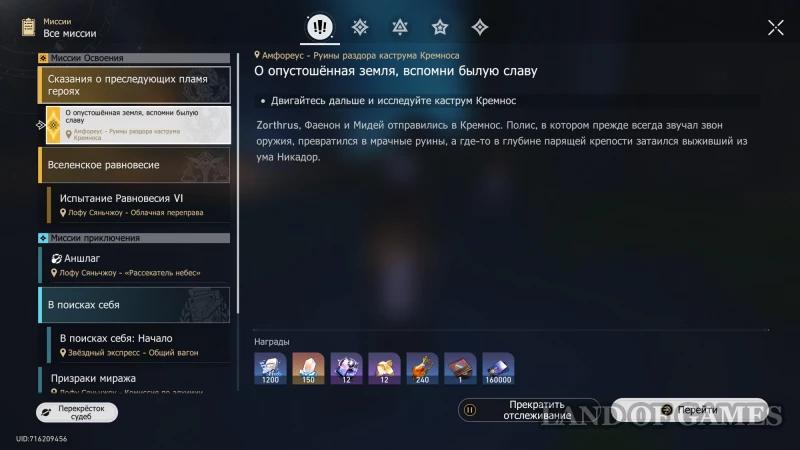
Explore Kremnos Castrum
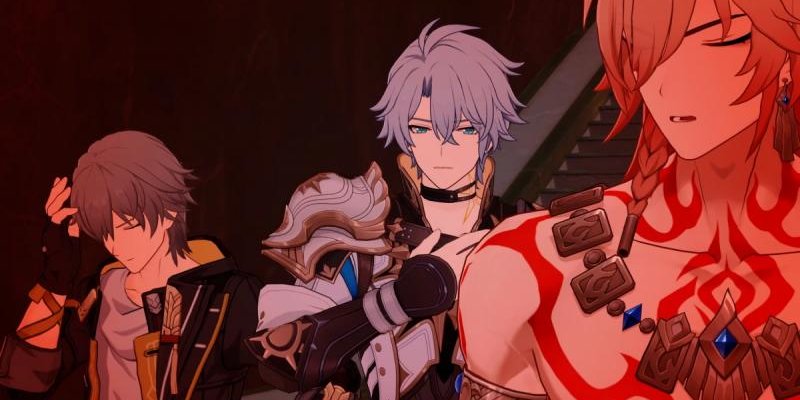
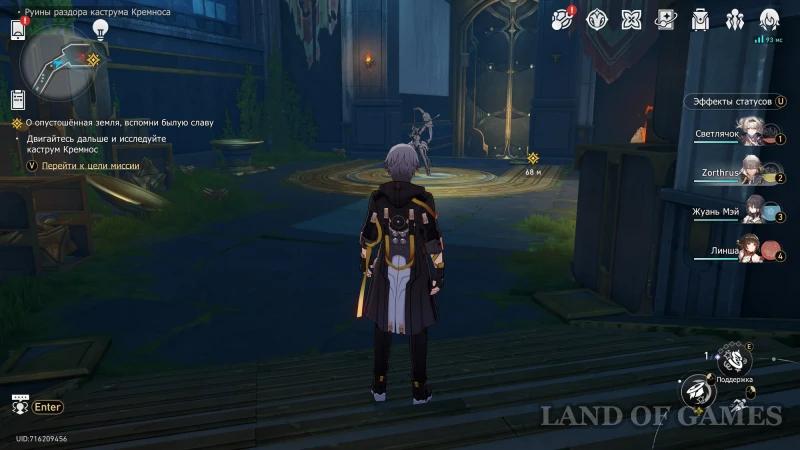
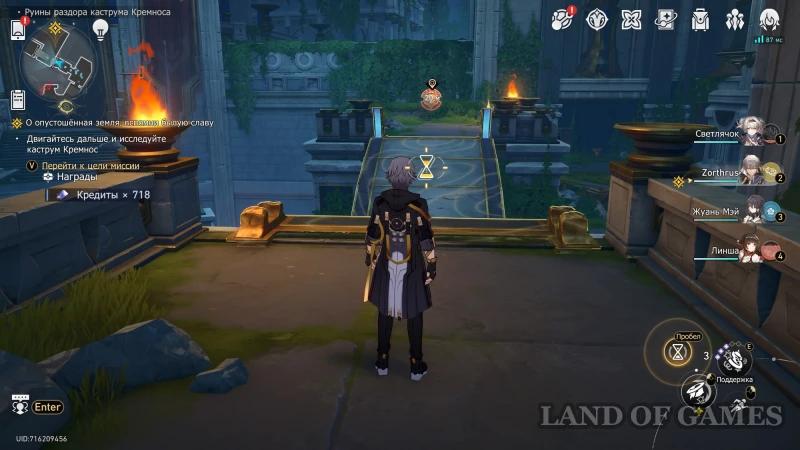
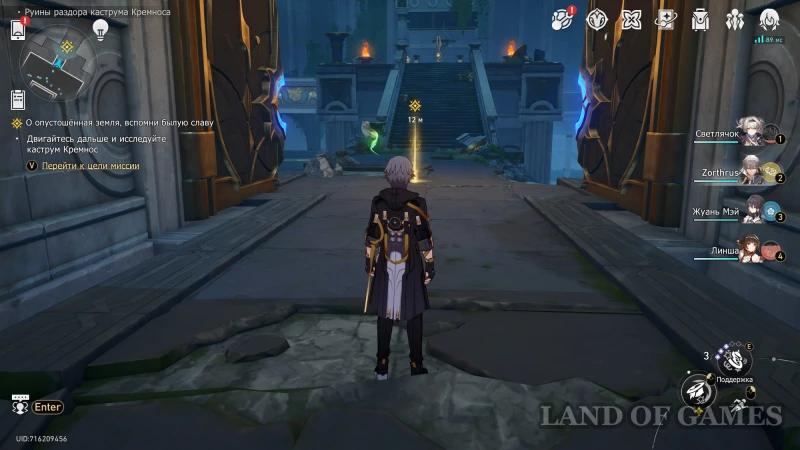
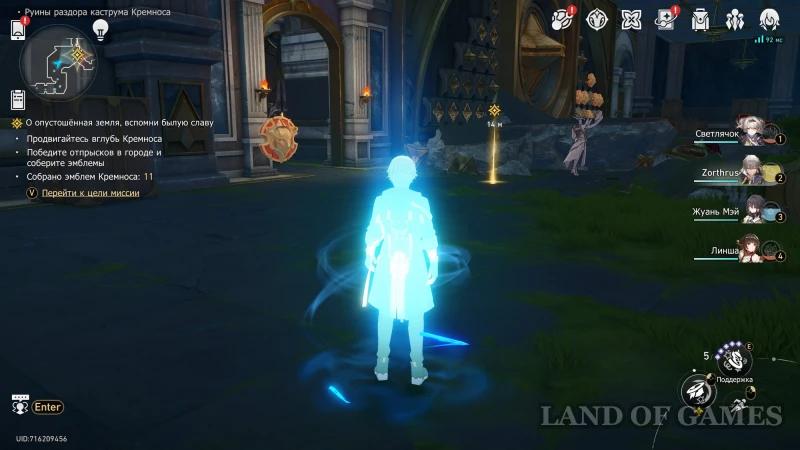
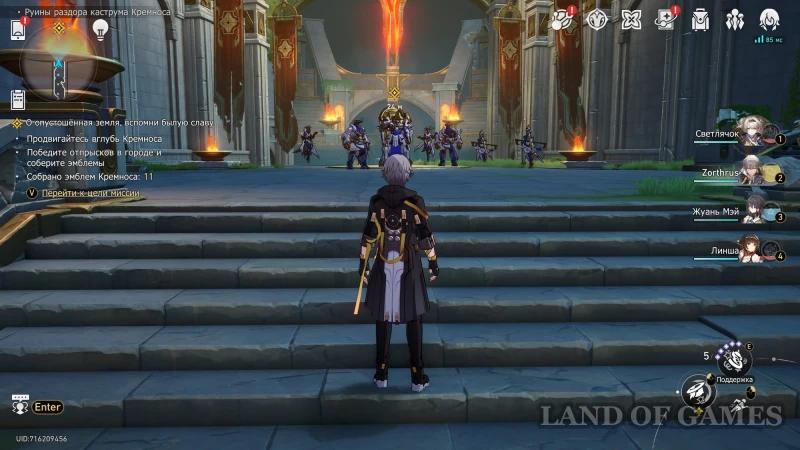
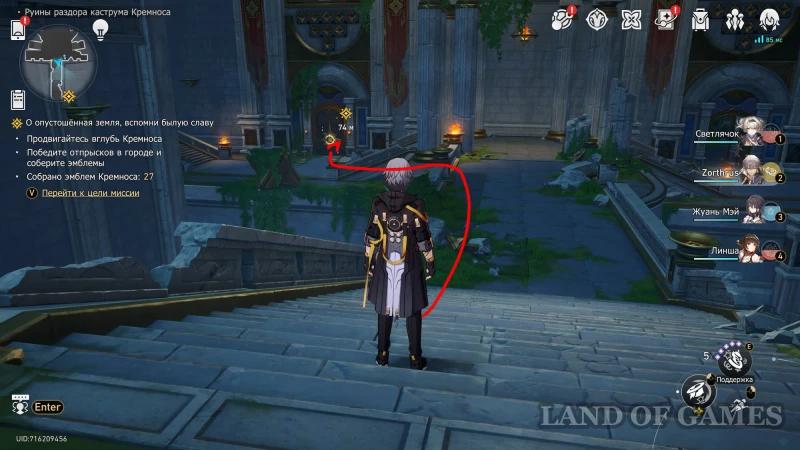
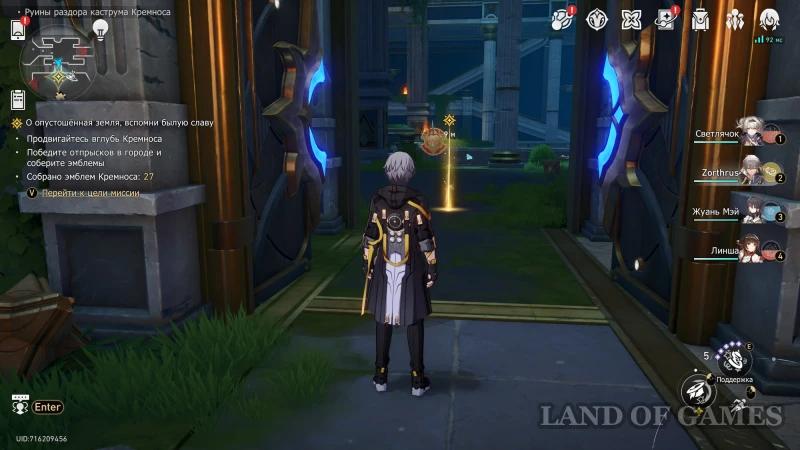
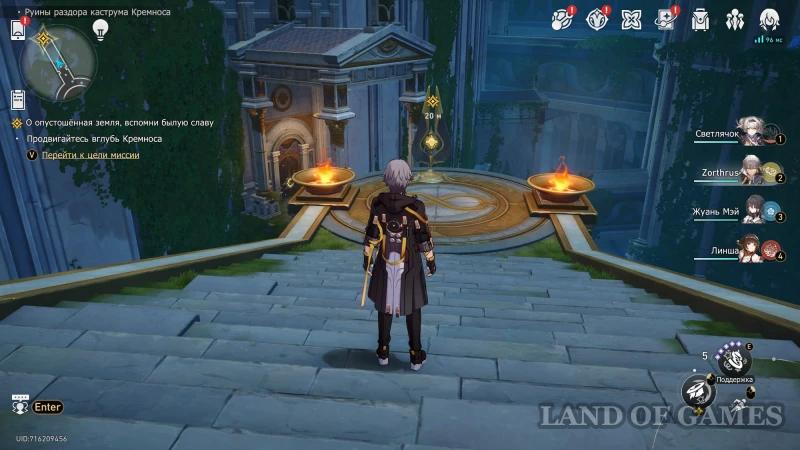
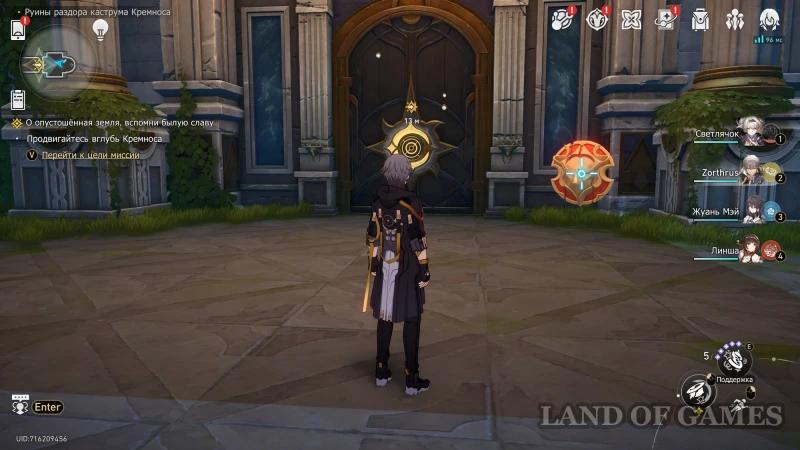
After appearing in the new location, chat with Trianna, then start heading down the stairs. You can engage in combat with the Fury Hunters along the way or ignore them. Then head through the huge doors and approach the quest marker.
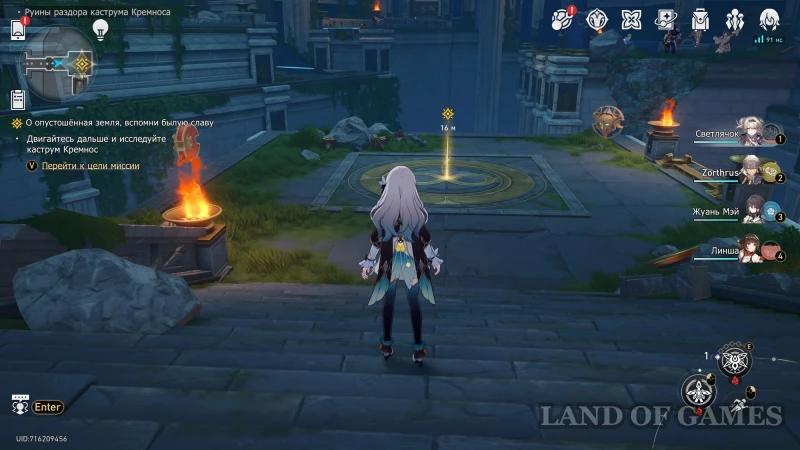
Next, turn right, approach the destroyed bridge and use the Prayer of Oronis to restore the structure (press and hold the “Space” key). Walk along the bridge, and then, when it collapses again, immediately turn around and collect the regular chest at the bottom.
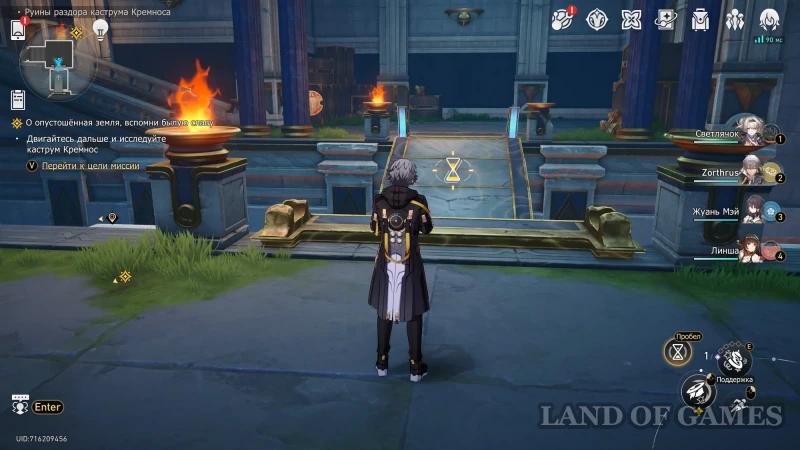
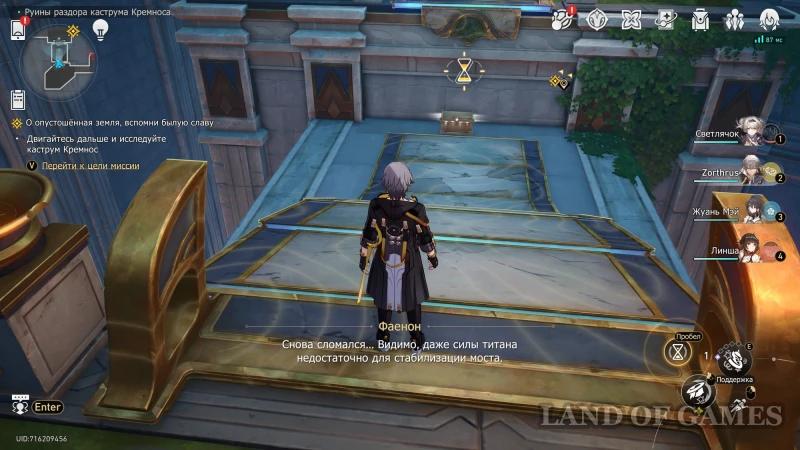
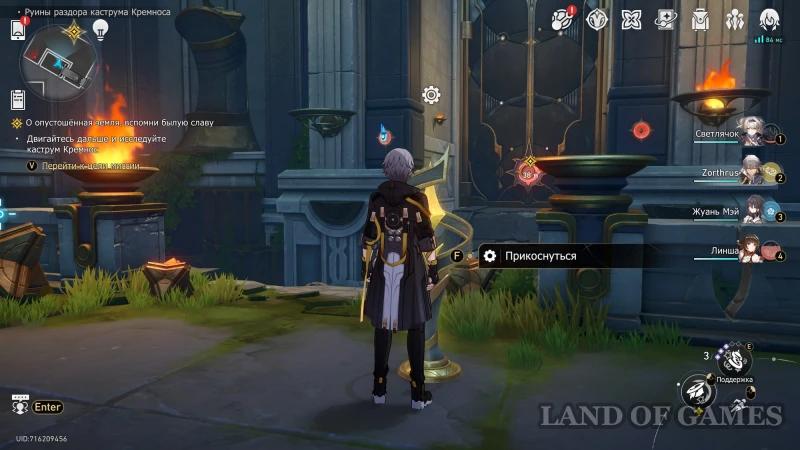
Go up the stairs, collect the blue beetle from the door, and restore the column on your way by using the Oronis Prayer again. This will give you heavenly ambrosia and allow you to collect another beetle from the ground.
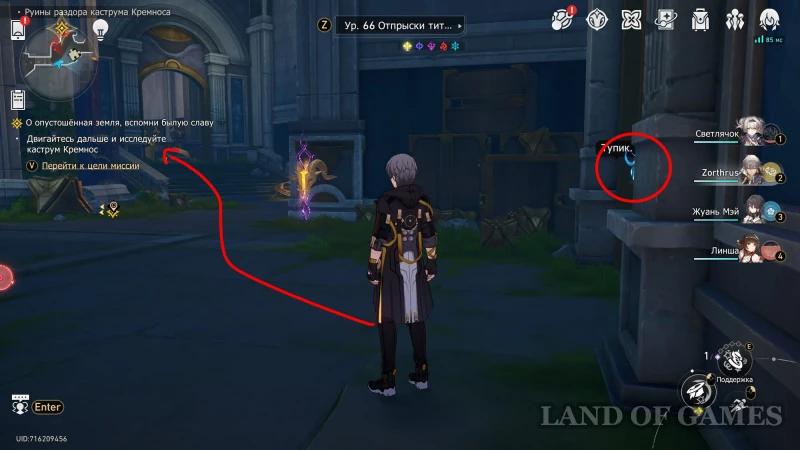
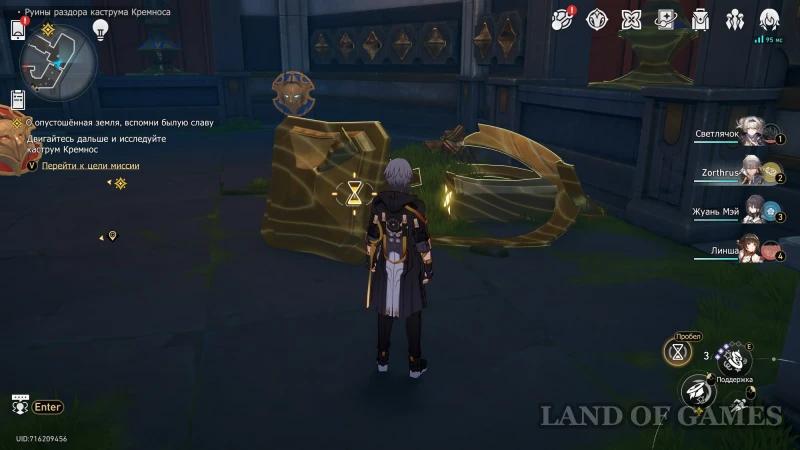
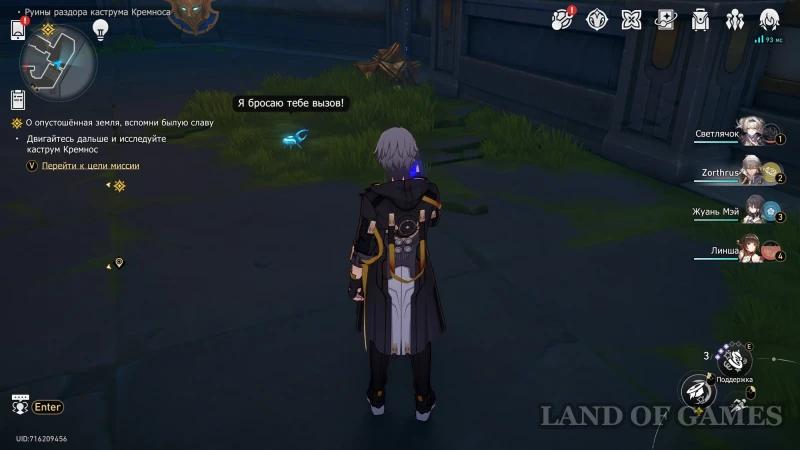
Go to the next broken bridge and restore it with the power of Oronis, then walk along it and interact with the device to open the door. Turn around and go down the ruins of the bridge. Then go to the opened passage and go outside. Listen to the conversation between Midea and Phaenon.
How to go to the temple on the left side
Approach the device and immediately select the option “Step onto the secret path”, as the mechanism is already set to the desired point. If you accidentally changed the direction, then turn it again so that it faces left and up, as shown in the picture below.
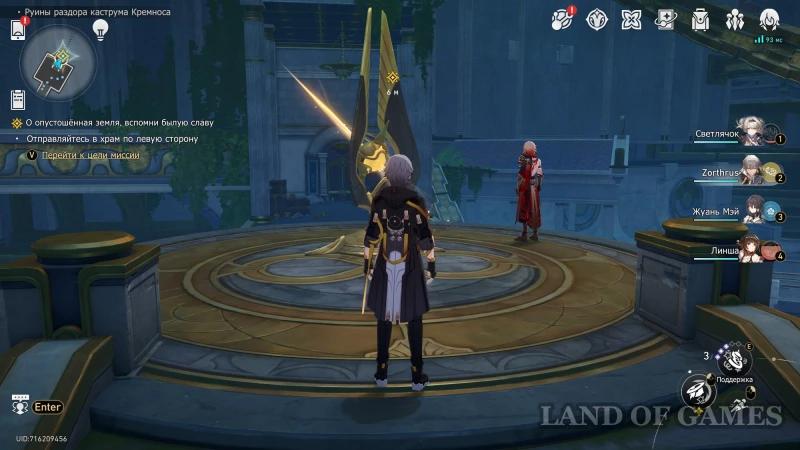
After interacting with the device, start configuring it to form a trident image on the screen. To do this, move the mouse (pointer) to the left, as shown in the gif below.
Collect more Kremnos emblems
So, the competition with Midei will begin, in which to win you will need to collect more emblems of Kremnos than he does. To do this, you only need to defeat all the mandatory enemies you encounter along the way, and a couple of additional enemy groups. However, doing this is not at all necessary, since this step will not affect your reward or the ending of the quest, but will only slightly change the dialogues.
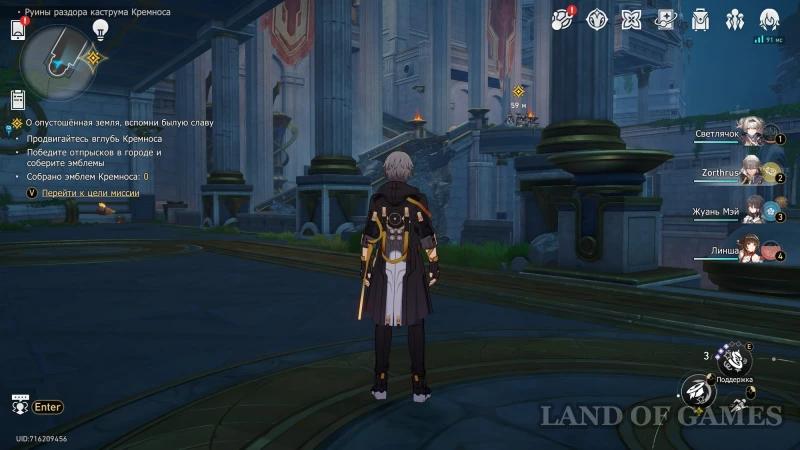
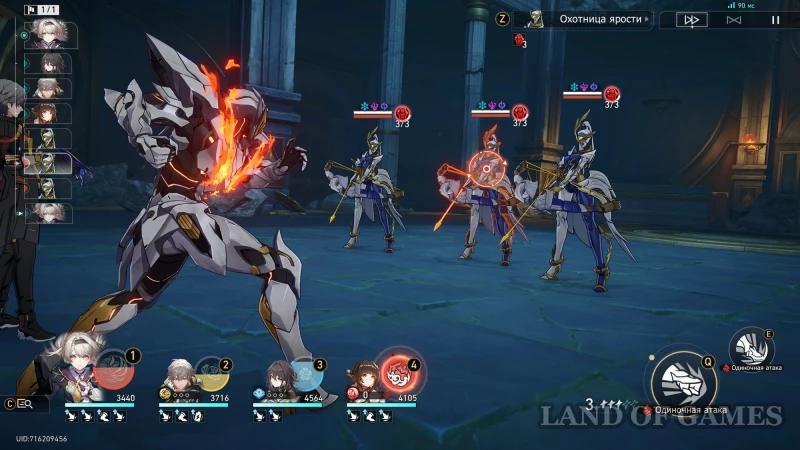
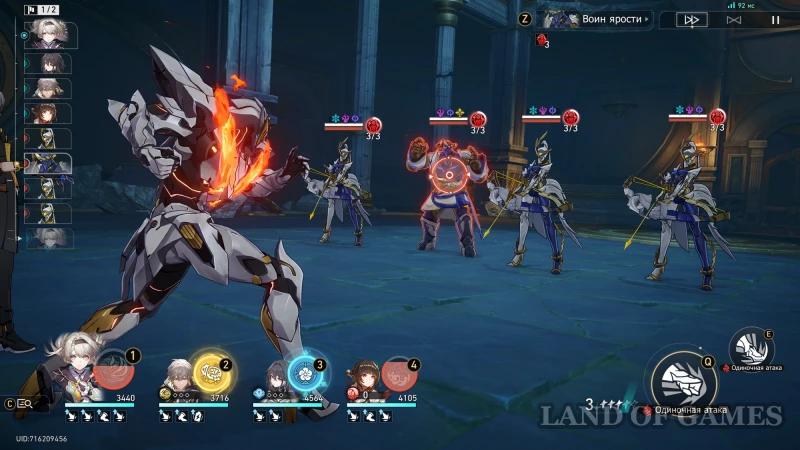
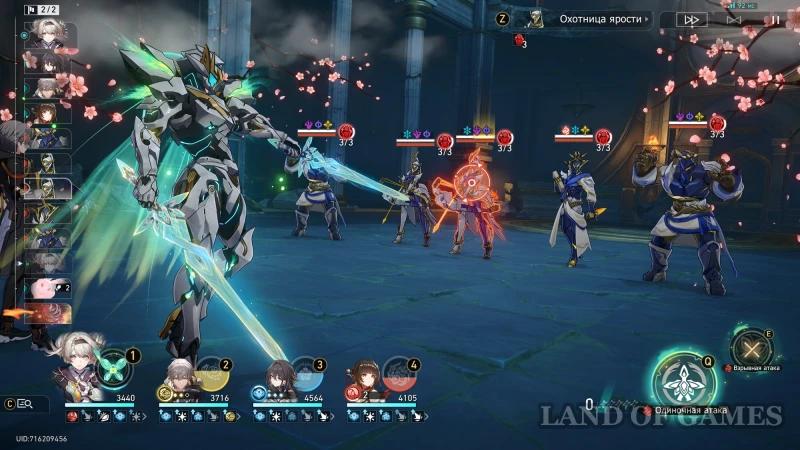
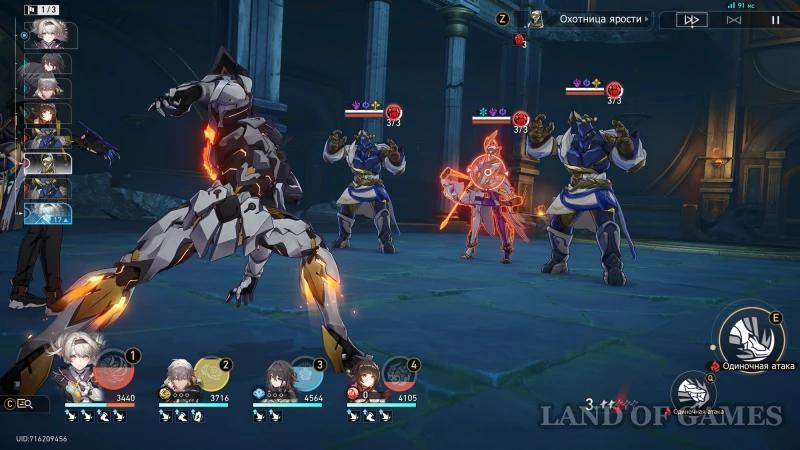
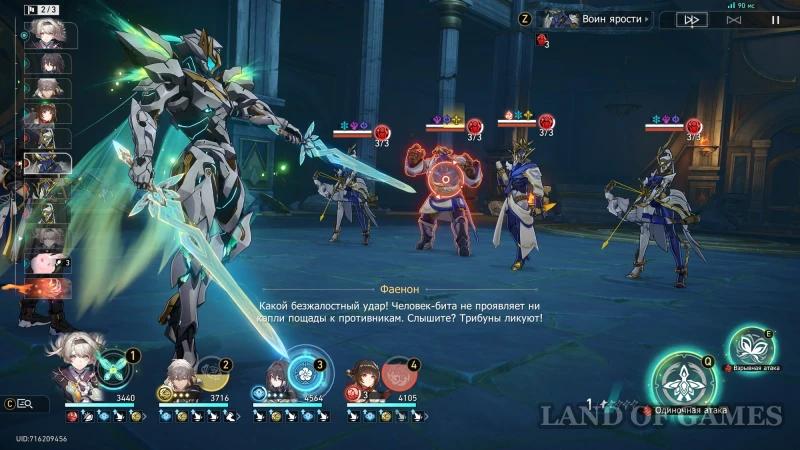
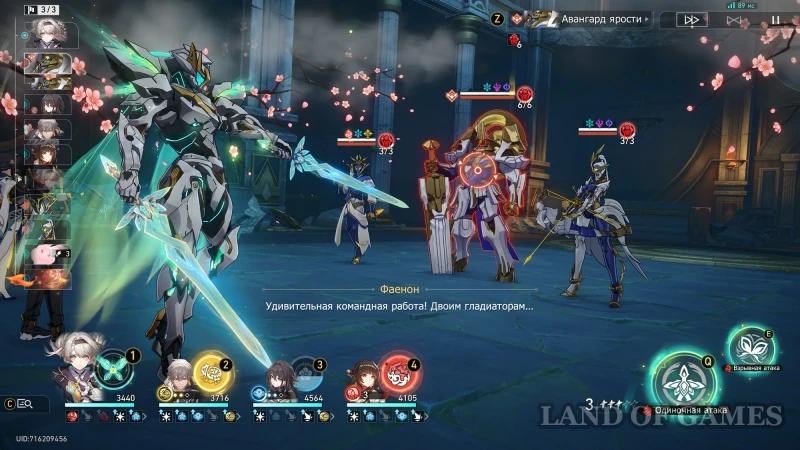
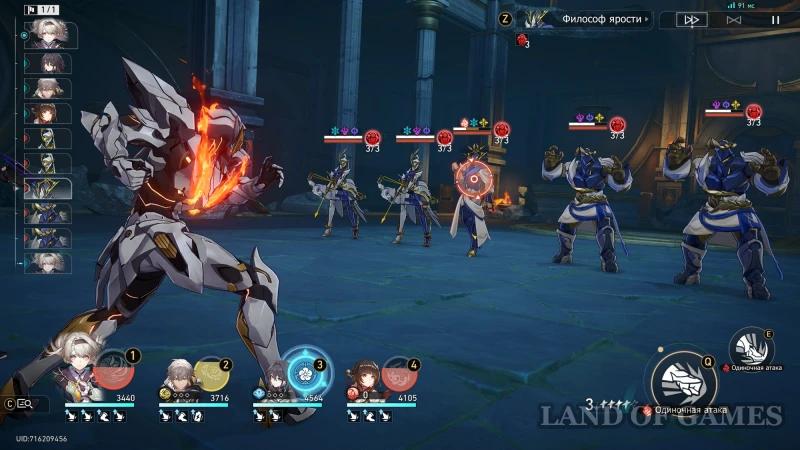
Run up the stairs and fight the first group of enemies – their vulnerabilities are shown in the pictures below. For defeating them, you will receive 2 emblems. Climb even higher and go through the two doors and exit into the next open space.
Prophecy Tablet Puzzle 1 Solution
Next, turn right, climb the ladder and go to the quest marker near the strange stone slab. Watch a short cutscene, and then interact with the mechanism. You will need to solve a small puzzle by collecting the same pattern on the right side of the screen as on the left.
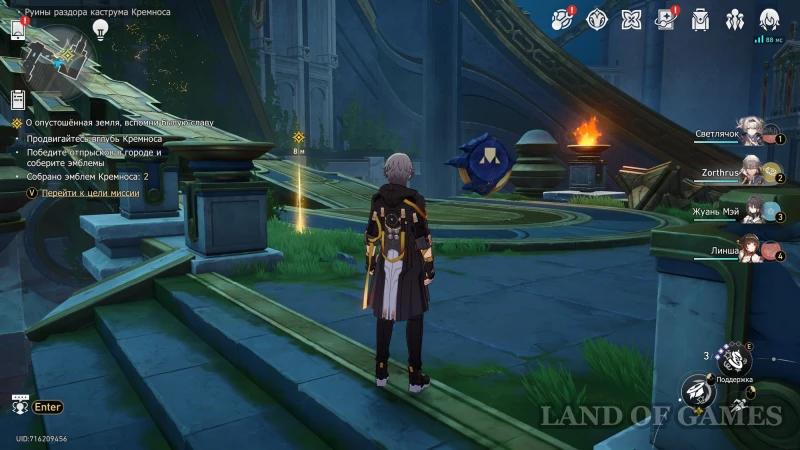
To do this, you need to do the following:
- Place the two upper triangles in the free zones at the bottom left and right.
- Place the large square in the center of the picture, right between the two previously placed triangles.
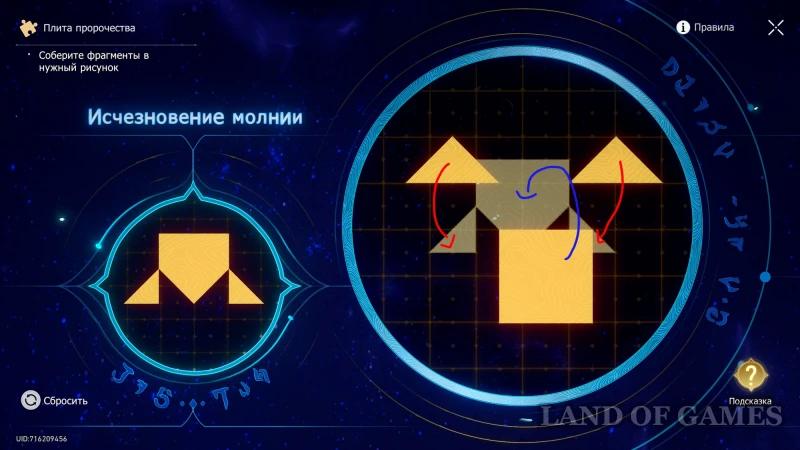
The gif below shows the entire process of solving this riddle. Once you do this, you will immediately be given the “Weather Forecast” trophy.
Then run up the chain. Once you reach the top, you will immediately unlock the “High Run” achievement.
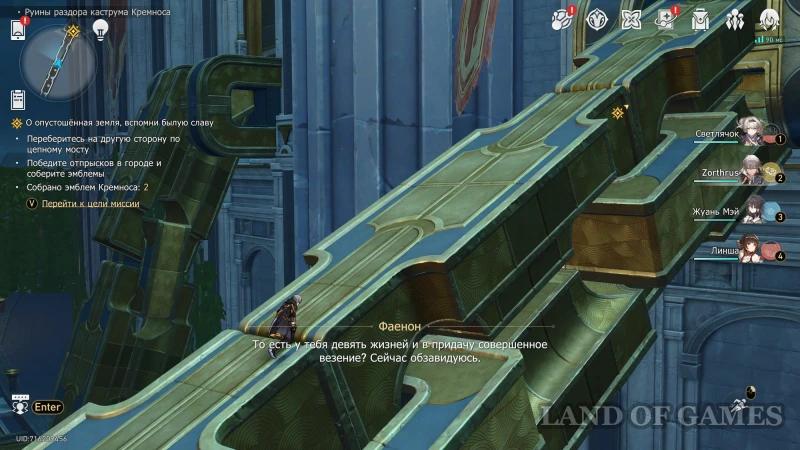
Where to find all the information
Once you reach the top, you will find yourself in a safe area where you will need to examine three places to gather information. The necessary places are highlighted with sparkles:
- First, you can approach the towels near the fruits and food on the carpets, and the usual chest on the pillow. You will not find anything interesting here.
- Then examine the blue rune near the floating shell, which is a gadget for recording a voice. You will unlock the achievement “Disharmony of Calm Madness”.
- At the end, approach the table with manuscripts and examine the unusual stone tablet.
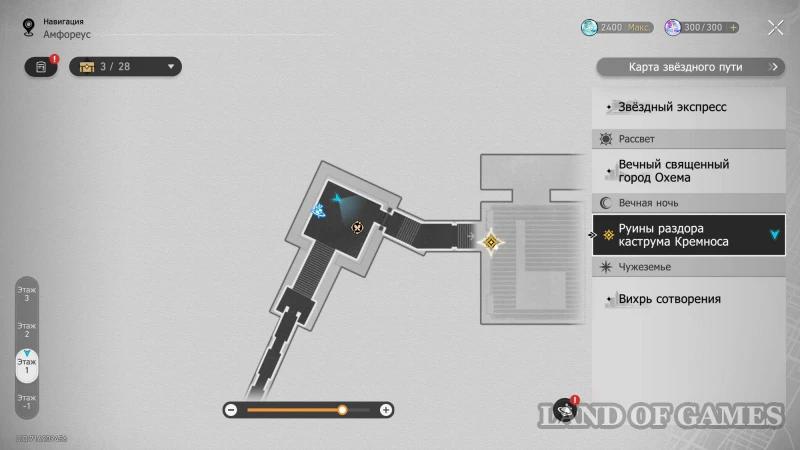
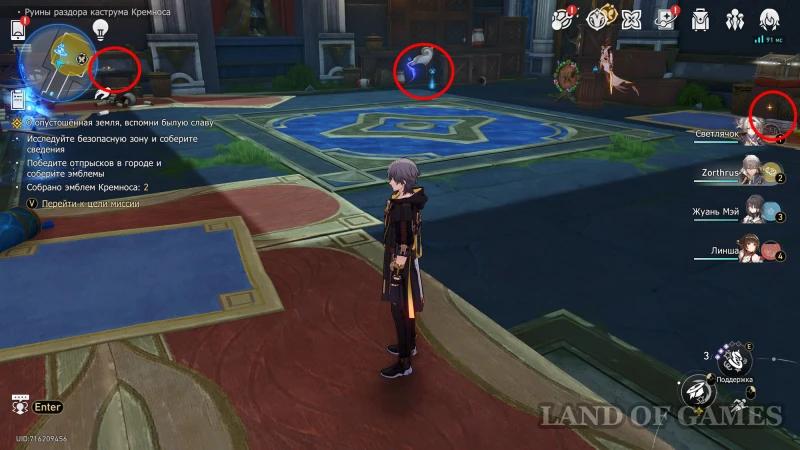
After finding all the items, you can continue your way deeper into the temple. On the way, restore another column to earn heavenly ambrosia. Then go through the door and watch as the stone ball kills the enemy and opens the passage, but then blocks it itself.
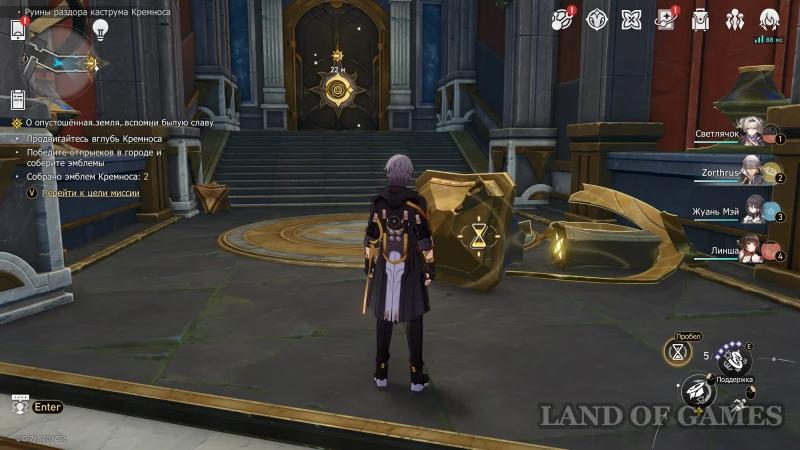
Stone Ball Statue Riddle
Enter the room, turn the camera left and hold the space bar to start moving the ball back onto the pedestal. But you won't have enough energy. So talk to Faenon and then look to the right and up to see the Oronis kiot (blue sphere) – go to it and launch it.
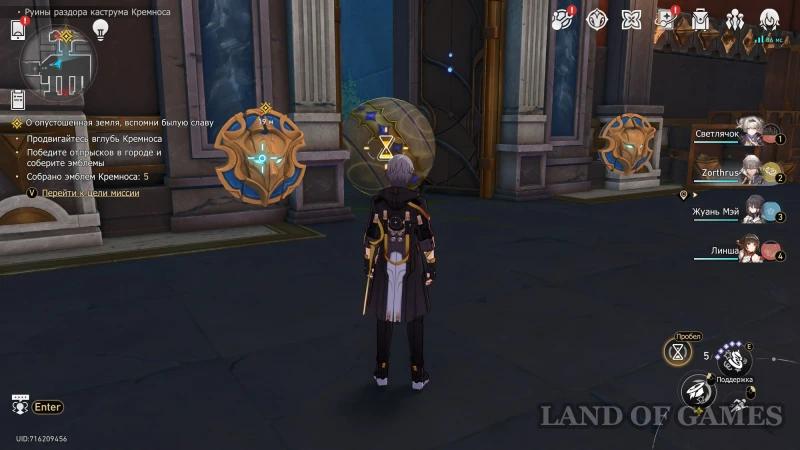
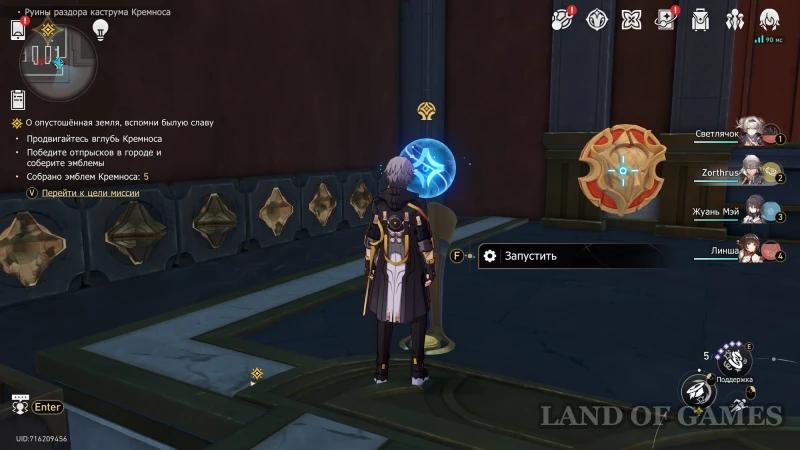
Now, return to the stone ball at the bottom and press and hold the Space bar again. This will cause the boulder to return to its place, crushing the enemy along the way (you won't even have to fight him). Eventually, your Kremnos Emblem count will increase to 8.
Enter the opened passage. Be careful, as enemies will immediately attack you next to a regular chest (their vulnerabilities are shown in the picture below). After dealing with them (11 emblems), open the chest and start climbing the stairs up to the next quest marker. Fighting other enemies here is not necessary.
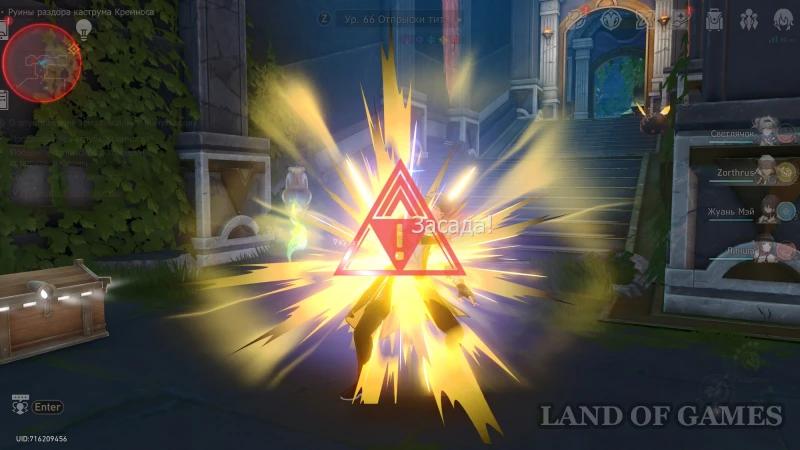
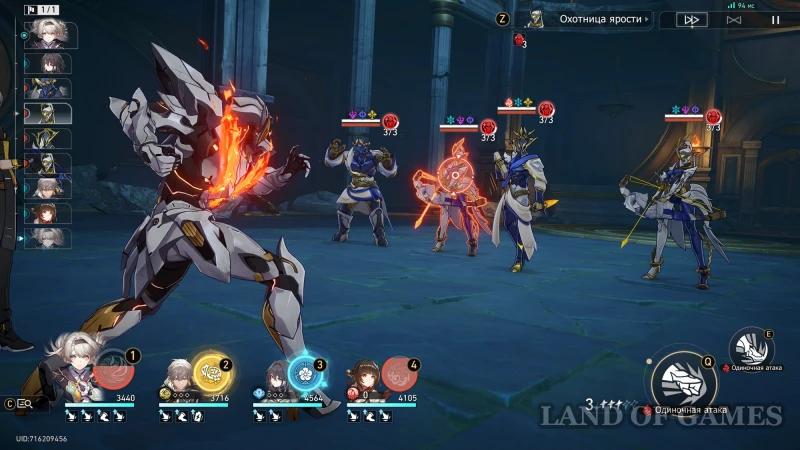
Climb to the very top of the stone steps and engage in combat with three waves of enemies (their vulnerabilities are shown below). At the end, you will face the Vanguard of Fury – we told you how to fight this elite enemy in the previous quest. After defeating all enemies (the number of emblems will increase to 27), talk to Phaenon about Marth 7. You can take a photo for Marth 7 if you want, but it is not necessary.
Solution to the second riddle with the prophecy slab
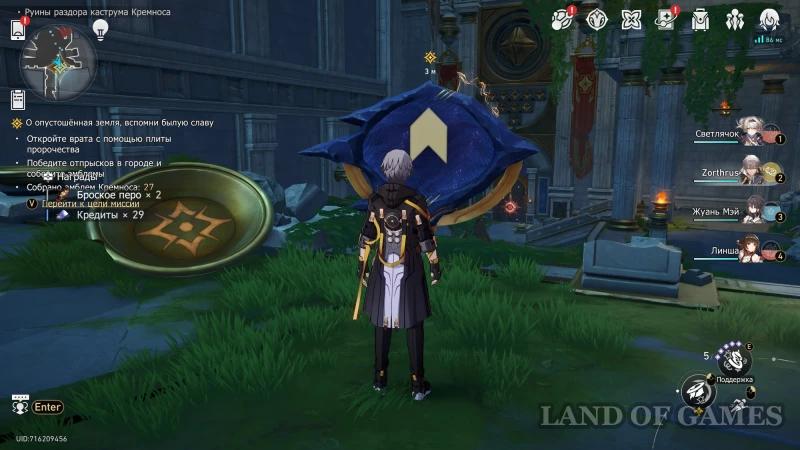
Then turn around and you will see a stone slab of prophecy hanging in the air. Interact with it and start solving another riddle:
- You will need to place the large lower triangles at the bottom of the figure on the left and right.
- The small upper triangles must be placed at the top of the figure, and on the opposite sides.
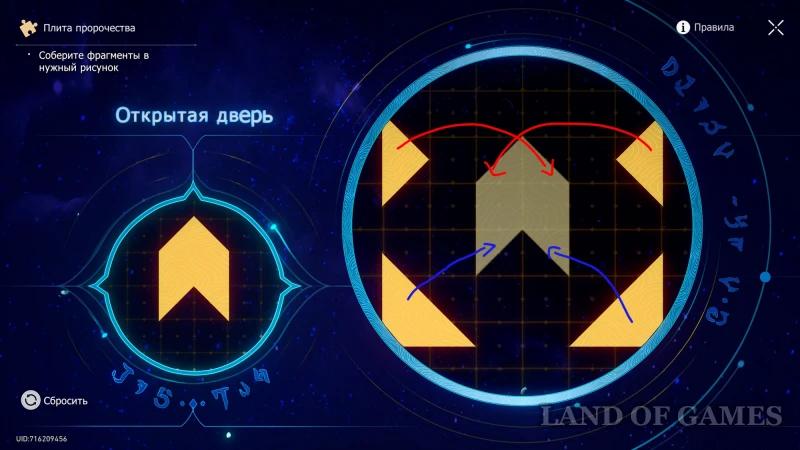
If the screenshot doesn't seem informative enough to you, then take a look at the gif below, which shows the entire process of solving the puzzle.
You'll unlock the door at the bottom, so head to the opening and stand on the next marker to enter a new room with puzzles. Chat with Faenon, who will tell you that you can decide for yourself where to go next.
How to disarm the traps in the room and proceed further
We recommend that you first approach the destroyed column on the left and raise it using the Prayer of Oronis (press and hold the “Space” key). Then go through the opened passage, turn right and deal with the enemy located here (the number of emblems will increase to 33). Then turn right again and raise the second column, turning back time.
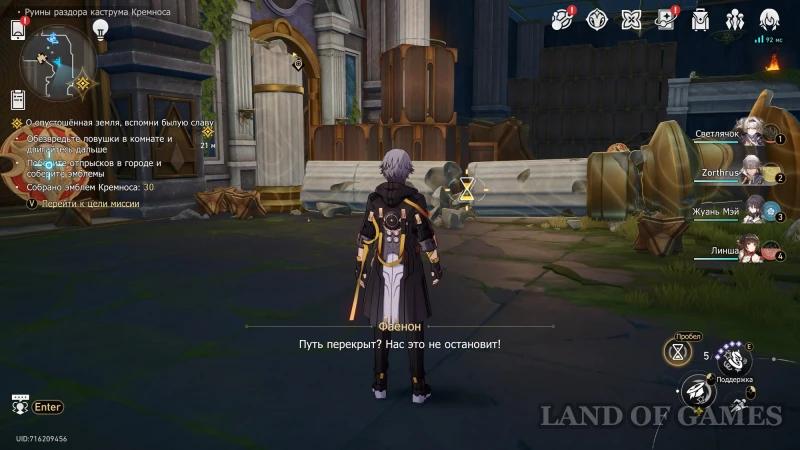
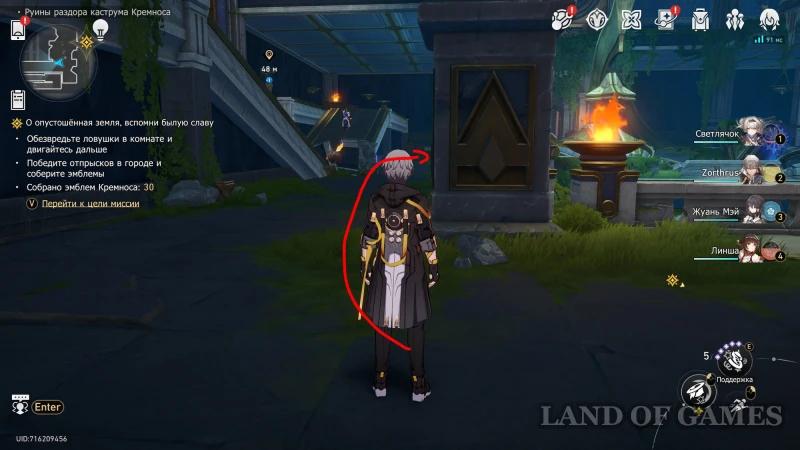
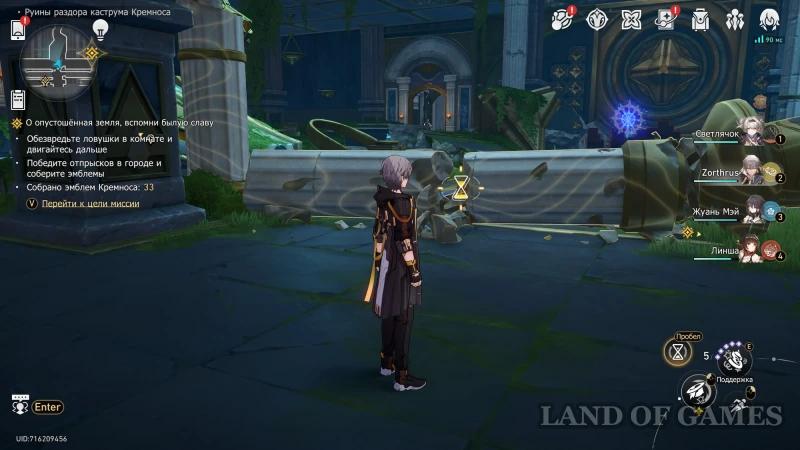
Now go back a bit to the stairs, climb them to start the Oronis shrine, increasing your time manipulation abilities. At the bottom you will see a stone ball – use a prayer on it to place it on the pedestal above and to the left, as demonstrated in the gif below.
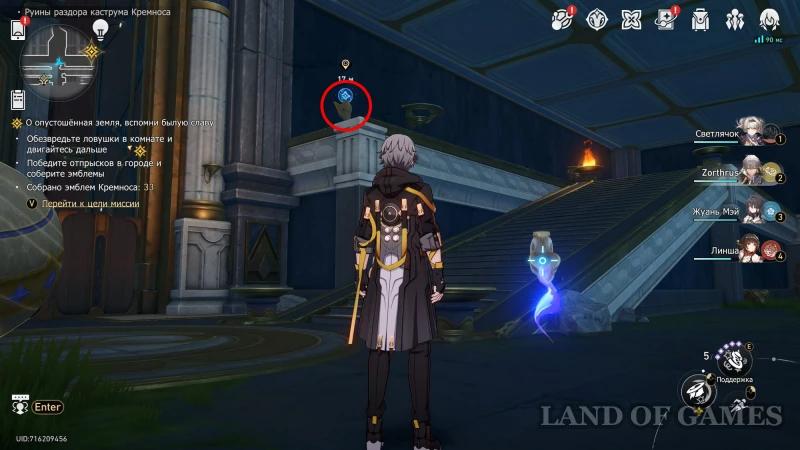
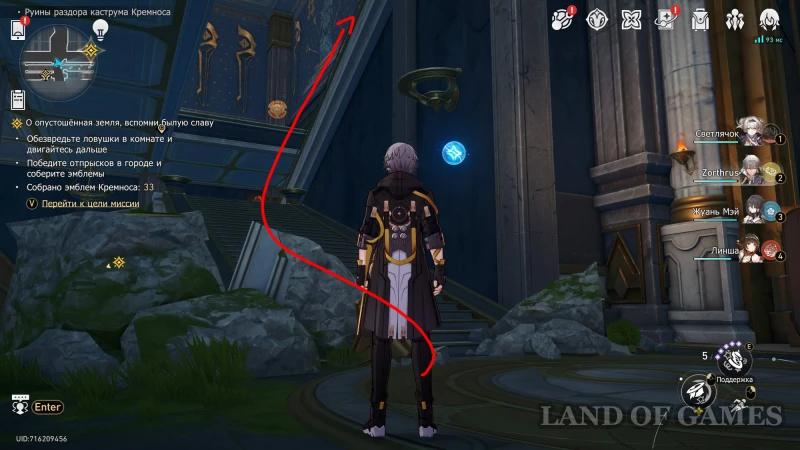
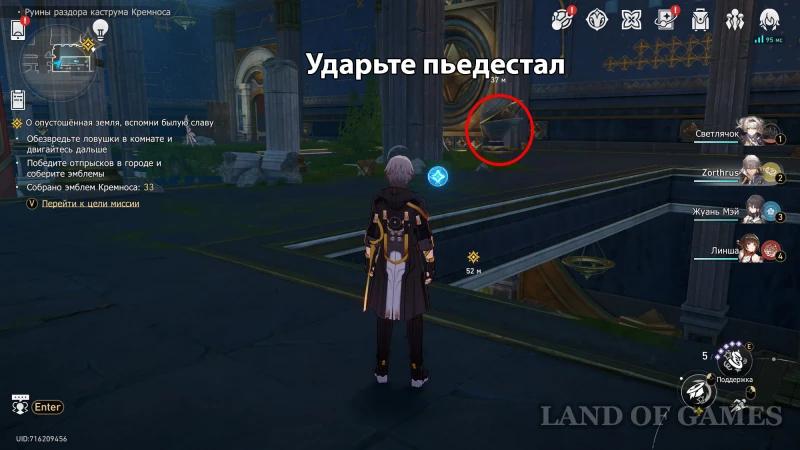
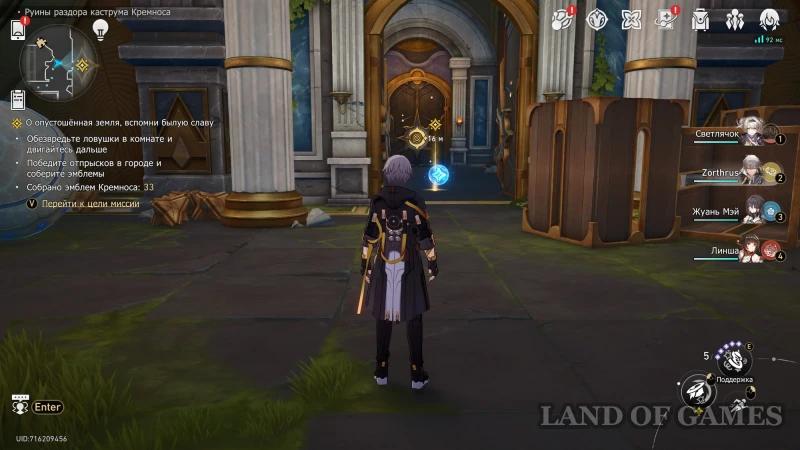
With the ball out of your way, climb up the opposite staircase to the very top, then go to the right and destroy the second pedestal (hit it once) to make the ball fall down and destroy the wooden boxes blocking your passage. Fighting nearby enemies is optional.
Proceed deeper into Kremnos
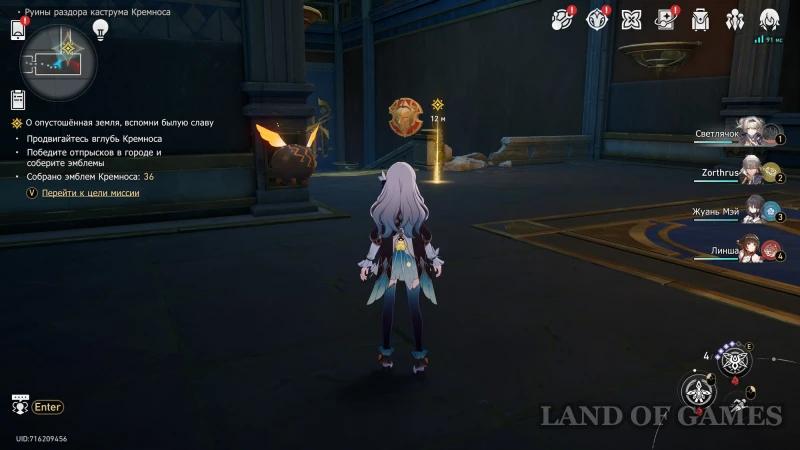
Next, go down and go through the opened exit. Move forward along the corridor until a new conversation with Midey begins. You will learn that he has collected 30 emblems and most likely will not be able to get more, that is, to win the dispute you need to get more than this amount. If you followed our advice, you will already have collected the required number, so fighting the rest of the enemies is no longer necessary.
How to use the Hand of Zagreus
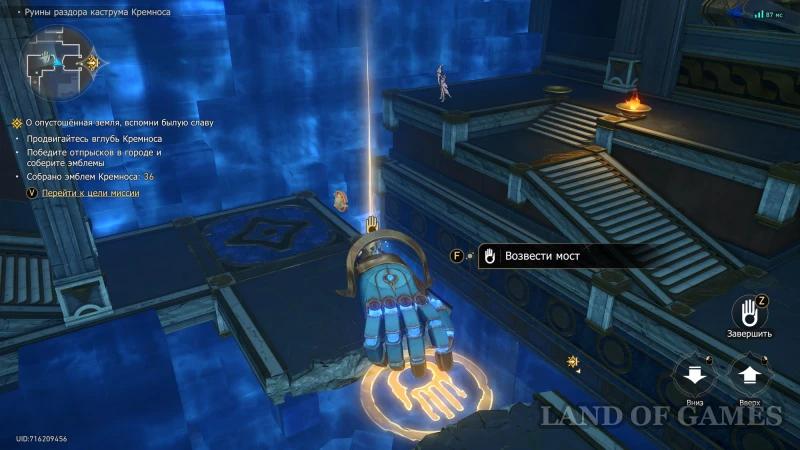
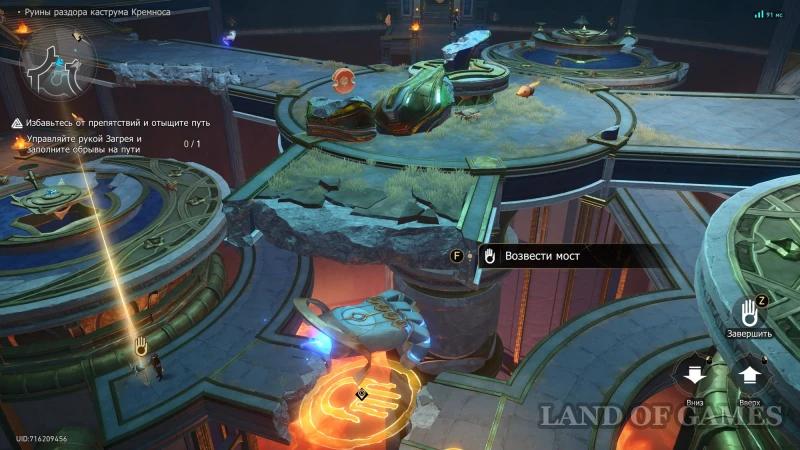
After moving forward, continue deeper into Kremnos, following the quest markers. Go down the stairs and chat with Midei again in the spacious hall. Continue down the steps and interact with the device with a hand drawn on it. Study the instructions on how to use the Hand of Zagreus.
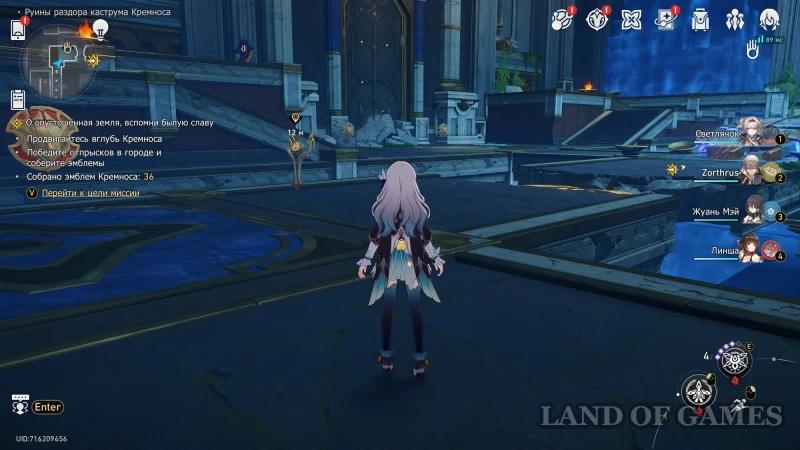
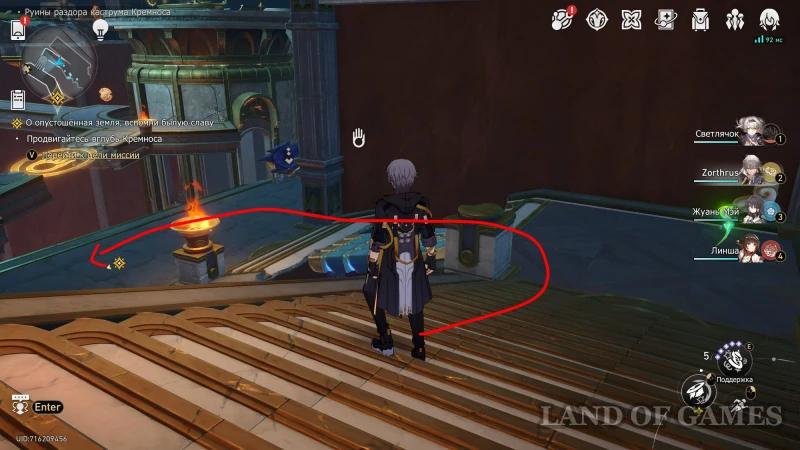
So, press the movement arrows (movement keys) to move the hand to the golden mark, as shown in the screenshot below. Then press the “F” button or the “Build Bridge” text to create a bridge. To exit the hand control mode, press “Z”.
How to remove the three balls from the path
Head towards the door indicated by the marker, but the passage there will be blocked by three stone balls at once, so first you will have to remove them from the path. To do this, you need to interact with the mechanism on the right to create an air flow and blow away the spheres.
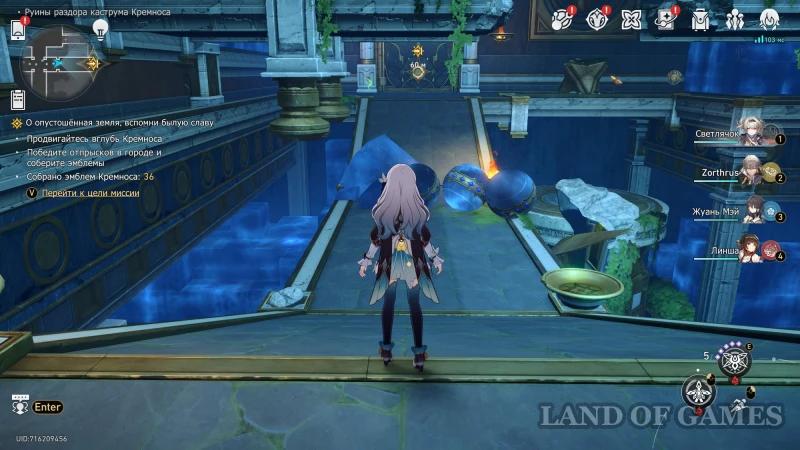
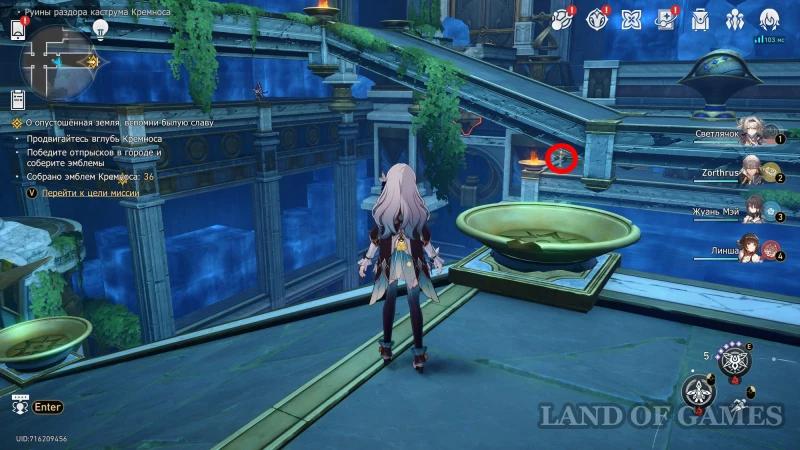
Go back a bit, then turn left and break the pedestal with the stone ball so that it falls down and destroys the boxes blocking your way to the device. Now go down and interact with the mechanism to create a flow of air and remove the boulders.
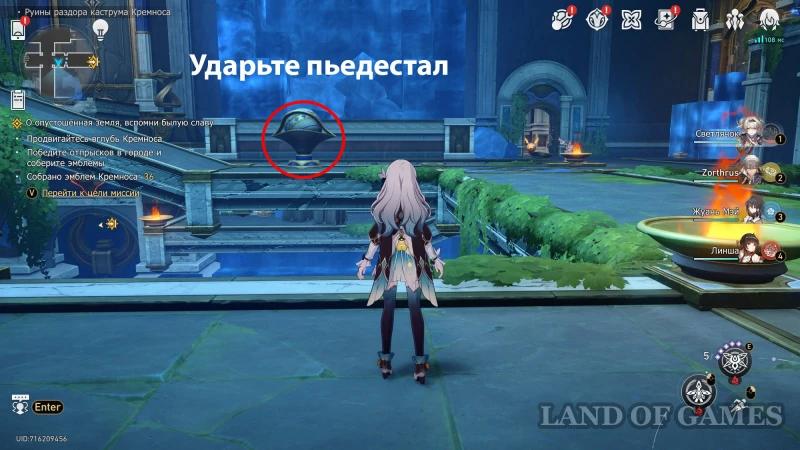
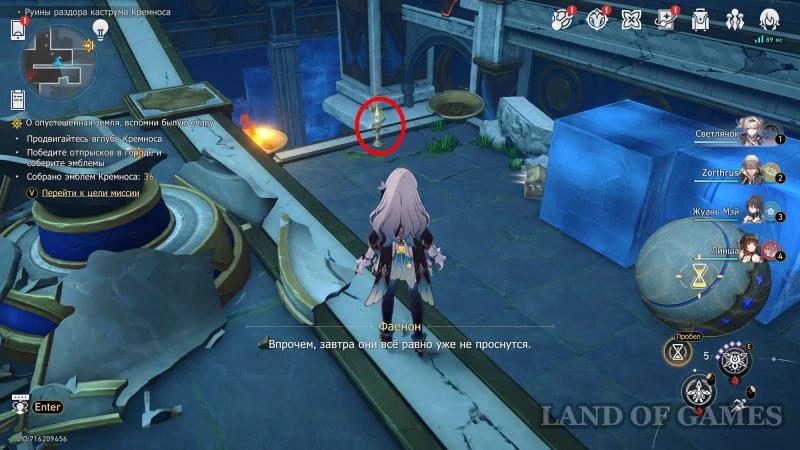
Return to the large door and pass through it without problems. Continue forward and soon you will find Midei – chat with him. He will show you 30 emblems of Kremnos. The deal was that whoever collected the most tokens would get to deal the finishing blow to Nicador, but in reality it would only slightly change the dialogues, so don't be too upset if you don't win the argument.
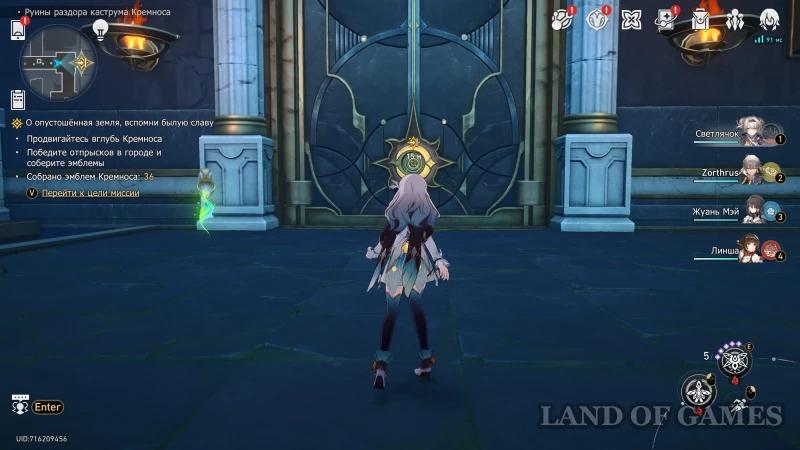
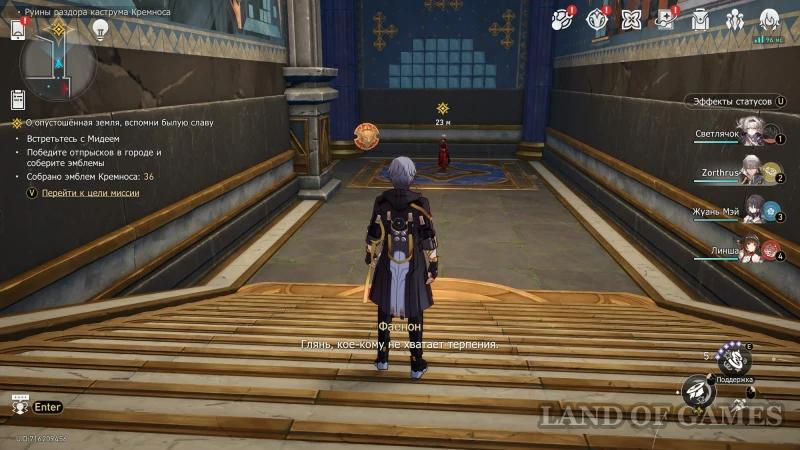
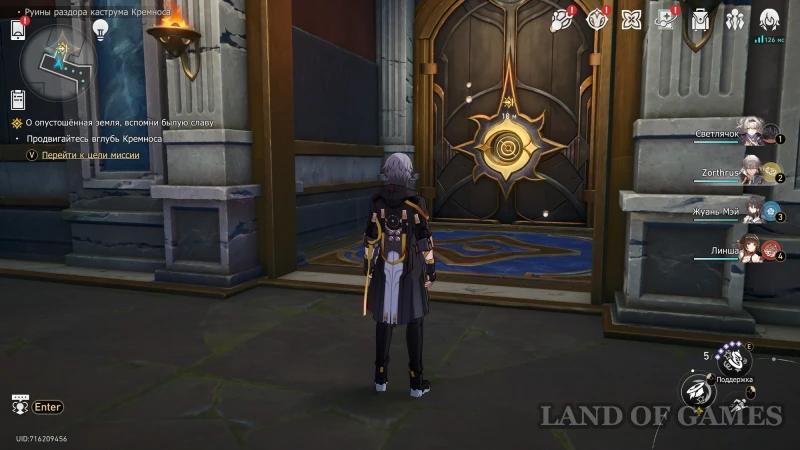
Run forward and listen to the Golden Lion, then study the enemy's plan. Next, go through the door on the right and go down to the secret Janus path. Step on it and solve another small puzzle with the formation of a pattern. The gif below shows the solution.
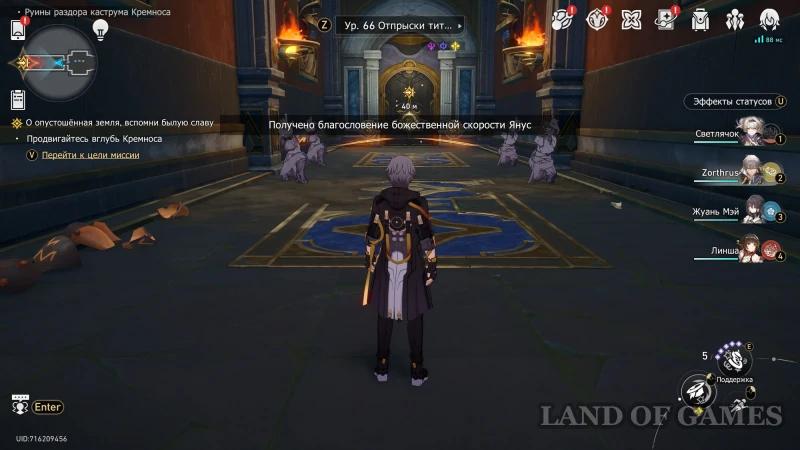
Once at the bottom, go through the next door and enter the corridor. Ahead you will see many enemies – you do not have to fight them, so you can just run forward to the next door. Coming out into a spacious hall, you will unlock a new anchor and chat with your companions again.
Zagreus' Hand Riddle
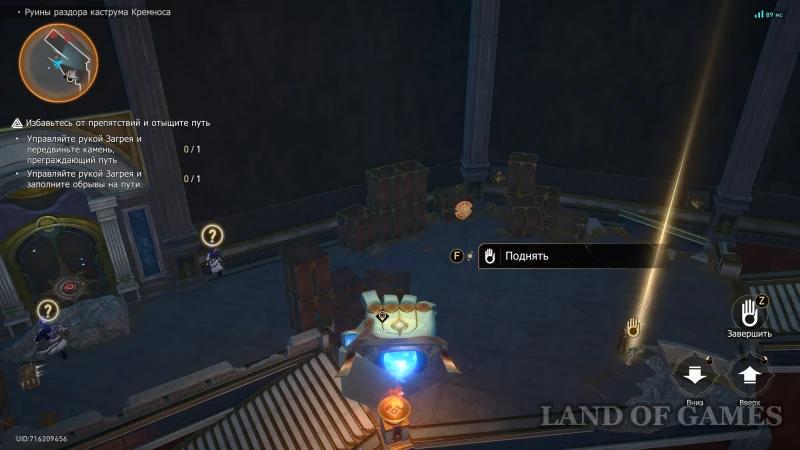
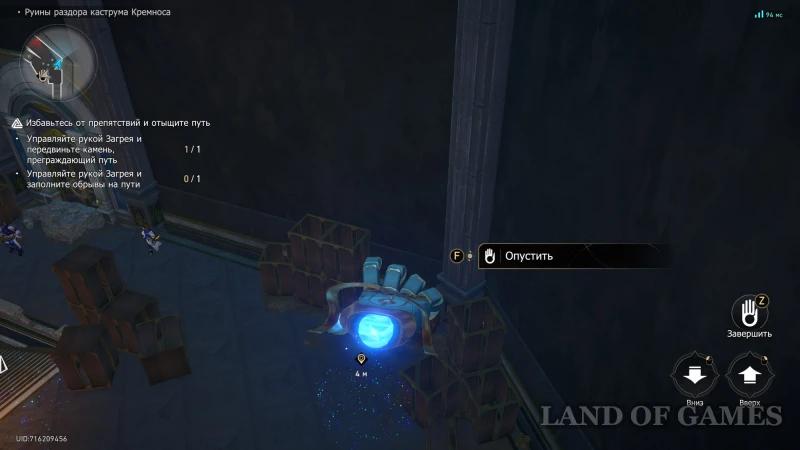
Next, head down and interact with the stone stand with the image of a hand to take control of Zagreus' hand. The first thing you'll need to do is clear the large stone cube next to the stairs out of the way. Move your hand to it, pick it up, and then place it at the placement point near the wooden boxes, as shown in the screenshots below.
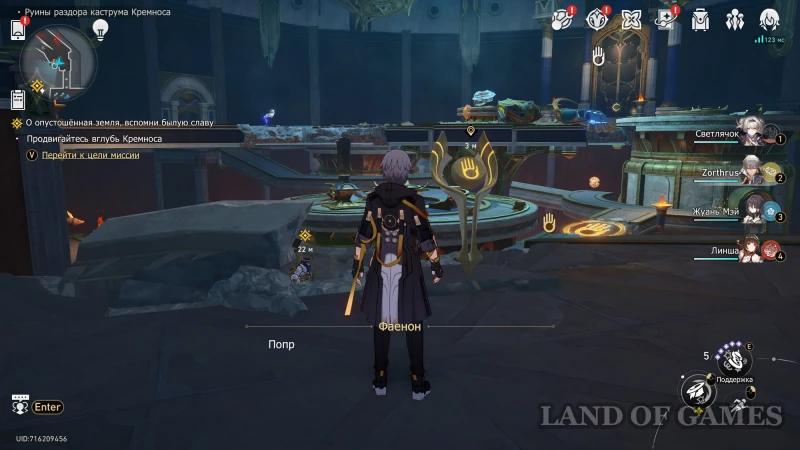
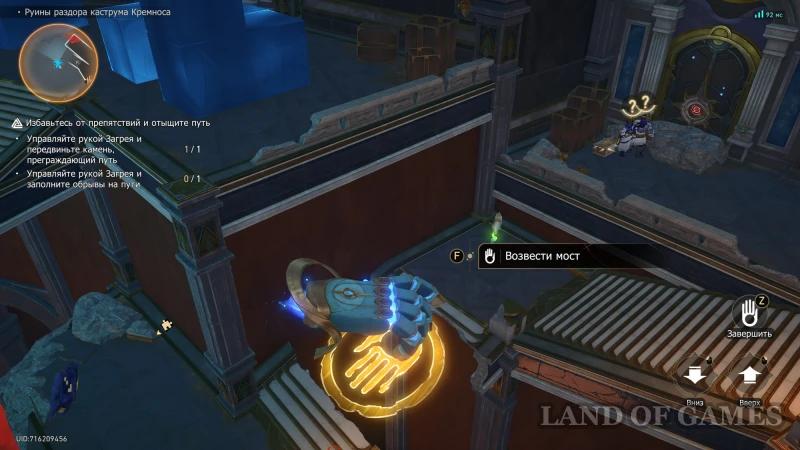
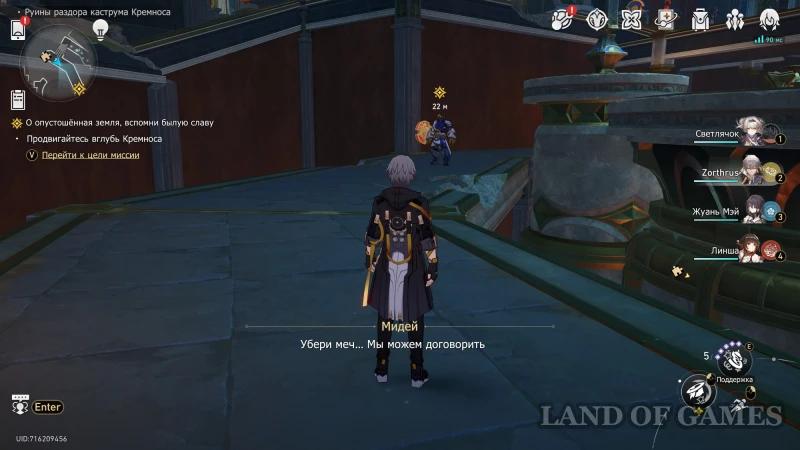
Now fly to the stairs, go down a bit (LMB) and press the “F” key to build a bridge with your hand. Complete the challenge and go up the stairs you just restored. At the bottom, talk to the Strongman Stonecutter, who will not attack you. After talking to him, you decide to find other monsters to talk to.
How to find other talking scions
Go forward, turn right near the chest and run further until you reach the cliff. Interact with the console to call the hand of Zagreus again and use it to build a bridge in the place you need.
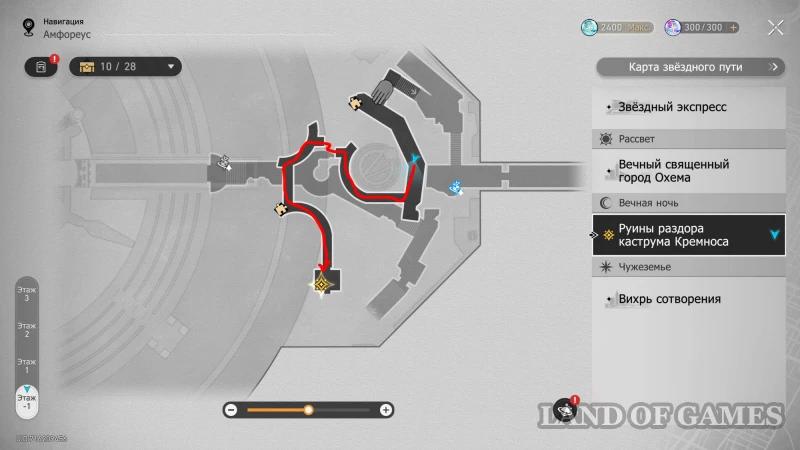
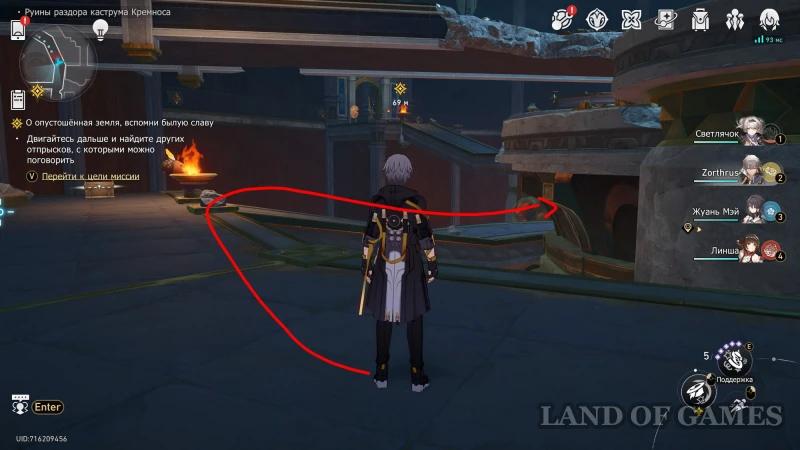
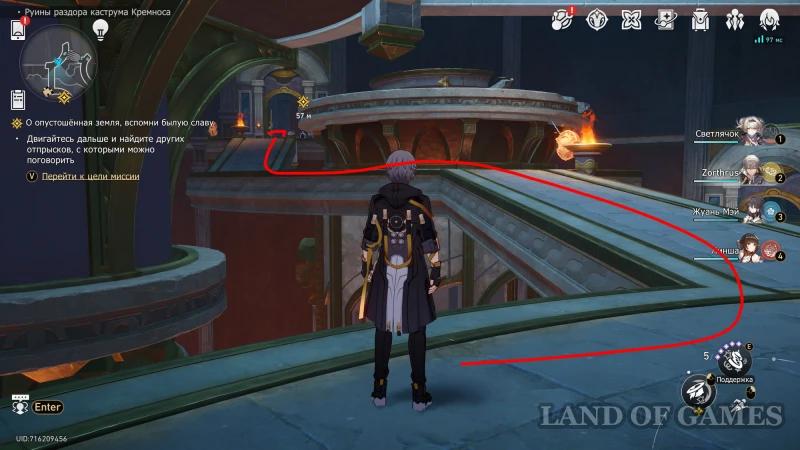
Continue running along the path to the next talking monster, the Stonecutter Scholar. He will tell you about the indestructible body of the Titan of Discord. Then go into the room behind the scion and turn left, starting to climb the stairs up. Once outside again, turn left again and chat with the Stonecutter Overseer.
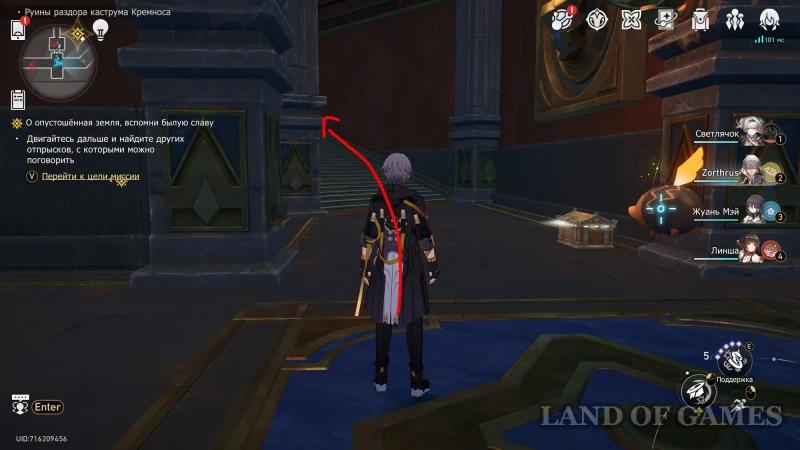
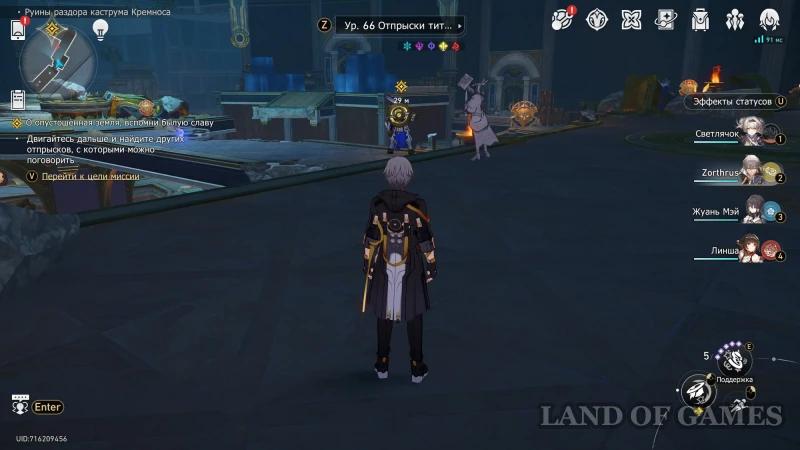
Unfortunately, there is no way to avoid combat here, so you will have to defeat another Vanguard of Fury and his minions. After dealing with the enemies, go through the huge door indicated by the marker to engage in combat with the titan.
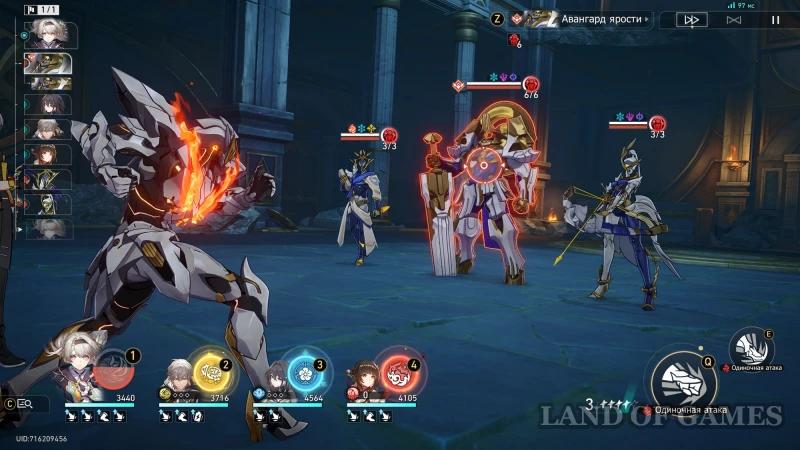
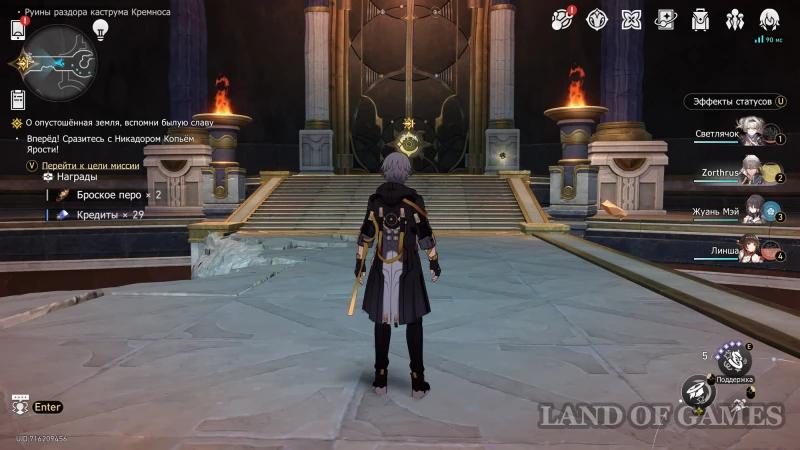
How to defeat Nicador Spear of Fury
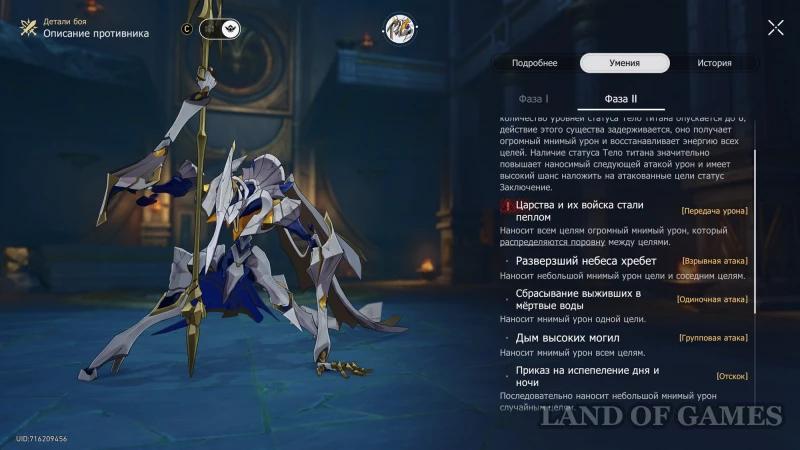
After watching a short video, you will once again enter a fight with the boss Wild God, the Mad King, the Embodiment of Discord, but this time he will have a second phase, in which a new attack will appear – “The Kingdoms and Their Troops Have Become Ashes”. When using this attack, he will deal gigantic imaginary damage to all targets, distributed equally between the targets.
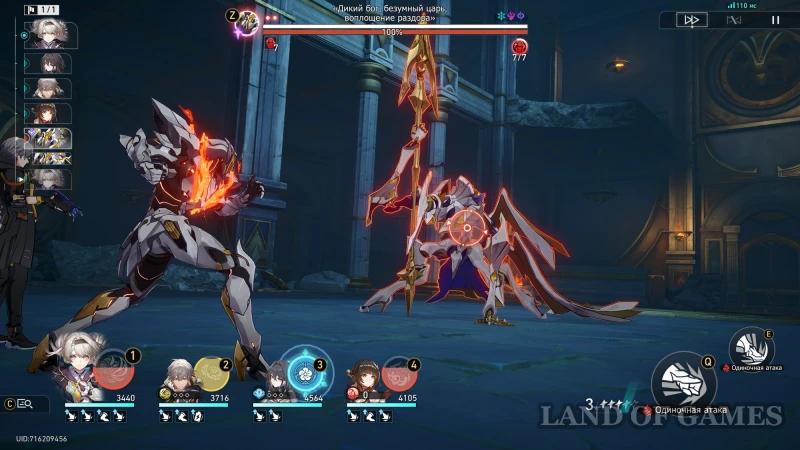
Note that this attack can easily lead to the death of your characters if they have slightly less than half of their health, so try to always keep them under shields or heal them, so you can't do without a good shielder or healer. Otherwise, the fight with this enemy is not much different from the fight in the previous quest chain.
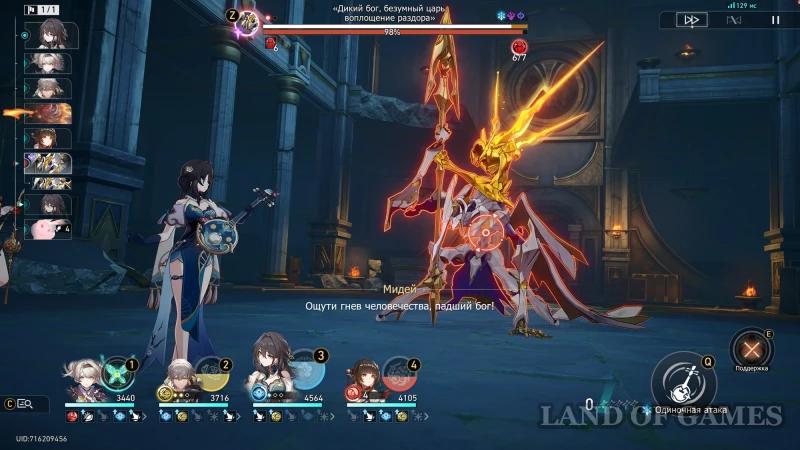
When the enemy's health drops to almost zero, a new cutscene will begin. Nicador will point his giant sword towards Kephalus. Midei will decide to stay behind to prevent him from taking the Fury's Edge, and we will go to Ochema to warn the demigoddesses. This will end the quest.
As a reward, you will receive 1200 Adventure Points, 150 Star Jades, 12 Traveler's Guides, 12 Lost Crystals, a Music Record, 240 Ambrosia, and 160 thousand Credits. Plus, you will have access to the next quest “O curtain of night, hide the silent past.”


