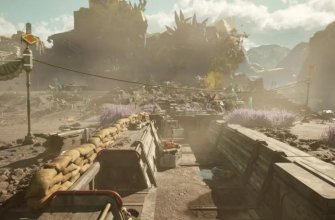

in doom: The Dark Ages The siege (part 2) is the seventh location in which the executioner of the rock will visit, and on its territory, 14 secret areas with collection objects can be found, 183 units of gold and 2 tests. In this leadership, we will show you their location and in detail we will tell you how to get to them.
All secrets and objects in the siege (part 2): passing 100%
Test “Kegelban”
First, equip your character with a chain, and then charge it and hit the opponents 10 times. It is best to use this technique on strong enemies to be guaranteed to count the blow. As a reward for the test, you will receive 50 gold units.

Test” Liquidator “
You will need to kill from 3 or more Demons Soldate with one shield throw. This will need to be done 5 times. Just find the place where ordinary demons are in front of you in one row, and then throw your shield in them to kill them all in one blow. Then restart the control point within 5 times to complete the challenge.

53 gold and the seal of life
Having dealt with Titan with the help of a turret, go left and go up the wall, and then break through a wooden barrier with a shield. Once inside the room, go around the container on the left and hit it to unlock the next fragile wall that you can destroy – do it in order to be in the secret area.


Here you will find 3 gold ingots and printing of life. Having picked them up, return to the room with a box and now take it up. Turn around and you will see another wall along which you can climb higher. On this upper platform you will find a chest.


Collectible toy (rider for kicks) and 26 gold
Go to the next zone and go right to find a wall along which you can climb up. Then immediately turn the camera to the right and up, and throw your shield into the chain so that you can immediately appear in front of you, along which you can climb even higher.


Once at the top, immediately turn around, and you will see a wooden barrier in front, which you can break – make a jump and break out. Spray down, walk along the path to the left and climb another wall up. Then start walking along the steps, picking up the ingots along the way until you find the figure on the left.


Now go back to the place where you destroyed the wooden barrier, jump back to the other side, but now turn back to the right, and in the room you will find new gold. Return back again and select the remaining ingots on wooden platforms in front.


Printing of life
Having dealt with all the opponents in the room indicated in the screenshots below, go to the end of the room and turn into a niche on the left side. Here you will find a destroyed barrier, which leads to the camera nearby, where it soars the green helmet.


Violet key, ruby, entry in the code (siege – part 2) and 46 gold
Go to the spacious area shown in the images below. Here you can find a lot of collection gizmos hidden near each other. So, while at the upper level, turn left and go along the corridor to the very end, and then turn to the right and break the wooden barrier to get into the secret zone. Turn to the right twice and select 8 ingots.


Next, turn left and collect 7 more gold, and then use the springboard to fly to the other side and choose a purple key. Go into the room behind the key and take 3 ingots on the left. Then jump down to get 4 more gold in the center of the room.


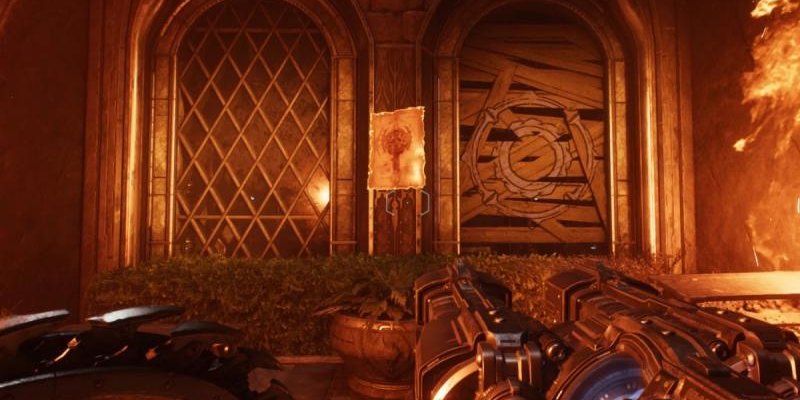
Then turn left and go into the large hall to find 16 ingots on the opposite side at once. Break off the enemies that have appeared, go along the right wall and open the door to the right with the purple seal. Entering inside, take the ruby from the statue. Return to the main room and go further to the right to find another purple door, behind which you will find 8 gold and the code of the code.


Rubin
continue to move around the plot until you find yourself in a large spacious hall, similar to the hangar with a broken flying saucer. Here you will be attacked by a group of demons – straighten with it, and then instead of going to the ship, go to the right side of the location and find large containers that you can climb up. Having done this, rise even higher and take the gem from the statue.


8 gold
Move behind the plot marker into the fragments of a flying saucer, and then go down, and you will immediately find a destroyed wall on the left side – break it, and then jump over the extension in front. Turn to the left and right, rise and take the ingots.


Printing life and 50 gold
jump from a flying saucer to a new location right under it. Having dealt with all the opponents, climb the wall and go through the break on the left, and then immediately turn the camera to the left and top to see the red target – throw a shield into it.


Next, turn out, go out, turn the camera to the right, and you will find the spinning blades of a large fan in front. Go to them and wait for the moment when you can climb through the hole into the small room. Turn your head right right away, and you will find a seal of life.


come back and go through the hole to the left of the wall on which you previously climbed. You will find yourself in a small niche where you will find a gold chest.


Demonic essence: Health
Move through the plot and enter into a fight with the leader of the Knights of Hell. Having dealt with him, take the essence from him to forever increase the strip of life of the protagonist.


Congratulations, you 100% cleaned the siege location (part 2) in Doom: The Dark Ages. Now you can go to the next region – the deep forest.