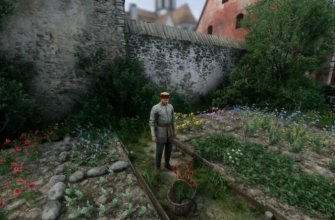
After completing the school puzzles, the plot of Silent Hill ftakes you to the Hall of Worship, one of the most confusing places in the game. Here you will have to solve two problems at once: a labyrinth of doors with colored symbols and a puzzle with cells at the altar. Below is a detailed step-by-step guide that will help you solve both riddles on any difficulty
Important mechanics that you need to know in advance
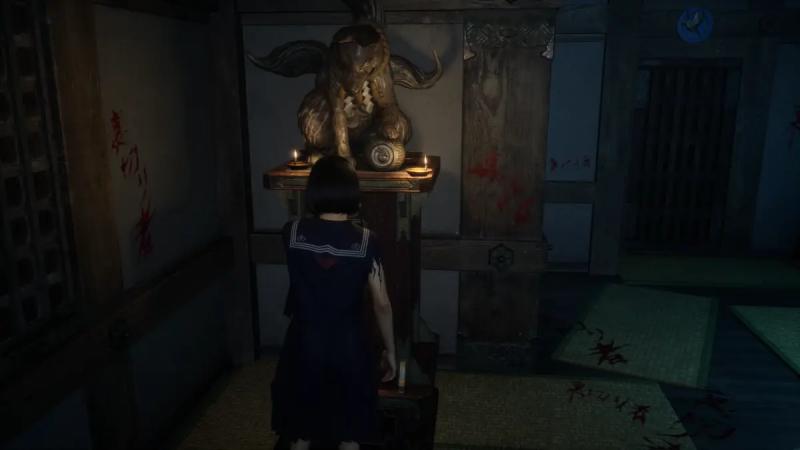
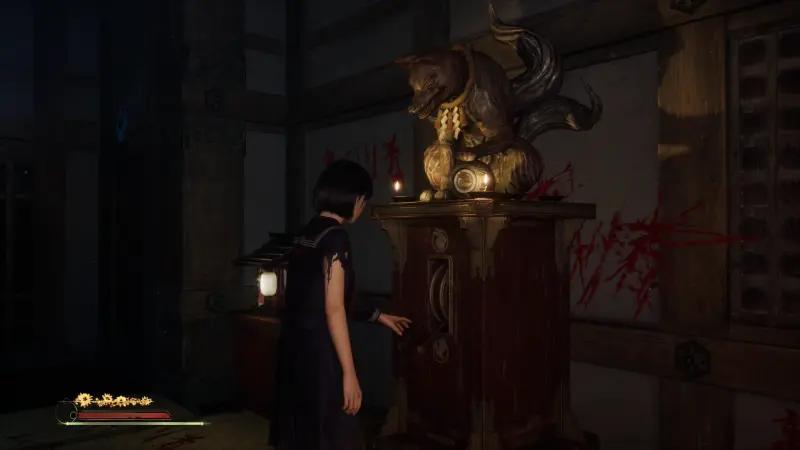
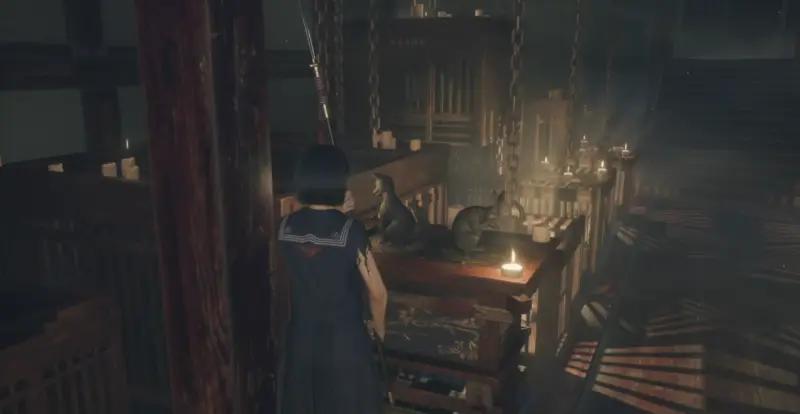
Fox statues– switches: each has a set of colors (red, blue, green, white, etc.). By changing the color of the statue, you open/close the corresponding doors on the map. For example, if a fox has a blue barrel under its paw, and if you turn it, it becomes white, then: while the barrel is blue, all doors with a blue symbol on top are open, if you activate the switch, the color of the barrel will change and all white doors will be open.
Lanterns with blue light– if you kill an enemy under one of these lanterns, he will not be resurrected. In order not to fight with opponents over and over again and save resources, lure monsters into rooms with such lanterns and finish them off there.
During the process, you will walk along intricate corridors and return to statues you have already visited – use the map and mark which colors you set so as not to get confused.
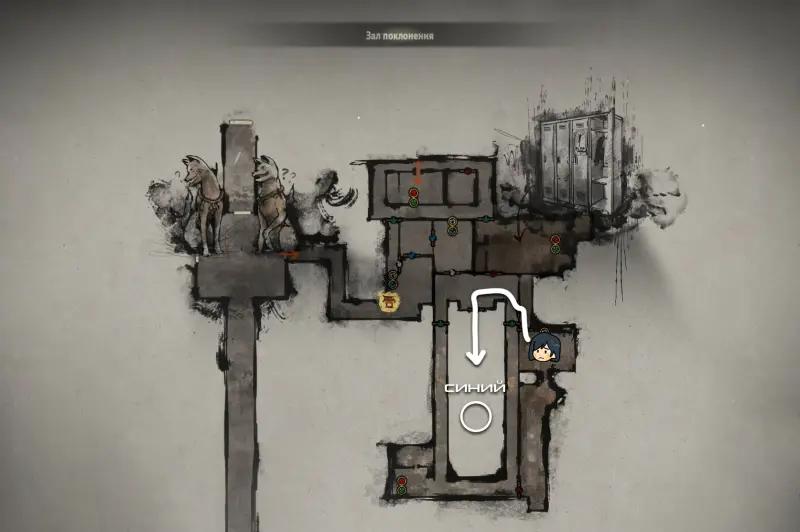
How to get through the maze
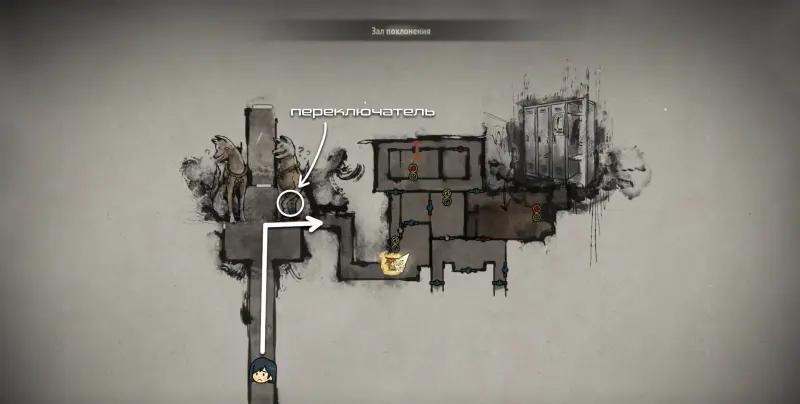
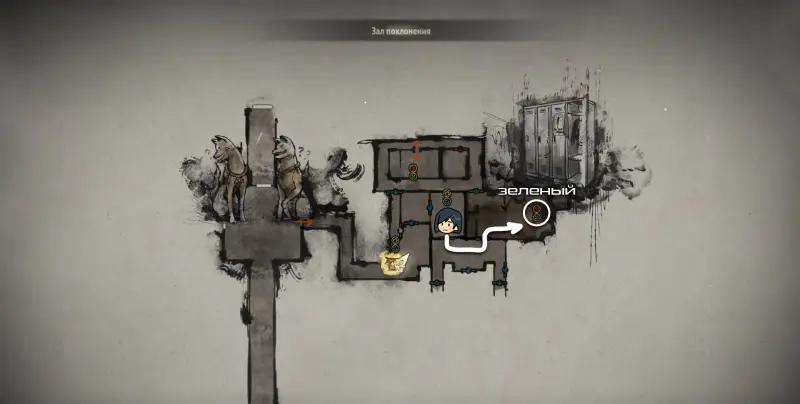
Go to the very first door. Interact with the fox figurine to the right of the door, this will open a corridor to the right.
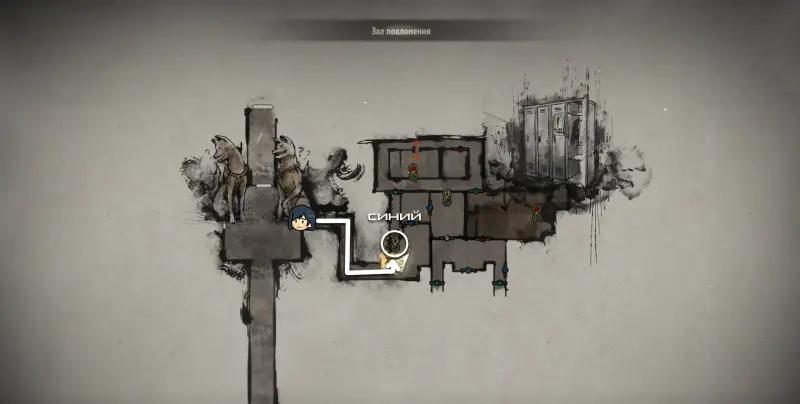
Go down the stairs, there you will see a shrine and a fox statue. Change the active symbol to blue– the neighboring doors will open. An enemy will appear in this area: if possible, lure him under the lantern and finish him off so that he does not resurrect.
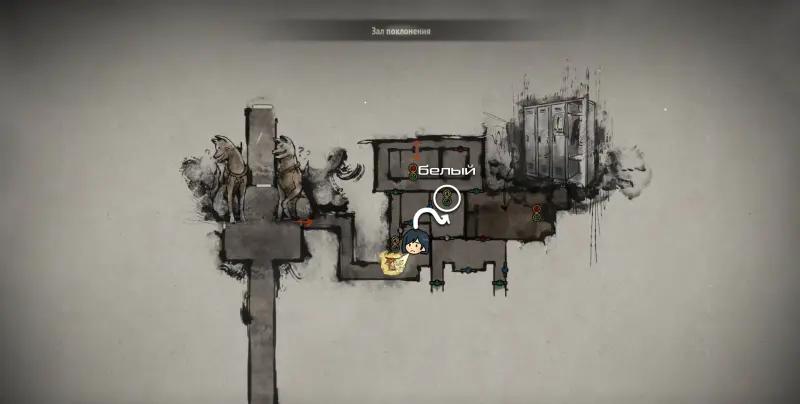
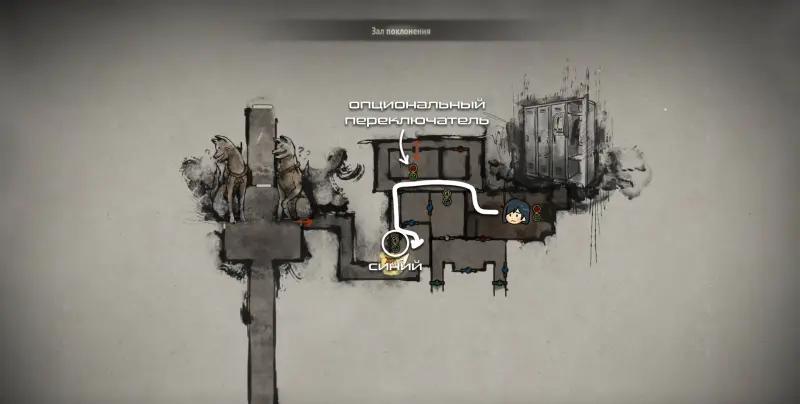
Go through the rooms to the next fox. After finding the statue, change the keg from blueto white, this will open the door behind you and allow you to return to the central part of the maze.
Go to the left door with the red sign on top. Once inside, you will find a figurine. Change the color from redto greenthis will open the door on the north side of the map.
Follow left to the sanctuary: here you will find a corridor with two small rooms in the center. In the red room where the enemy lives, you can get ashrunken abura-age, if you activate the switch in the next room to get there.
Please note:The fox statue in this area is not required to activate in order to complete the entire maze, but if you want to loot every corner of the Hall of Worship, then be sure to take this opportunity, and then return to the first room with the statue with the blue and white switch.
Again approach the statue with the blue and white barrel andinstall white – this will open the passage to the central area.

Now go through the green door that was previously locked and move along the corridor. On the left you will see a red/green switch – switch to red. To the right of the statue there is a short passage where useful loot is located.
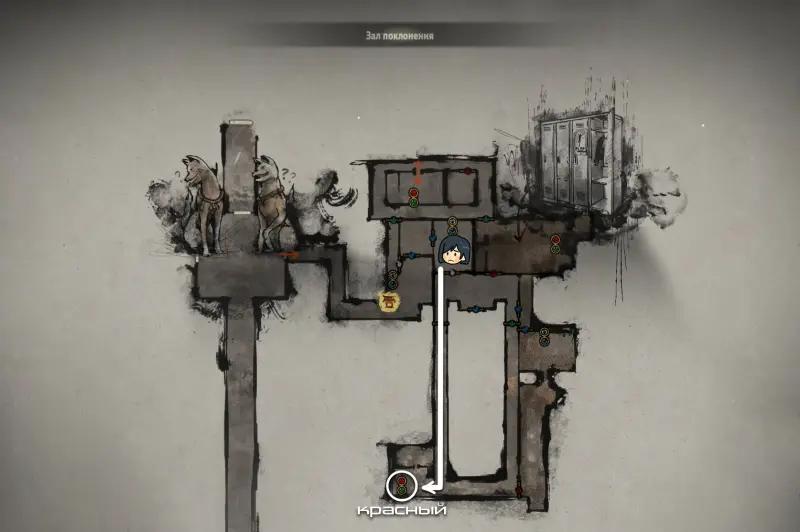
Go to the red door straight across the corridor. Be careful – there may be enemies hiding in the corridors. After the red door on the left you will find another shrine and a statue with a blue/white switch – change to blue to open the central door.
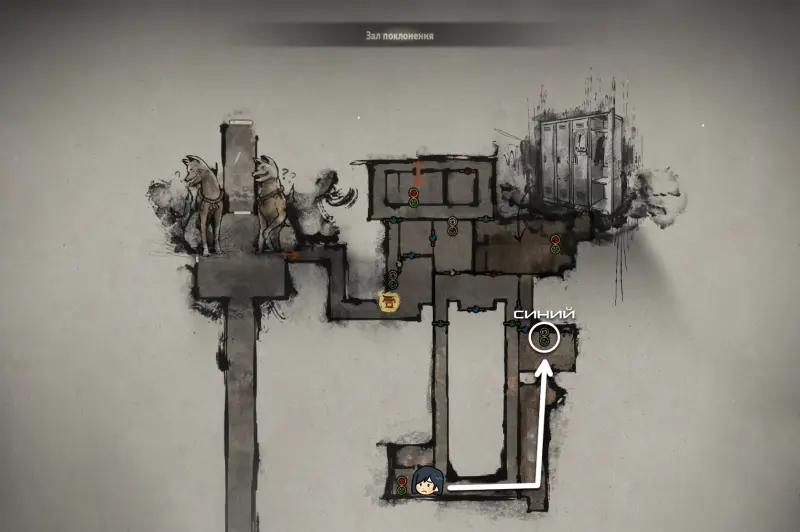
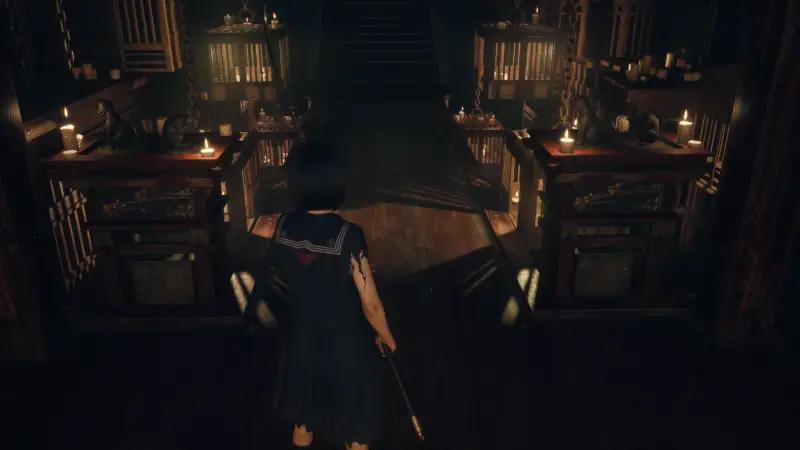
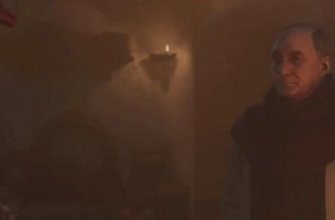
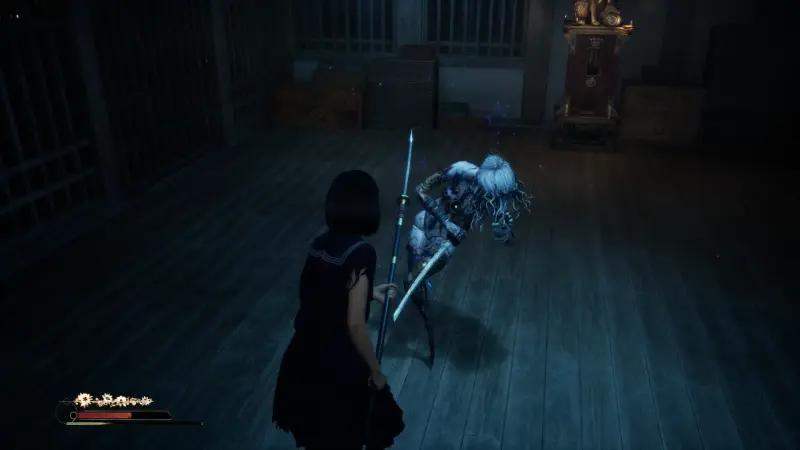
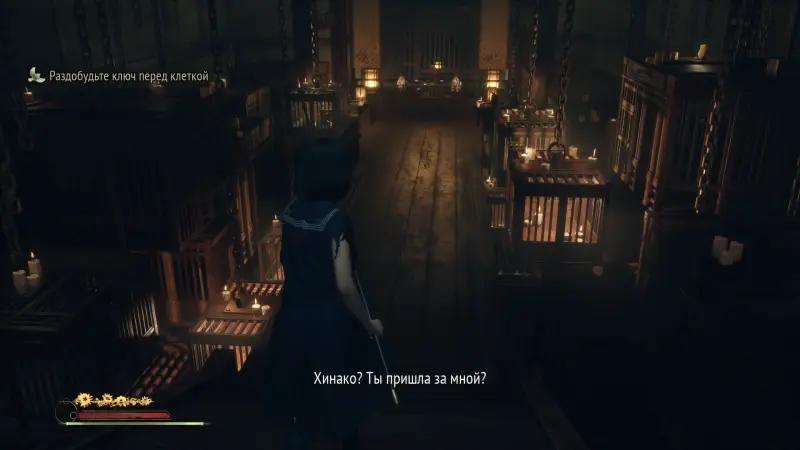
Return to the central hall and open the main door, you will be taken to a locked room where Sauko is located. The doors slam behind you, and the game insists that you solve the next puzzle.
Solutions to cell puzzles for each difficulty
After entering the room with Sakuko, search the altar; there will be a note on it with a poem in which the solution to the riddle is hidden.
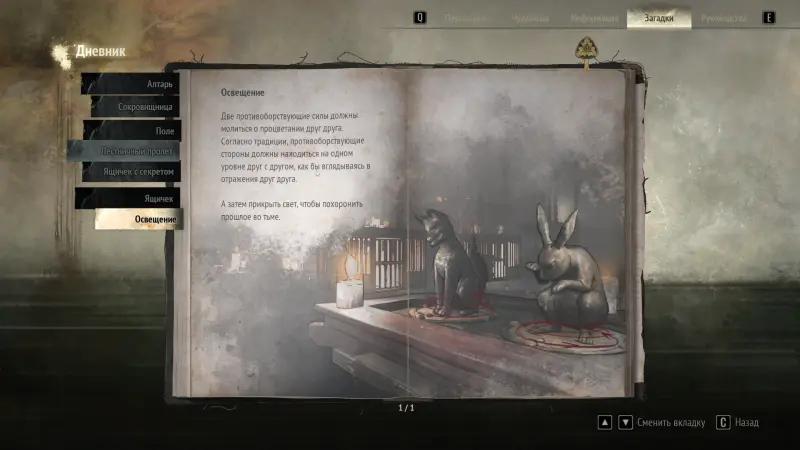
Plot
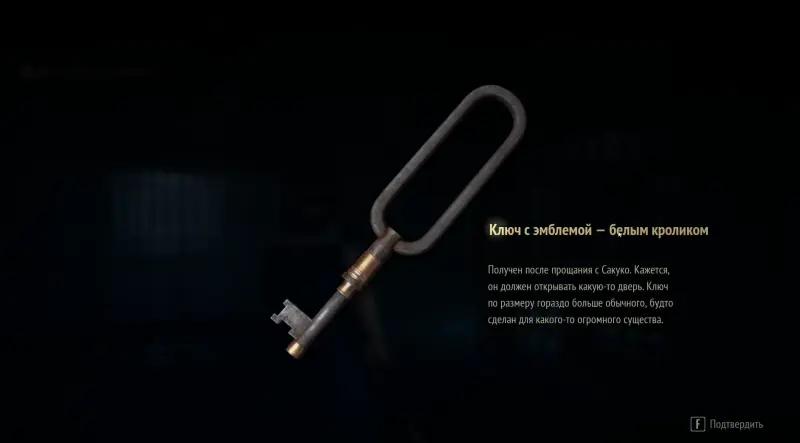
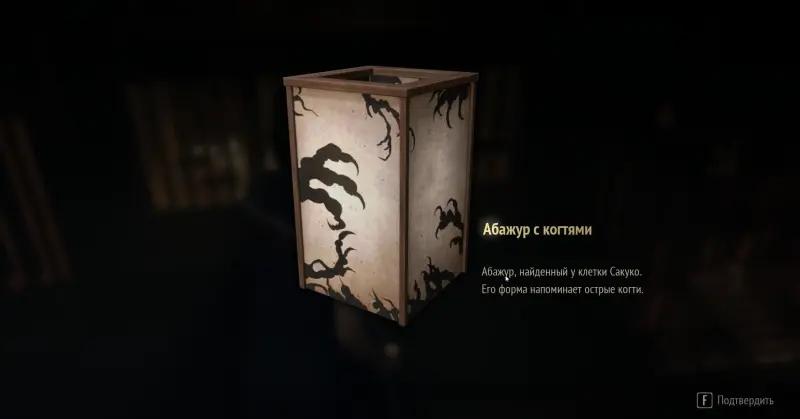
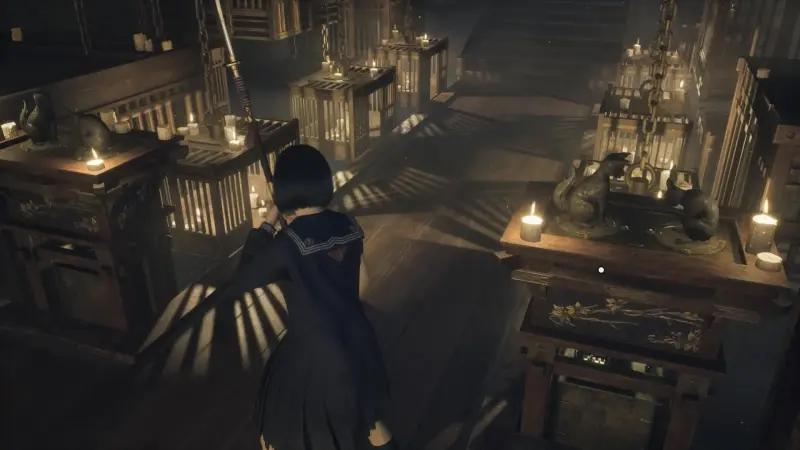
Rotate the statues so that the fox is facing the rabbit on each side. That is, on the left pair the fox and the rabbit are facing each other, the same thing on the right pair. After this, the cages will open, take the lampshades and use them on the lanterns to see the continuation of the plot and get a key with the white rabbit emblem.
Challenging
Rotate the statues so that the foxes and rabbits on each side are facing in opposite directions.
Lost in the Fog
Here the symmetry is broken and each pair of statues looks differently:
- Fox and rabbit on the left: turned back to back, looking in different directions
- Fox and rabbit right: both facing left