In Zenless Zone Zero, Strange Messages is an exploration mission and part of the “Chapter 2 Interlude – Sideshow” quest chain. During it, you'll be helping the “Sly Bunnies” get to the Lobby in Ballet Twins. If you have any difficulties with completing the quest, then check out our guide.
Walkthrough of the mission “Strange Messages” in ZZZ
How to start the quest
During the quest “Chapter 2 Insert Story – Interlude”, chat with your sister/brother and watch the comic with the “Sly Hares”, and then talk to Nicole, who will ask you to find the hacker Rain in the skyscrapers “Ballet Twins”, located in the cavern. This will lead to receiving the corresponding order.
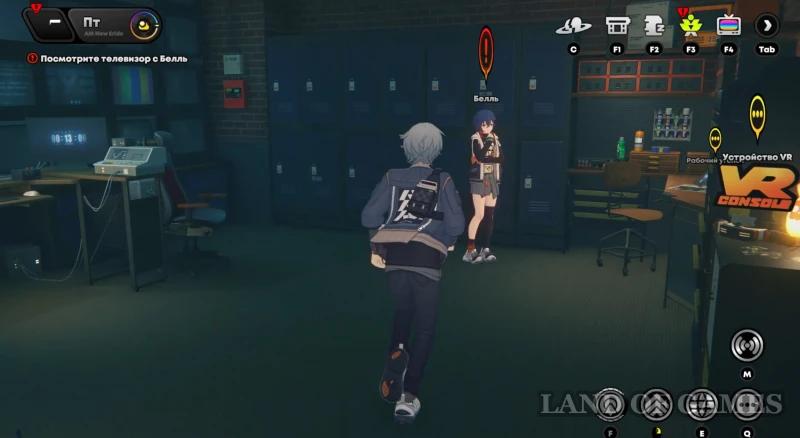
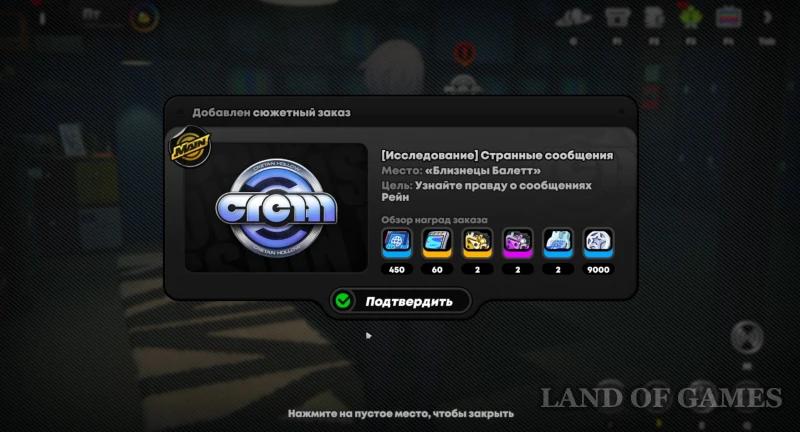
Return to your office, then interact with the HDD system and find the corresponding quest in the “Main Line”. The game will advise you to take Ethereal and Ice characters of at least level 34, but we just used the trial characters: Nekomata, Billy, and Enby – we had no problems destroying monsters with this team.


Get to the Lobby
Collect the First Surveillance Data Packet
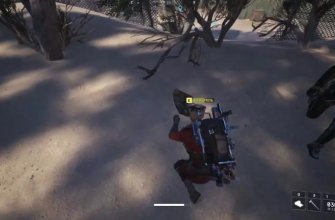
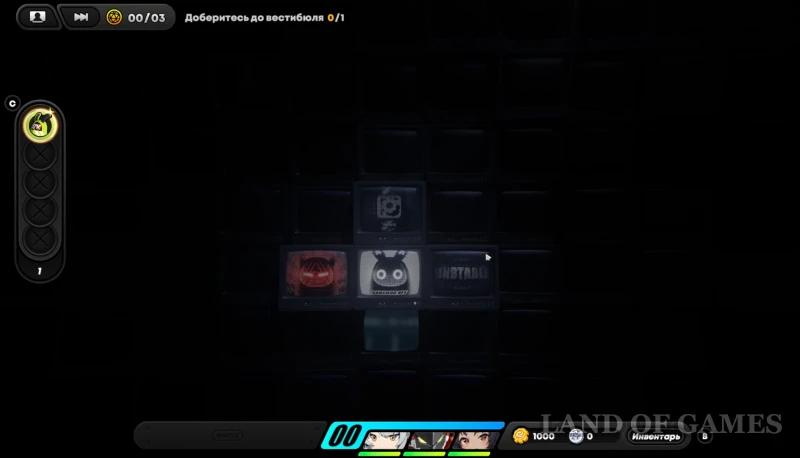
There is no light in the building, so the game board will be darkened – you will only be able to see one square ahead, which will make it difficult to navigate this place. Start moving up, collecting gearlings along the way. Then turn left. At the fork, continue moving left, engaging in battle with an enemy. The combat test will begin.
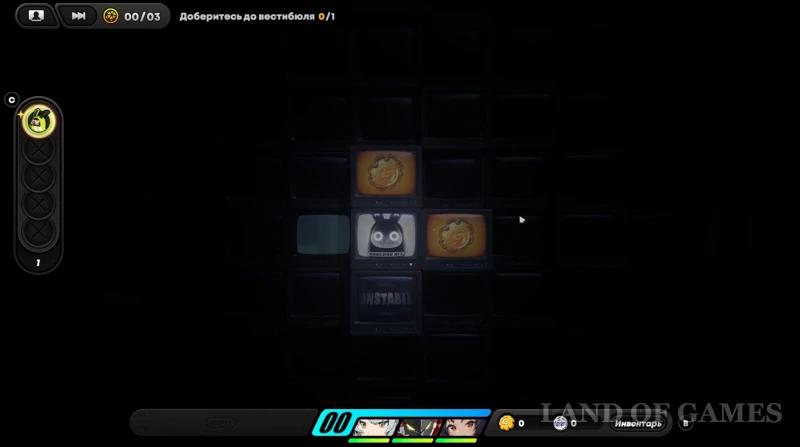
Here you will most likely have to engage in combat with Ahrimans and Ghosts for the first time – flying ethereals. The former attack in close combat, and the latter – in long-range. They are quite mobile, so we recommend using mobile damage dealers or fighters using long-range weapons against them. Again, using trial heroes, we did not have any problems with them.
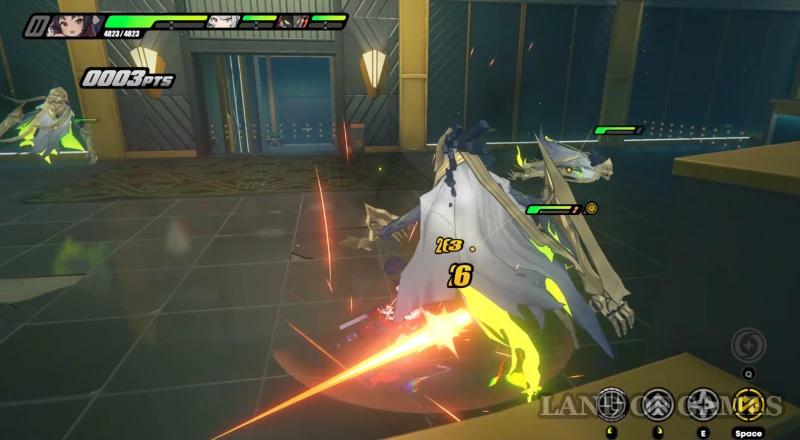
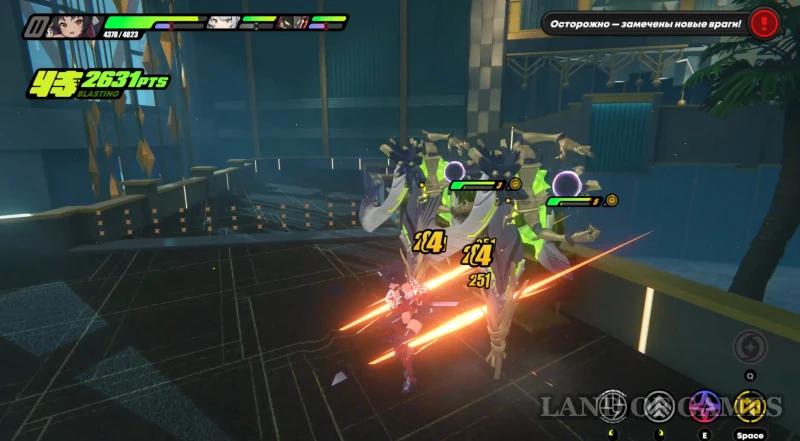
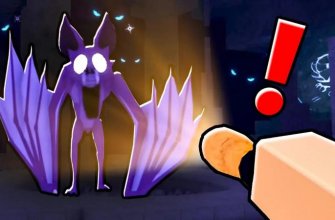
After defeating the enemies, go further to the left and pick up the first data packet. Then continue moving in the left direction, and when you find yourself at the fork at the top, choose the left path again. Then immediately go up, and you will meet an unusual enemy who will send you back to the beginning of the path (as it should be).


Get to the First Light Bulb
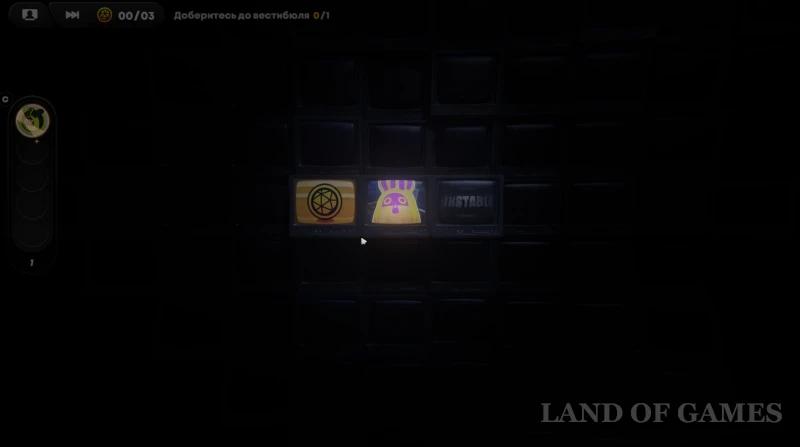
Repeat the same path as before, that is, move left and up again. Now you will not meet a strange enemy. Then you will find a piston – stand on it to quickly fly to the right. You will find yourself at a fork and see a lamp on the right. Go down and right to get to it.
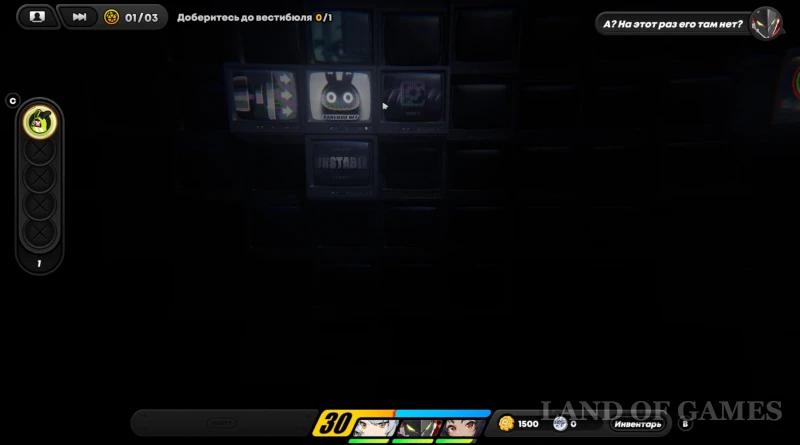
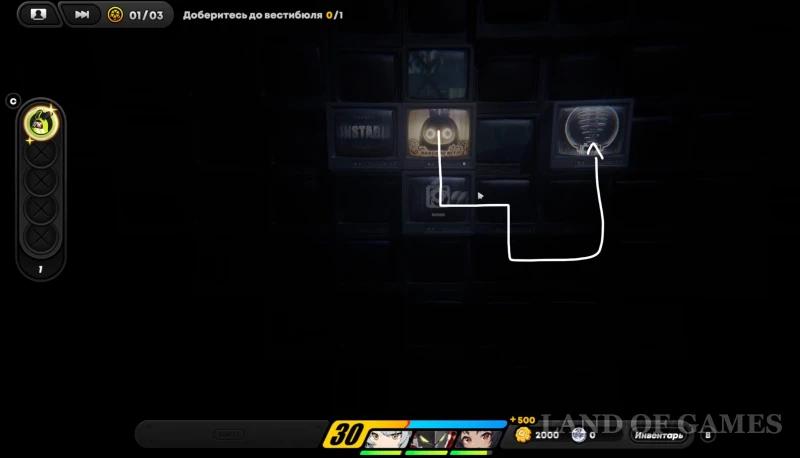
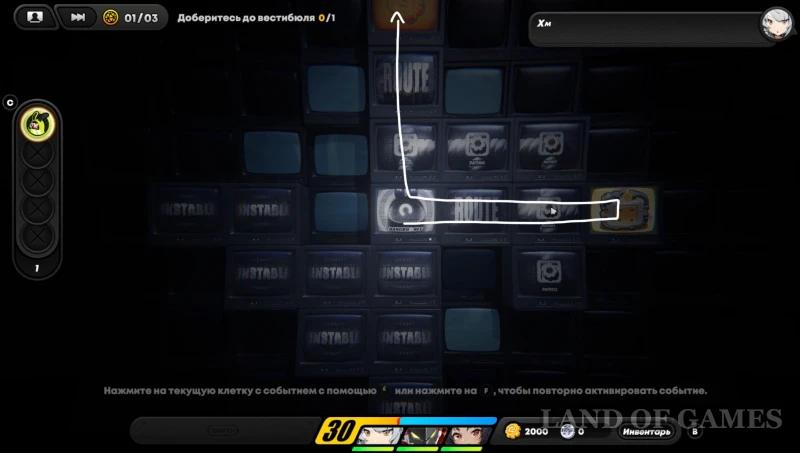
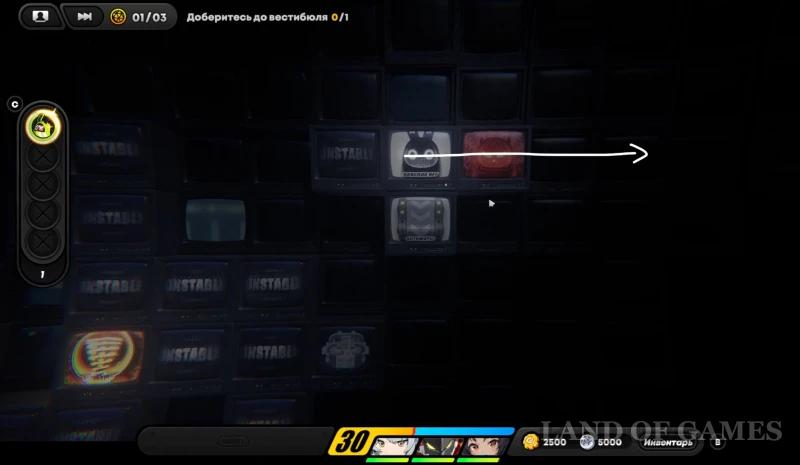
Launch the terminal, lighting up the nearby cells and scaring off the strange enemy. Pick up the golden suitcase on the right and go to the shesterling at the top. Then move right until you reach a fork. Go even further right, stepping on the cell with the enemy. A combat trial will begin. At the end of it, you will have to fight Hati, whose armor you must first remove.

Get a hand-held xenon flashlight
After dealing with all the enemies, continue moving to the right. At the next fork, first go right to pick up the gearlings, and then go back and go up. When you reach a dead end and turn left, an unusual enemy will appear behind you and start following you. Continue along the only path to the left.
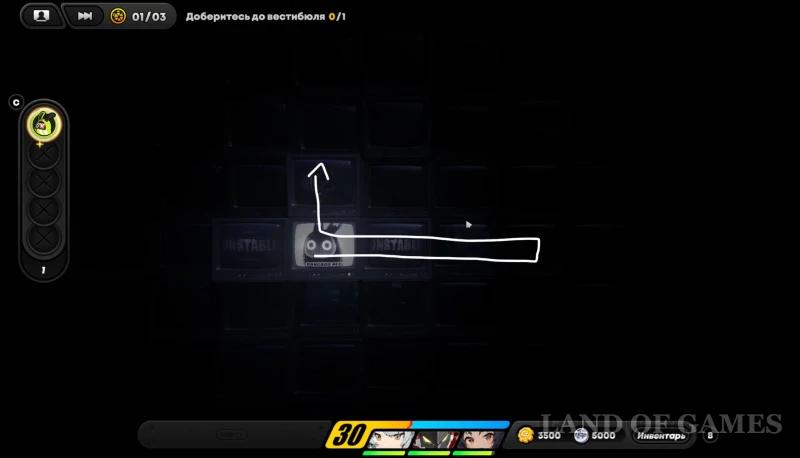
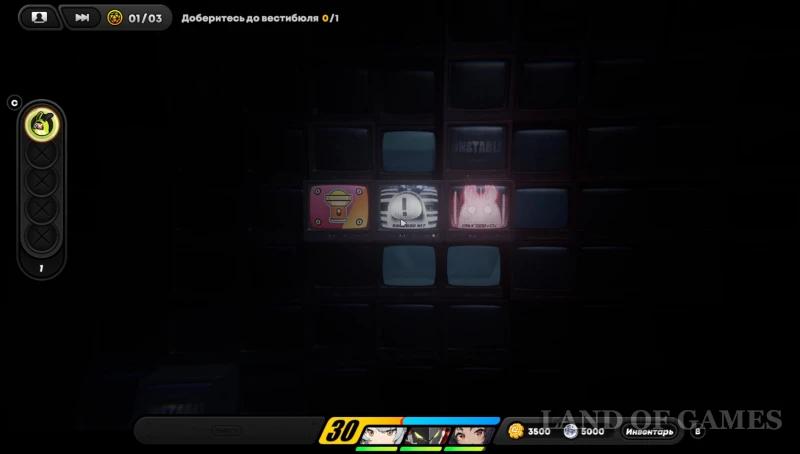
After collecting the purple briefcase, you will come across a new Banbu plugin “Handheld Xenon Flashlight”, which emits light, removing all unidentified creatures within 4 cells. You have 3 charges. Use it immediately (key “R”) to drive away the unknown enemy.
Get the Kaleidoscope Flashlight
You are at a fork. First, go down and left to get some shearlings, then start going up and left, picking up coins along the way. At the next fork, go left and then down to open the door, spending 5,000 shearlings (if you followed our route, you should have collected the required amount).
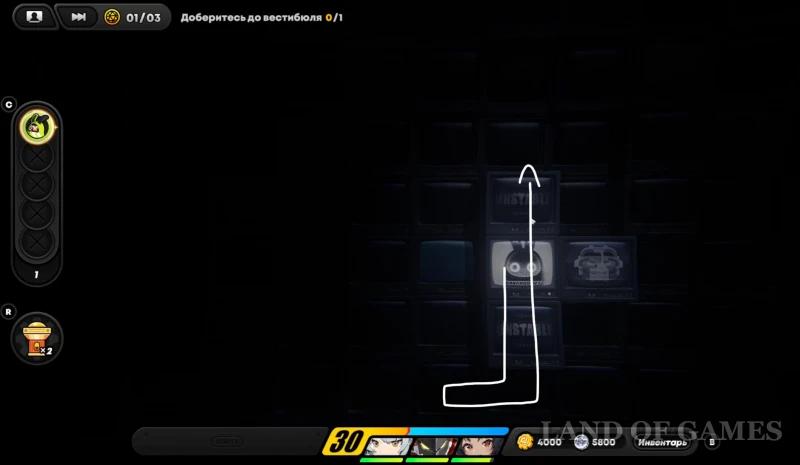
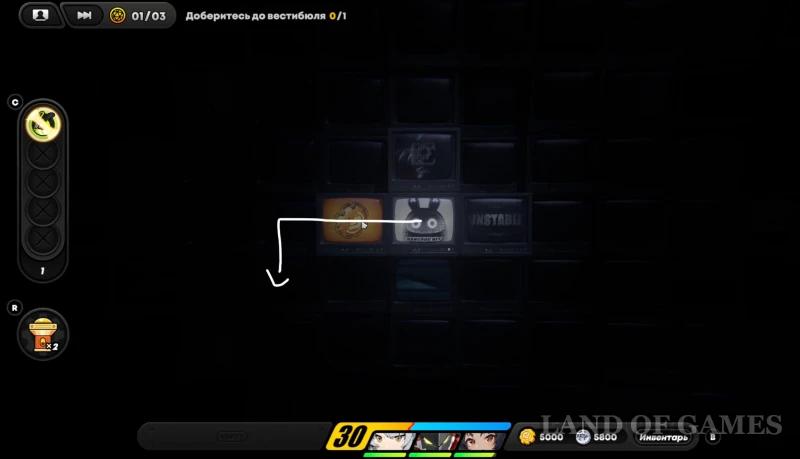
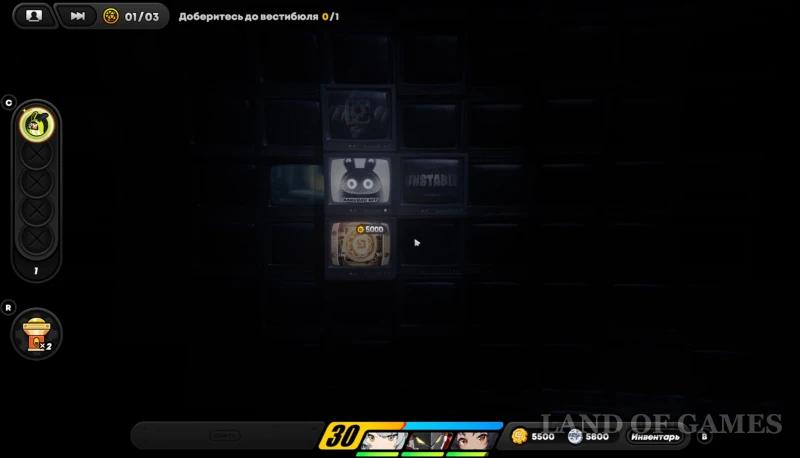
After opening the shutter, go down even lower, and then pick up 1 charge for the flashlight on the right and the Kaleidoscope Flashlight trophy on the left, which will increase your vision radius by 1 additional cell. Return to the fork and start moving up. When you find yourself in a vast field, keep to the left side to avoid the mysterious enemy and find a piston – use it.
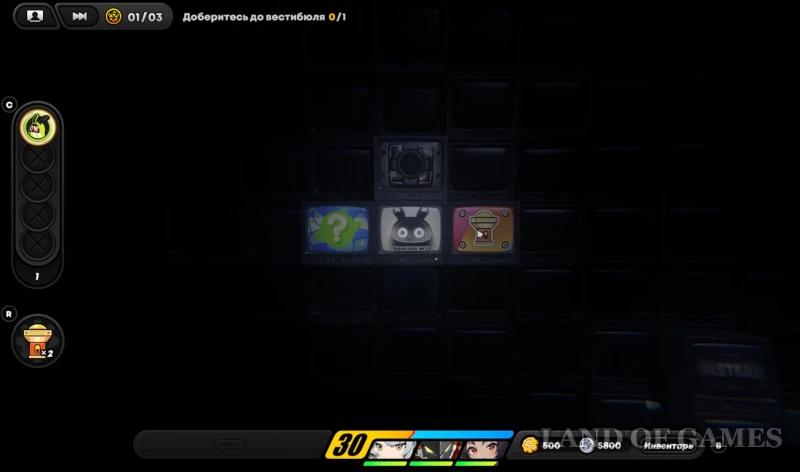
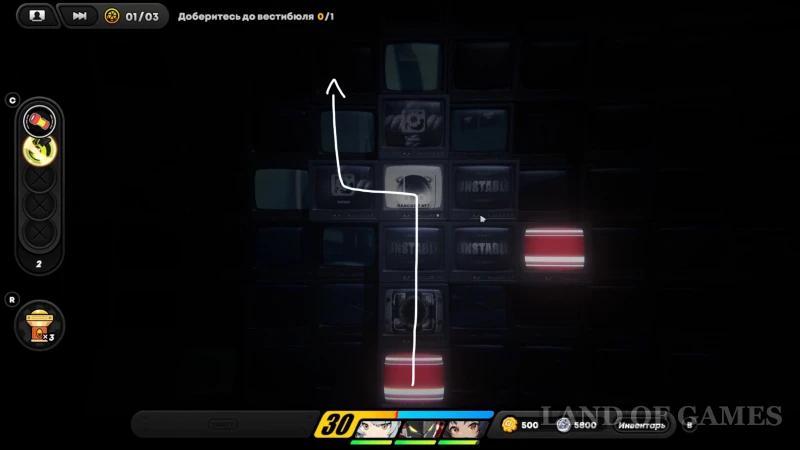
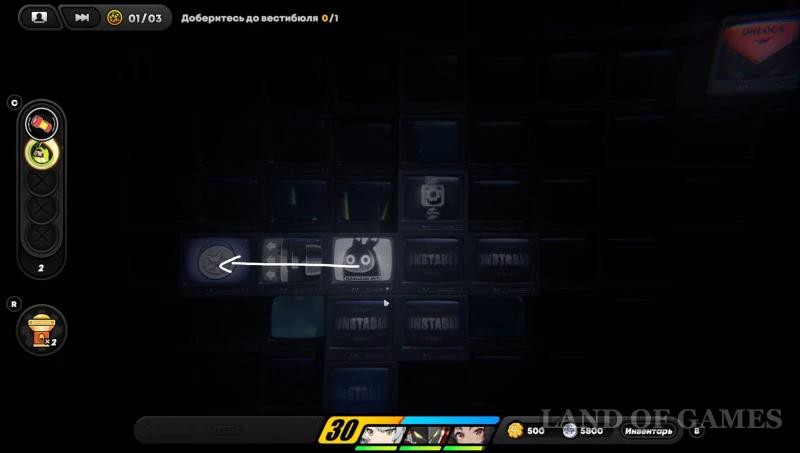
Collect the Second Surveillance Data Packet and Turn on the Light
Once you reach the top, pick up another flashlight charge and immediately use it to scare off the enemy. Continue moving to the right until you reach the enemy – stand on the square with him to begin the combat trial, in which you will have to deal with the usual ghosts and Ahrimans.
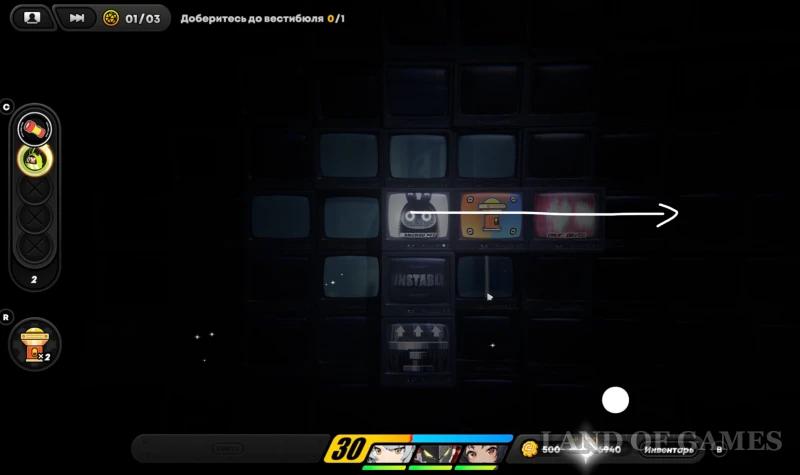
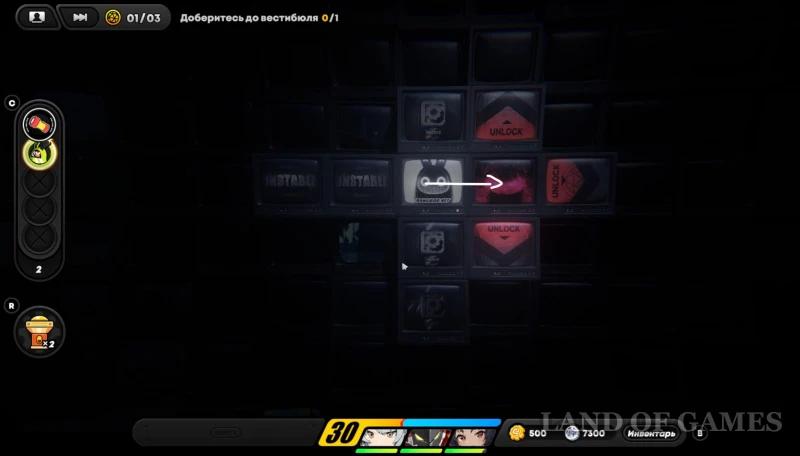
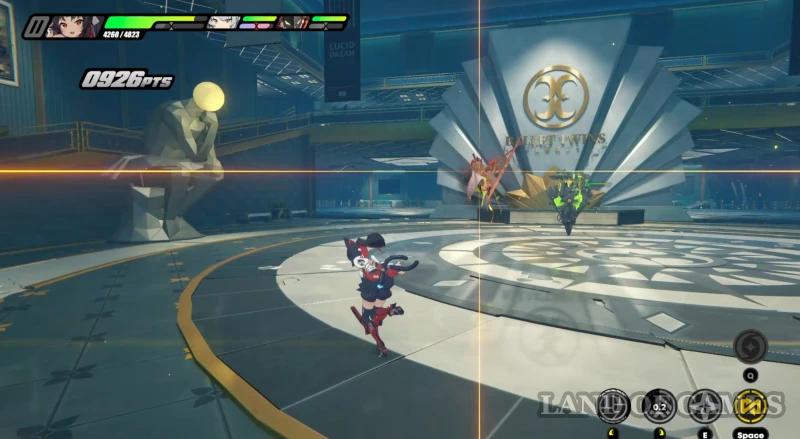
After defeating the enemies and unlocking the cages, pick up the data packet and the golden briefcase, then turn on the light bulb at the bottom to illuminate the area around you.
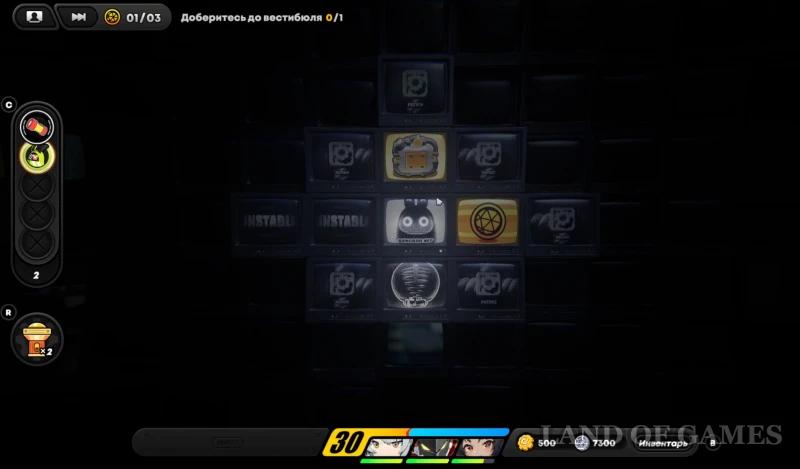
Get the third packet of surveillance data
First, drop down to pick up the flashlight charge, then start heading right, healing your agents along the way. Move right and down until you reach the next fork. Pick up the purple case at the bottom and scare off the enemy with the flashlight. Head towards the lamp at the top and activate it.
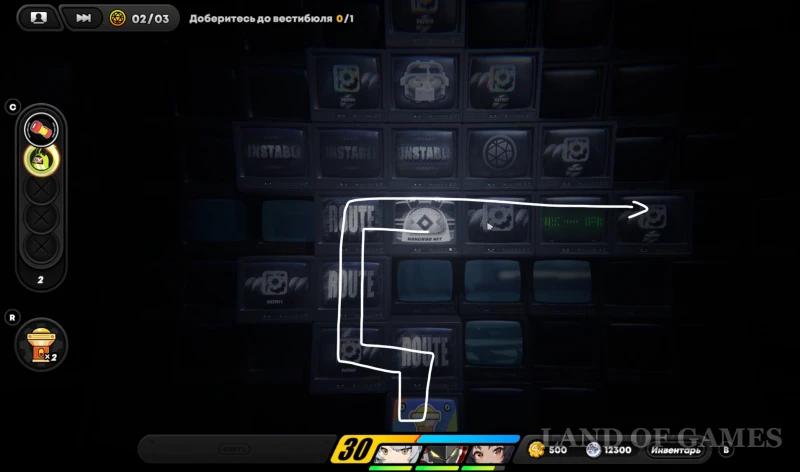
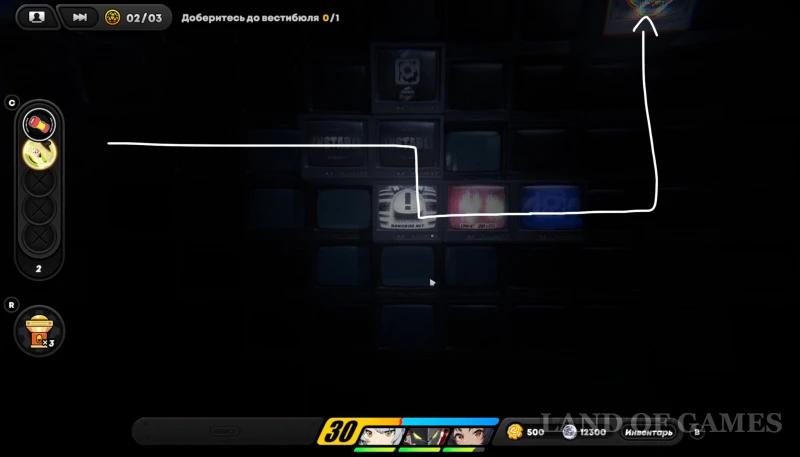
With the entire area highlighted, head up to grab the final data packet, then head to the finish flag on the right to begin the final combat challenge. Chat with your friends and go to the first arena, where you will have to fight Ahriman and ghosts. You will then be attacked by a Goblin who is vulnerable to Ice and Ether attacks. We advise you to quickly deal with him before he goes into rage mode.

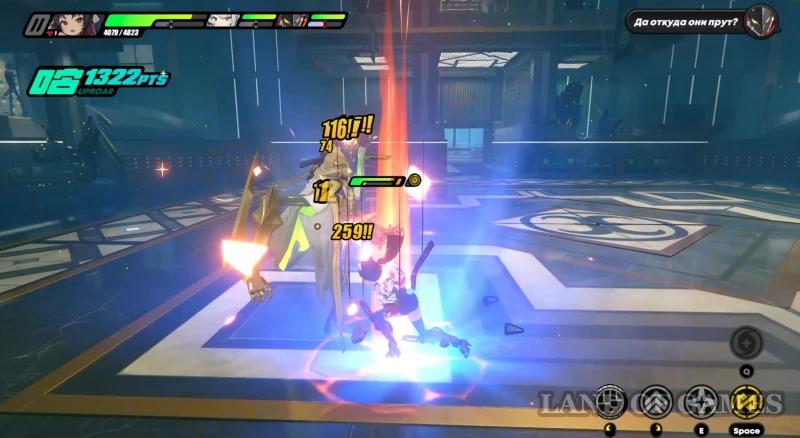
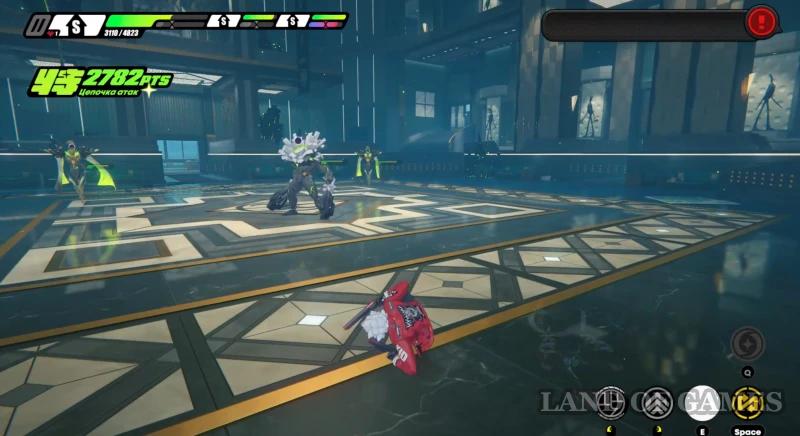
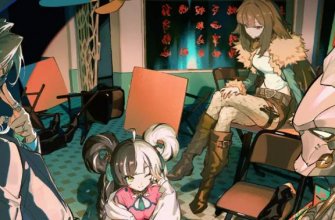
After destroying all the enemies, watch a spectacular cutscene, during which you will get acquainted with Victoria Home Staff Agency. After talking to your new acquaintances (you can choose any answers, as they will not affect the ending), you will complete the order.
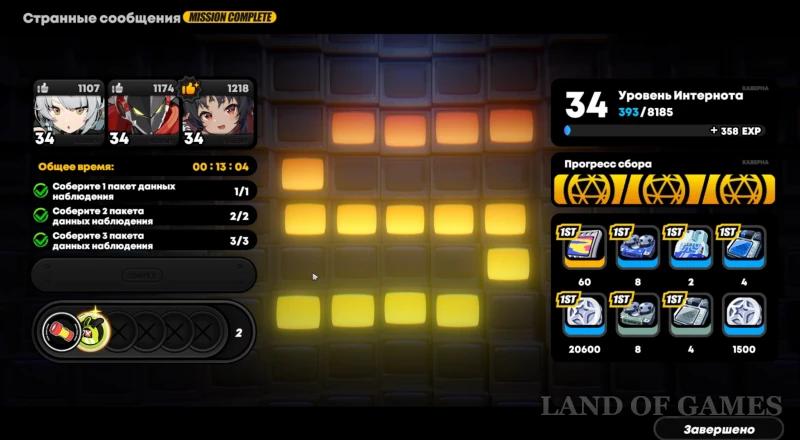
If you followed our instructions, you will receive an “S” rating and the maximum reward: 358 Internet points, 60 polychromes, 22 thousand denni and a lot of materials for pumping.


