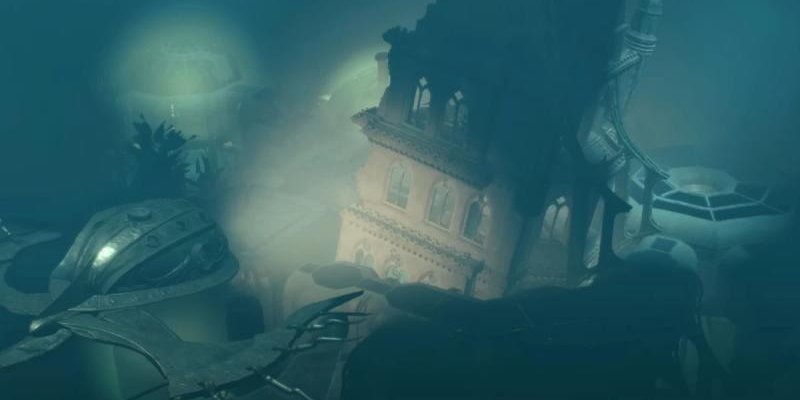
In Baldur's Gate 3, the Iron Throne is an underwater prison, which you can get into in the third act to complete the side quest “Save the Gondians”. In it, you will need to free all the prisoners, including Father Will and the illithid Omelum, in a limited number of moves. If you have any difficulties receiving and completing this task, then study our guide.
Important: This mission is directly related to the quests “Avenge the Iron Hand Clan” and “Disable the Steel Guard,” so we will often refer to them. At the same time, the branch with the Gondians and the consequences of your decisions related to them will be considered here.
Completing the quest “Save the Gondians”
How to start the task and find Zanner Toobin
< p>
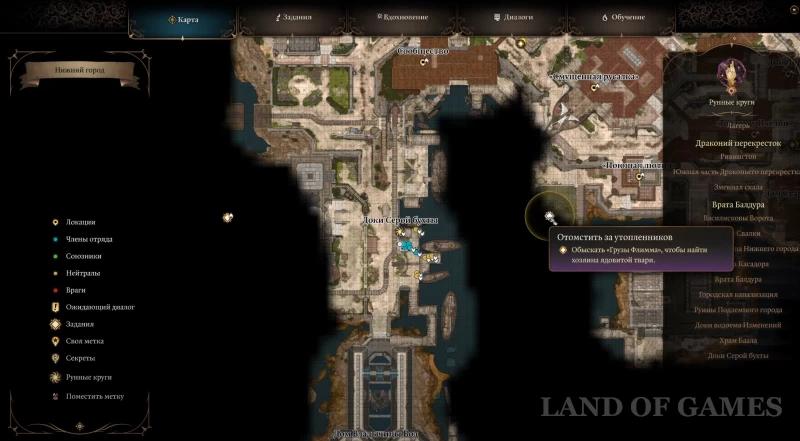
First of all, you will need to infiltrate the Steel Guard Foundry. It is located in the southwestern part of the Lower City, not far from the Gray Bay Docks teleportation point. There are several ways to enter the factory.
- You can teleport behind the bars, jump over them, or simply pick them, and then go to the double doors ahead and open them (requires a 20 Sleight of Hand check). Be careful, as there is one steel guard patrolling this side – use stealth mode to avoid getting caught by him.

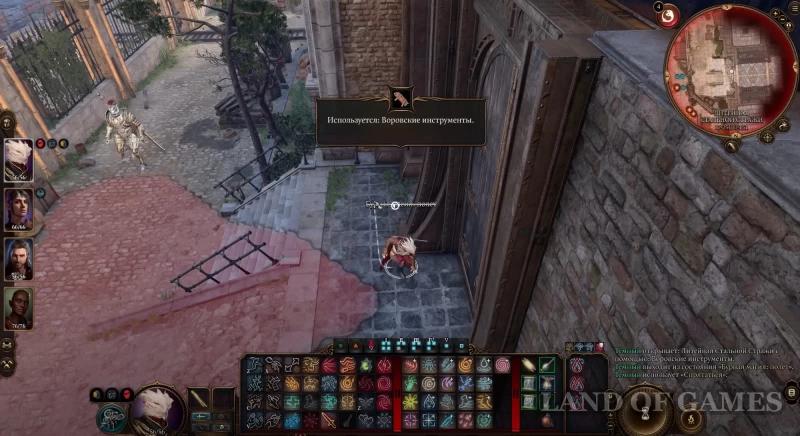
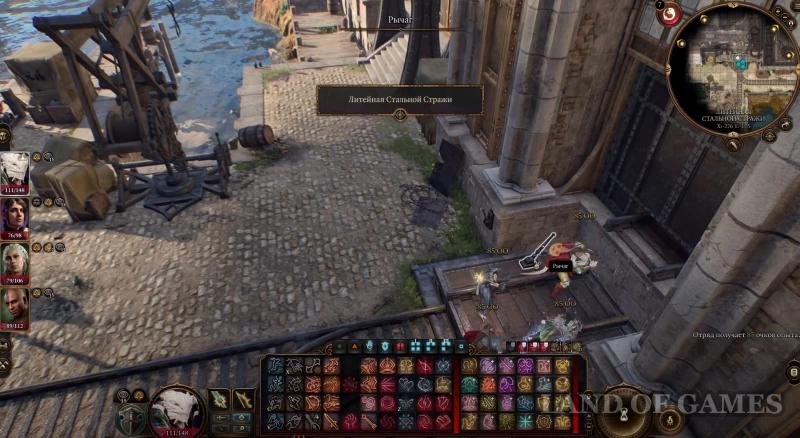
- You can also just break through the grate with a blunt weapon and go inside. If you are spotted by a steel guard, you can convince him that you are allowed to be there by passing a Deception, Intimidation, or Persuasion check (difficulty level 22). As a result, you will be able to safely navigate the area around the factory – we recommend going to the platform (X: -276, Y: -175) on the south side of the building and interacting with the lever to open the entrance to the foundry.
< p>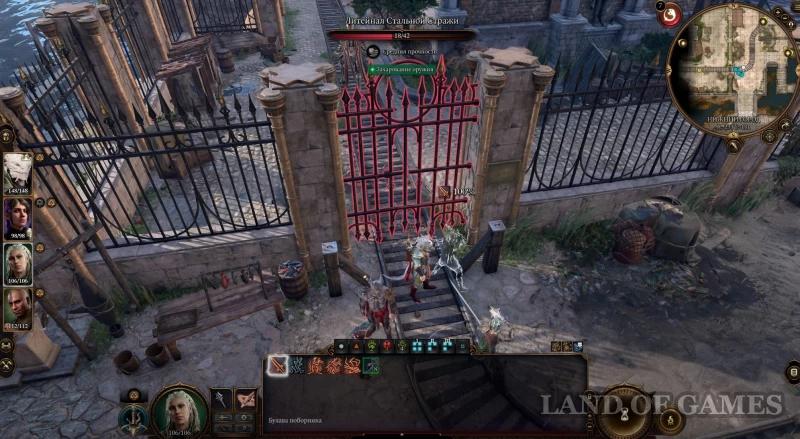

Once you enter the factory, head west. When you find yourself in the main workshop, a cut-scene will start in which they will show how the cultists force the Gondians to work, threatening to kill their families and blow up their collars. If you are not in stealth mode, the cultists will decide to attack you. You can convince the Gondians to help you by passing an Intimidation or Persuasion check.


If you fail to persuade the gnomes, they will remain hostile to you until you deal with Tamia Holtz. After her death, the Motivator that the black hand was carrying will activate and you will need to turn it off by passing an Intelligence check (5). Talk to the survivors – they will panic, telling you that their families are being held hostage.
Note: If you arrive here after rescuing the prisoners from the Iron Throne, you will immediately see in the main workshop Zanner Tubin, who will speak out against the oppressors, leading his people. As a result, battles will begin throughout the plant, in which you can take part.
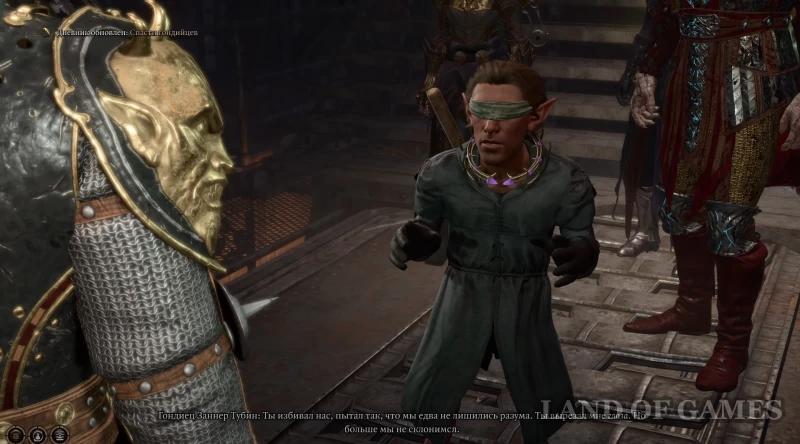
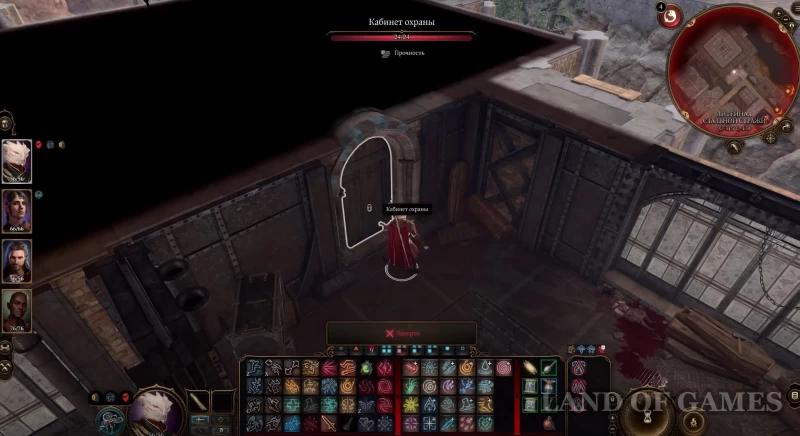
However, it is not necessary to fight with the guards now – you can continue to secretly go west to the security office. Open the door downstairs or upstairs by passing a Sleight of Hand check (15) or using a key that can be stolen from Tamiya. Inside you will find Zanner Toobin. He will tell you about the Gondian families and his daughter who are imprisoned in the Iron Throne prison, and will ask you to get them out of there. As a result, the task “Save the Gondians” will begin.


How to get to the Iron Throne underwater prison
However, Tubin does not know where exactly the prison is located, but in the depths of the foundry you can find more information about it (it is not necessary to search for these documents). To do this, go through the door at the bottom of the stairs in the security office. You will find yourself in a laboratory that is heavily guarded by cultists, so go into stealth mode or use Invisibility to get to the metal platform and look for the “Identified Vessel” piece of paper on the shelf (X: -1968, Y: -459).
< p>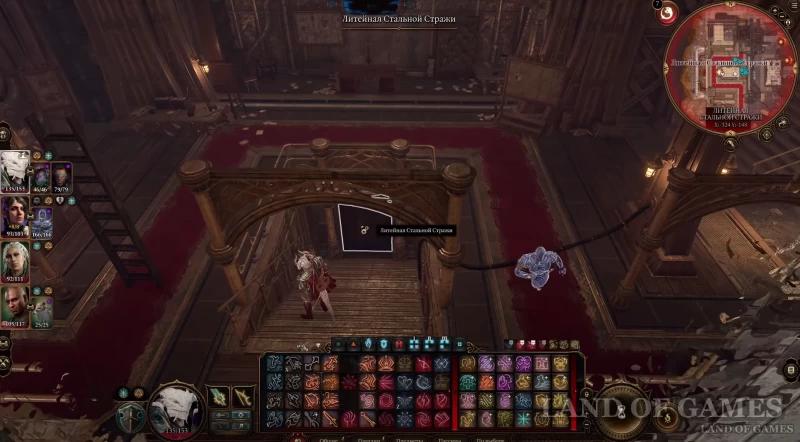

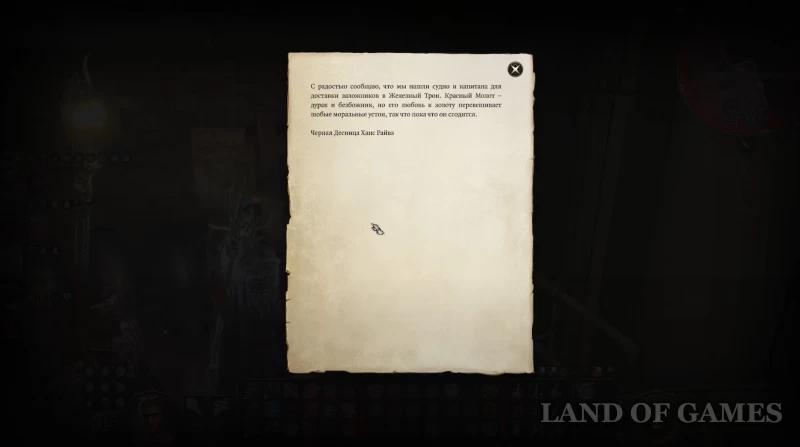
You can also get information about the prison by completing the mission “Avenge the Drowned” or by making a deal with Mizora as part of the quest “Save the Grand Duke”. However, you also don’t have to perform all these actions, but simply go to the desired location, since the main thing is to know where it is.
You can get into it using an underwater vehicle located in the basement of Flimm's Cargo. The building you need is located a little further to the east. You can simply bypass the water hazard by first going north and then going south again. Get to the double metal doors (X: -169, Y: -148) and you'll see a trail of oil if you pass the Attention check. Then hack them (Sleight of Hand 20) to open them.

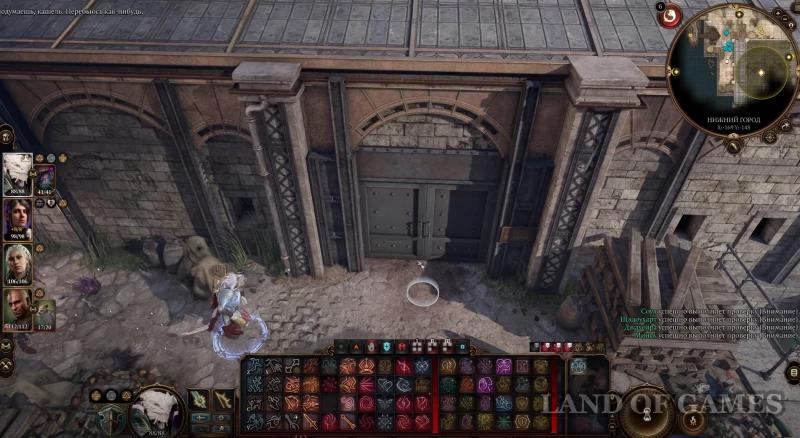
Note: You can also get inside through the roof, going to the eastern side of the building, by climbing onto the roof and opening the door on the metal platform, passing a Sleight of Hand check (15). You can also get here through the sewers or the counting chamber.
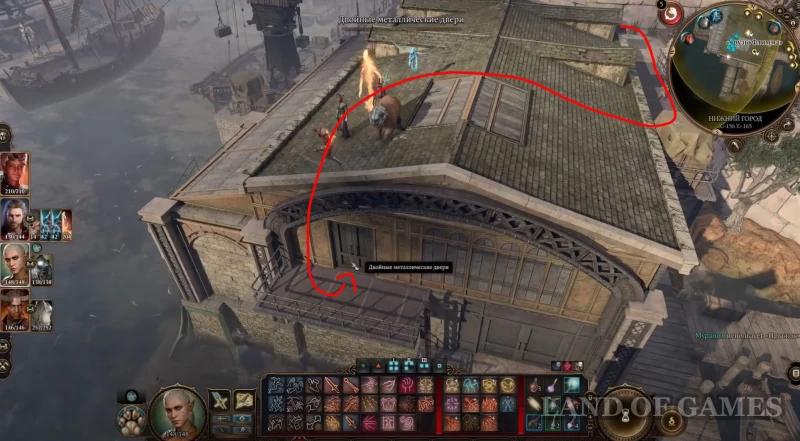
After going inside the building in one way or another, you will encounter a group of wargs. These enemies are not very dangerous, especially if you get into the building from above, as you can safely fire at enemies from a safe distance.
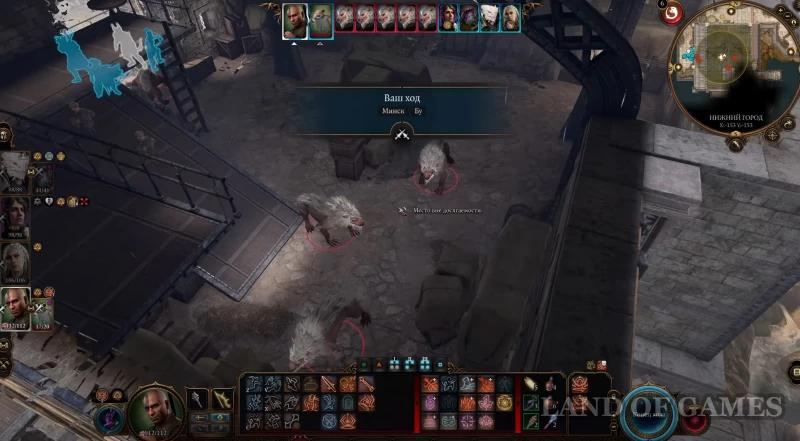
Here you can find a hatch (X: -162, Y: -142) leading to the basement. It is located in the corner of the building and is littered with various boxes and crates, so first you will have to move them to another place, and then interact with the hatch.
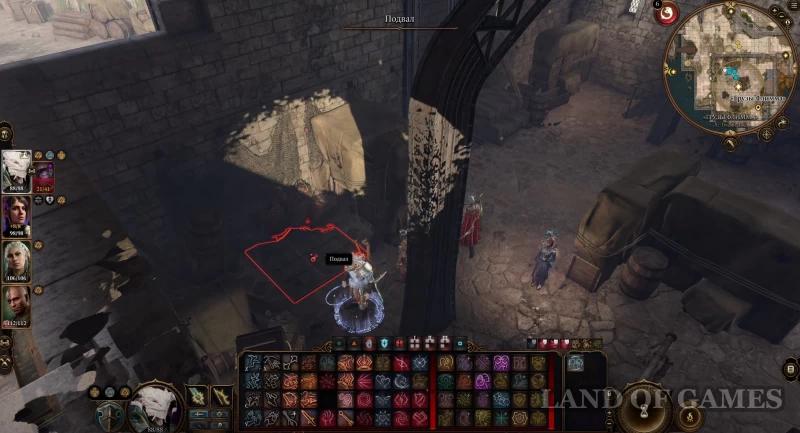
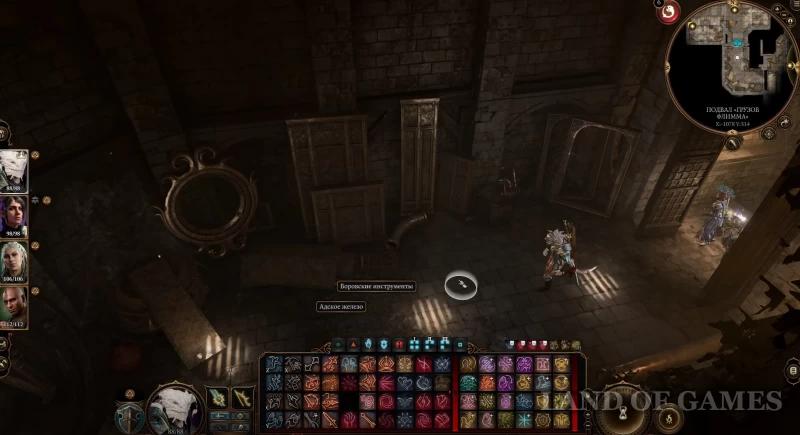
Once in the basement of Flimm's Cargo, go to the prison block in the south, and then to the parts storage cars even further south. Having opened the doors, you will see in front of you thieves' tools and hellish iron lying on the floor. Along the way, you can open chests to find Aquatic Labor (X: -1091, Y: 326) and a Red Hammer Diary (X: -1021, Y: 294), which may further explain the inventor's motives.

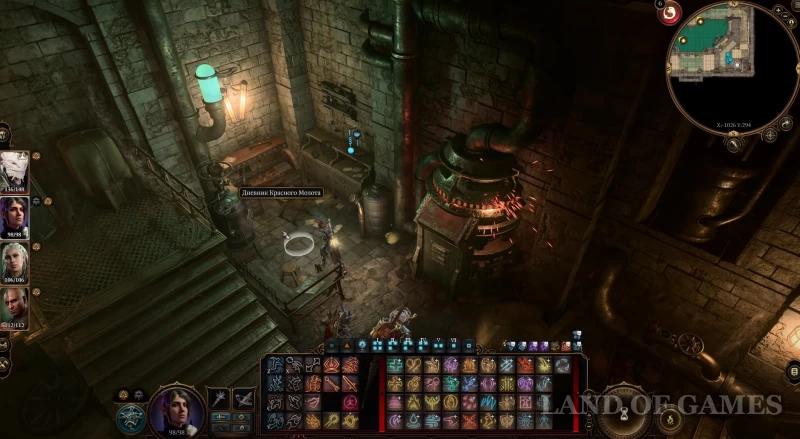
Go to the Underwater Dock and go down. On a metal platform installed above the submarine, you will find the inventor of the Red Hammer, with whom you will need to talk.
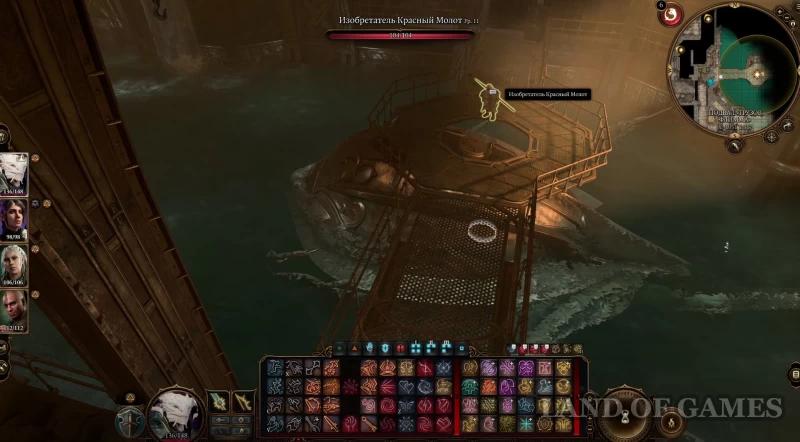
If you are completing the quest “Avenge the Drowned,” then your conversation with the inventor will be slightly different. It is discussed in detail in the corresponding guide. We will show the usual option. You can intimidate him (difficulty level 15) to find out more information about what exactly he is doing. You can then make a Persuasion, Intimidation, or Deception check to talk him into taking you to prison.


You can also simply bribe Red Hammer by paying him 1000 gold, or kill him. You are quite capable of getting to the underwater prison on your own – to do this, you just need to click on the hatch of the vehicle.
Important: Once you reach the Iron Throne, the quest “Consider Gortash's Proposal” will be considered failed, and the lord himself will become hostile towards you. Let's add that if you go to the underwater prison before Gortash's coronation (technically this is quite doable), you will not find Duke Ravengard there. When you head to the Fortress on Snake Rock, all its inhabitants will be hostile to you, including Will's father (sometimes an inscription about his death immediately appears).
How to save all the prisoners from the Iron Throne
Note: You should carefully select your squad, as well as prepare potions and spells before descending. We recommend taking Drow Poison and Speed Potion, and equipping your characters with Misty Step, Telekinesis, Invisibility, Dimensional Door, and Grant of Flight.
After boarding the underwater vehicle, watch a video during which your ship will sail to the desired location. After this, you will see Enver Gortash on the screen, who will inform you that he will blow up the prison if you try to get the prisoners out. He will give you one chance to turn back – still dock at the Iron Throne.
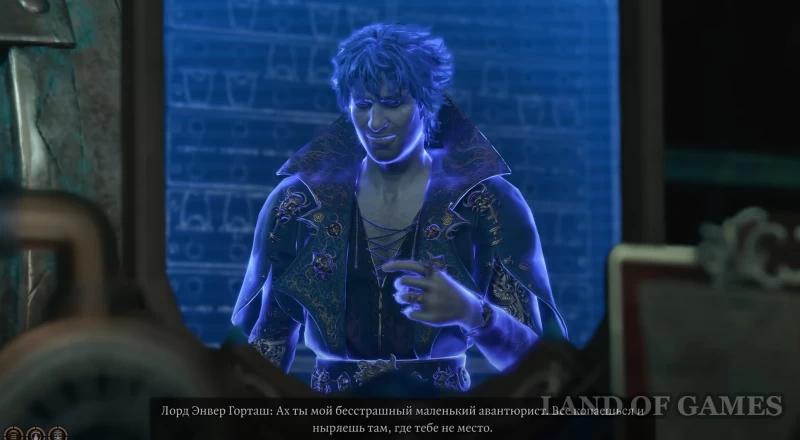
Before you start rescuing the prisoners, we will give you some useful tips:
- < li>On easy difficulty you will have only 8 moves to get all the prisoners out, on medium – 6 moves, and on tactics – only 5.
- If you don’t want to bother too much with this mission, then you don’t have to rescue absolutely all the Gondians. For a good (not perfect) completion, it will be enough to pull out the Duke of Ravengard, Omelum (will appear here only if you did not give the egg to Lady Esther/The Society of the Radiant in the quest “Steal the Githyanki Egg”) and Obelia Toobin (Zanner’s daughter).
- It is enough to bring only one team member to the underwater ship, that is, you can let the rest of the companions die. Then you can easily resurrect them using the Withered or resurrection scrolls (the corpses of party members will appear on the southern coast of the Lower City).
- Give all party members at least one speed potion, but do not use it right away, as after 3 turns the lethargy effect will set in, causing them to miss a turn. This elixir is mainly necessary for making the final push towards the ship.
Next, we will tell you how to not only save absolutely all the prisoners in prison (there are 15 of them here), but also have time to take valuable loot with you. Immediately get ready for the fact that you will have to divide your squad and send its members in different directions. The map below shows the location of important characters and items, as well as brief recommendations for sending heroes.
 < /p>
< /p>
Saving the Gondians (west)
In the western direction, send one damage dealer who can deal good damage and at the same time withstand or evade the attacks of the Sahwajins. It is highly desirable that he have thieves' tools and pumped up Sleight of Hand. Go down and deal with one enemy standing in front of the passage to the western corridor. Then immediately open the chamber on the left to take out Caralia Grollo.
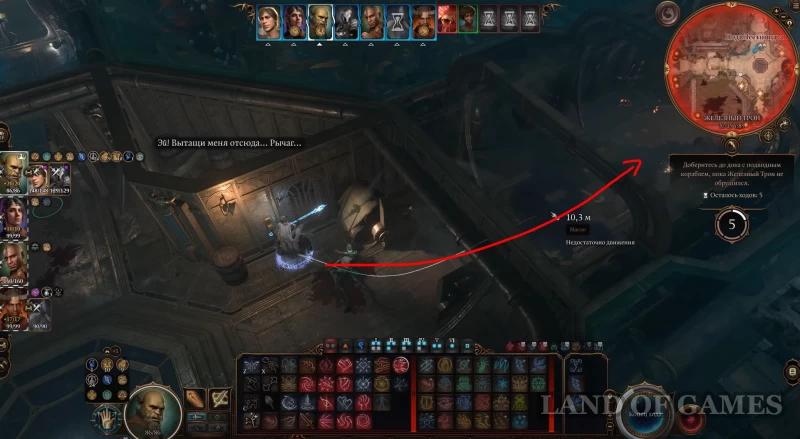
Note: You can also send one summoned creature (elemental) here if you have one to support the character in battle or delay enemies if you immediately run for the key.
Start moving forward along the western corridor. To quickly overcome it, use Misty Step or Door in Space. This is where you will most likely end up with your first turn. On turn 2, enter a room with two cameras and two Sahwajin hunters who can cast a net on your characters. You can defend against these attacks with a Shield.

If you are sure that you will have time to kill the Sahvajins in turn 2 (you can simply put them to sleep using drow poison) and open the cells, then attack your opponents. Otherwise, open two cells first, since the prisoners run very slowly, so they need 2-3 turns to reach the ship from here, and then deal with the enemies.
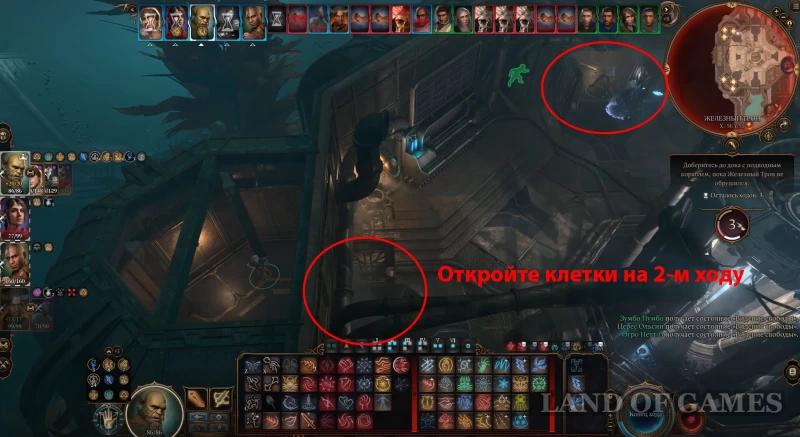
Now on turn 3, move to the locked door to the north and break it open with a Sleight of Hand check (25). Use a Haste spell or potion and run to the first door on the left to get the Vault Key 6 in the Accounting Chamber from the chest. Don't pay attention to the Sahvajins walking around here.

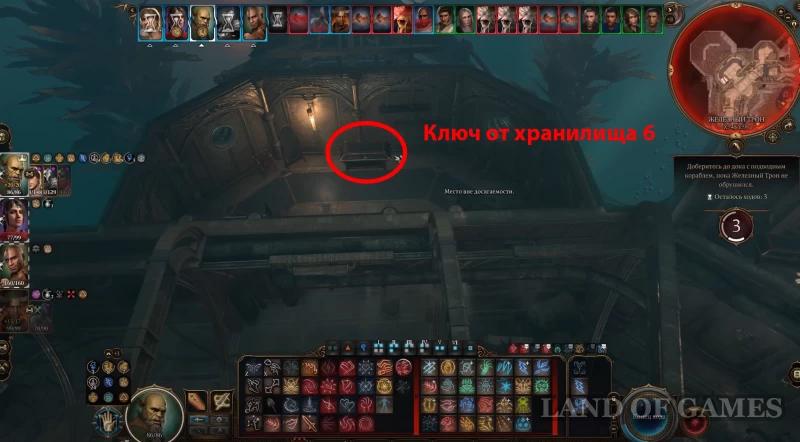
Next, you can either run back to guard the escaped prisoners (7 in total) on the way to the ship, or continue forward and open the second chest (it contains jewelry) in the next side room, and then return back through the northern corridor. Here you can decide for yourself whether the game is worth the candle, but 2 turns should be enough for you to return to the ship if you still have methods of fast travel. As a last resort, you can leave this hero in prison, and then simply resurrect him.
Saving Duke Ravengard (east)
You can only save Will's father if you were present at Gortash's coronation. If you have Will in your party, be sure to talk to him after this event, and then return to the camp to see the new deal between him and Mizora as part of the quests “Blade of the Frontier” and “Save the Grand Duke”. At the same time, Will does not have to accept a new agreement with the she-devil to save his father.
This direction will be the most difficult if you have not made a deal with Mizora, so we recommend sending two heroes there: a damage dealer (for example, Will) and a healer (Shadowheart, for example). Go down with the damage dealer, cross the corridor with Misty Step or another ability and attack the two Sahwajins located here. It is advisable to hit them with some kind of area-of-effect magic.

Note: Summoned creatures should be sent exactly to the east. They will help deal with the enemies that appear here and, if necessary, will be able to protect the escaping prisoners by quickly returning to the center of the location (place them in the southern corridor, since this is where the new Sahwajin will come running first).
Now select a healer and go down down them and also move into the eastern corridor, opening the chamber on the left, where Flancy Tornvist sits. Cross the corridor using some spell. If you're lucky, on turn 1 you'll reach the Duke's cell and deal with the Sahwajin.
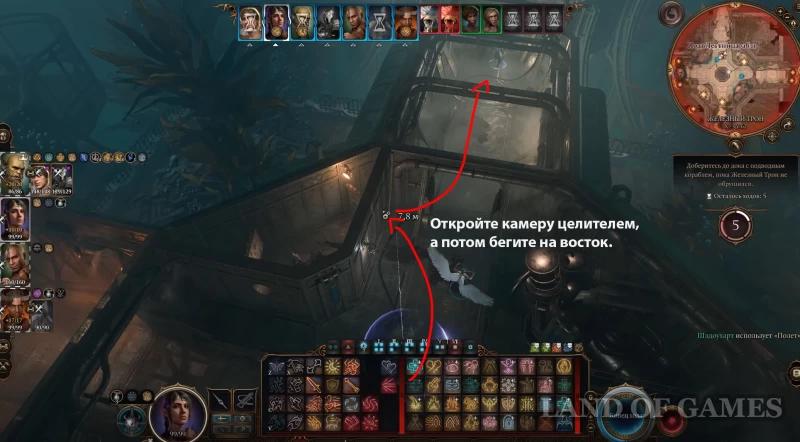

On turn 2, finish off the lizards if they are still alive, and then use the healer to open the two cells on the right to release the Duke, Marlono Randle and Didl Ofran. Immediately heal Will's father and cast Invisibility or Sanctuary on him if possible. Bring the damage dealer into the room so that he can use his attacking abilities without any problems.

< p>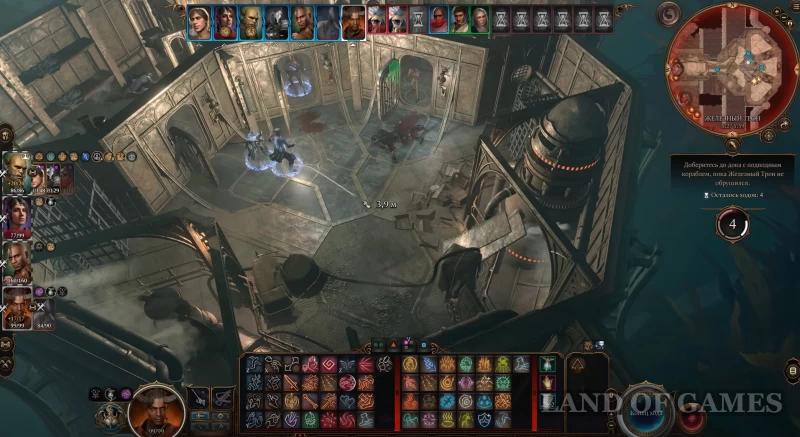
Take control of Father Will and exit the cell. If a deal was not made with Mizora, then she will appear and summon 6 spiders, which will immediately attack the Duke. If he does not have full health or protection, he will die. If you previously made it invisible or placed it in a shelter, then the spiders will not do anything. Two prisoners from another cell, by the way, will be able to quickly slip past.

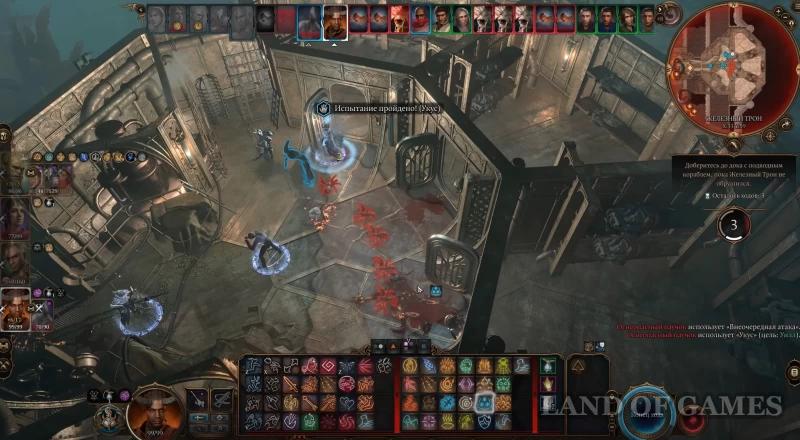
Add that after meeting with the she-devil, Ravengard will kneel, so you will need to use ” on him Help” so that he could get up again and be able to run towards the ship. On turn 3, deal with the spiders by using some kind of area-of-effect spell, and then run to the ship using Dash and Haste. As a result, you will save 4 more people here.
Saving Omelum (south)
You will find it here if during the quest “Steal the Githyanki Egg” you did not give the egg to Lady Esther. Choose a character who can take a lot of hits or dodge them. You don't have to worry about his mobility, since in the end he will still be able to simply teleport to the ship. Run to the south, where you will immediately meet Obelia, who will rush to the ship (she will climb into it on the 1st turn).
Use a spell or Haste to quickly overcome the corridor and get to the next room. On turn 2, free Santoria lying on the couch and open the cell with two more prisoners. If you still have action points left, then start moving to the right.

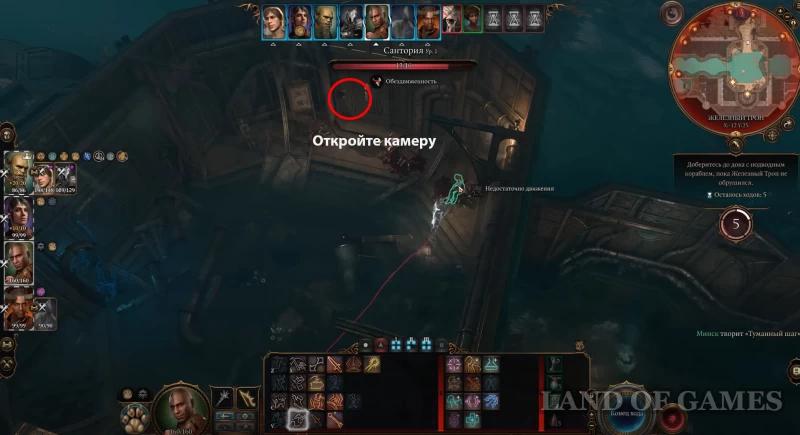
On turn 3, open the double greenhouse doors on the left to enter the room with the illithid. You can ignore the sahvajin ahead. Upon entering the cell, you will find Mistletoe tied to a cot. Use “Help” on him to free him from his bonds. After this, control of the illithid will pass to you. Note that he has a spell that allows him to instantly teleport to a ship along with another hero. However, before moving, be sure to pick up the illithid parasite sample from the table.

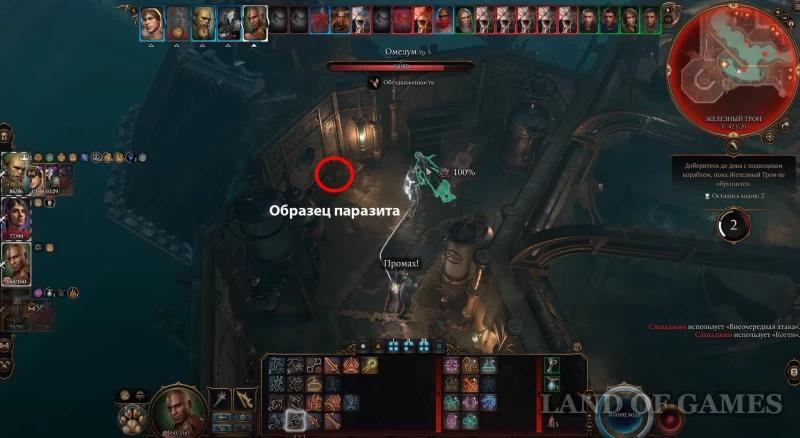

Having opened all the cages, simply start escorting the captives to the stairs, making sure that they are not disturbed by the reptiles emerging from the water. If prisoners are crowded in one place, getting in each other's way, you can use Push, Telekinesis and Magic Hand to move them forward. Then return to the ship and watch the video.

Destroy the Steel Guard foundry< /h3>
After rescuing the Gondians, return to the surface and re-enter the foundry. If this is your first time visiting the factory, you will see Toobin calling on his kin to attack the cultists. Help them in battle and don't forget to deactivate the Motivators. Then talk to Zanner. He will ask you if his daughter is okay. If she died, you can lie to him about it so that he will volunteer to help you destroy the foundry. If you have a bomb received from the Iron Hand clan, you can refuse their help.

Then go back to the security office and go through the door that leads to the lower floor to the Steel Guard foundry laboratory. You can also use the elevator. Here, too, there will be battles between the Gondians and the guards, in which you should take part in order to save more shorties. Next you need to move north to the large door (X: -195, Y: 458), leading to the Vestibule of the Control Center. Open it with the Control Level Key (dropped by the black hand of Hans Ryves) or hack it with a Sleight of Hand check (25).
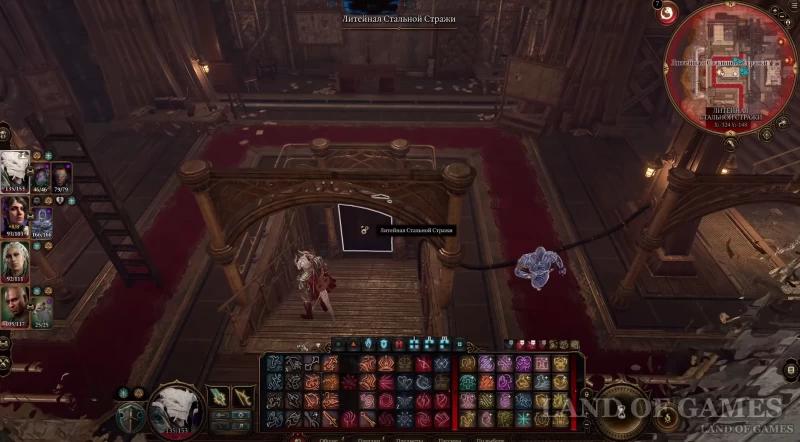
Note: If you have not yet freed the Gondians and are going through in stealth mode, then breaking the door will trigger the alarm and cause the death of the prisoners in the Iron Throne.
You will find yourself in the corridor of the Control Center, where there are containers with brains on the sides. Interact with the jug shown in the picture below to initiate a dialogue. Apparently, the steel guard caught the fugitive dwarf. You can take control of him and free the thief by passing a Wisdom check.

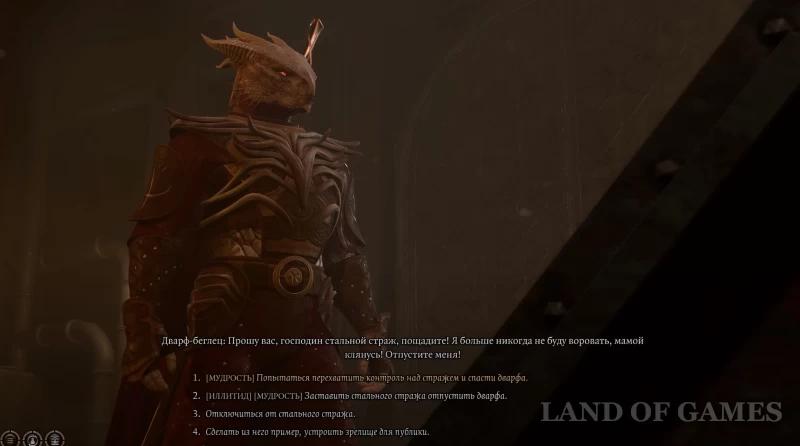
Go forward through the second door. If Toobin is with you, he will talk to you and tell you about the superguard Titan, and also inform you that he will not go further. Prepare for a tough fight.
Note: If all the Gondians in the factory die, Zanner may lose his will to win, so you will need to persuade him to move on by passing a Persuasion or Intimidation check . If you fail, you'll simply receive the foundry's self-destruct code from him.
How to blow up a neural switch
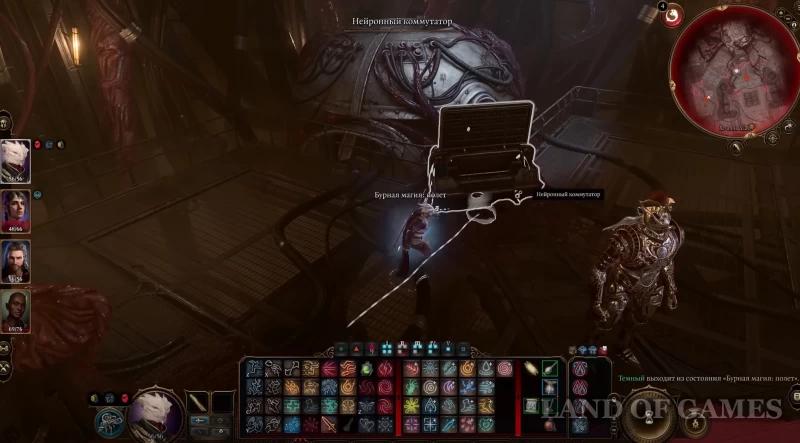
So, you have to fight three Hellfire Guardians (level 11) and a Steel Guard Titan (level 12). We talked about the battle with him in detail in another guide. After dealing with the enemies, interact with the Neural Switch in the northern part of the room. If Tubin is nearby, he will be able to turn on the self-destruction system himself, asking you for permission to launch it.
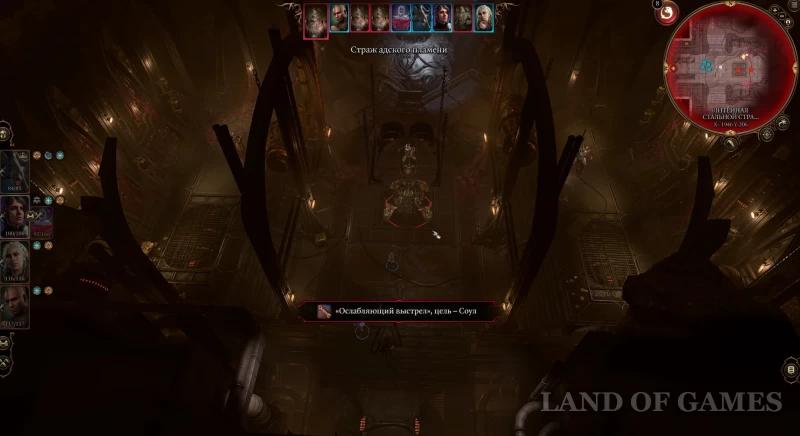

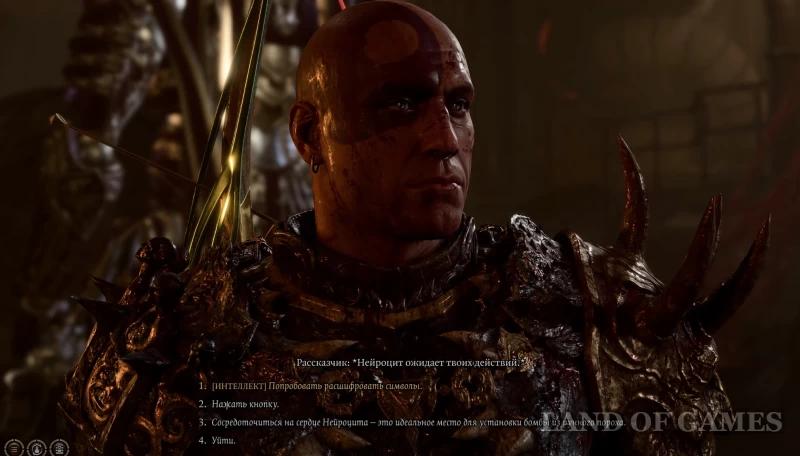
If Zanner is not there or he died, then use his code or plant a bomb with rune powder taken from Wulbren. Watch the cutscene with the destruction of the foundry.
Note: If you still cannot destroy the Titan, and you have explosives or Toobin's code in your hands, then you can secretly make your way to the switchboard. To do this, go into stealth mode, enter the room with the Hellfire Guardians and use misty step to get out of sight of the robot standing directly in front of the console (you can probably use an invisibility potion). Now just interact with the neurocyte and blow it up.

The arrival of the Iron Hand clan
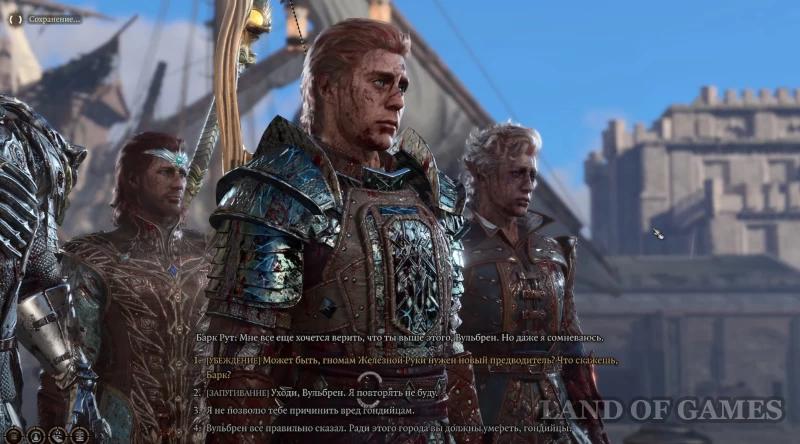
When you finally blow up the foundry, a cutscene will begin. Wulbren may then appear (if you completed the “Save Wulbren” quest) along with the other deep gnomes and congratulate you on your victory, but say that all Gondians should be killed (if they survived; or there is only one Toobin left) as they will always represent threat to Baldur's Gate. If Bark is alive (you helped him in the quests “Save the Dwarf” and “Save the Dwarves in Grimforge”), he will object to Bongle, believing that he has a negative influence on the clan. You will have several answer options leading to certain consequences:
- If you are playing the role of a good soul and Ruth is alive, then select the answer “Perhaps the Dwarves of the Iron Hand need a new leader? What do you say, Bark?”, passing a Persuasion check (15). In this case, Bark will be able to form an alliance between the Dwarves and the Gondians, and both groups will become your allies in the final battle. Vulbren will leave, showering everyone with curses (we did not meet him in the future).
- If Root is dead, you can make a Persuasion or Intimidation check (difficulty class 20) to force Wulbren to leave without a fight. However, in this case you will only get Gondians as allies. Vulbren will promise to take revenge on you, but we never saw him again.
- When choosing the answer “Vulbren said everything correctly. For the sake of this city you must die, Gondians,” you will have to fight with the surviving Gondians (the dwarves will become your allies). If you say “I will not allow you to harm the Gondians,” then you will have to fight Bongle and his dwarves (the Gondians will become your allies).
Note that even if you plan to intercede for the Gondians, but did not save the prisoners from the Iron Throne and lied to Zanner about it, Vulbren will point to the corpses , floating in the water, and the Gondians will automatically become hostile towards you.
Besides experience points, you will not receive any other reward for this quest. Unless you can enlist the help of the Gondians and/or the Dwarves in the final battle.


