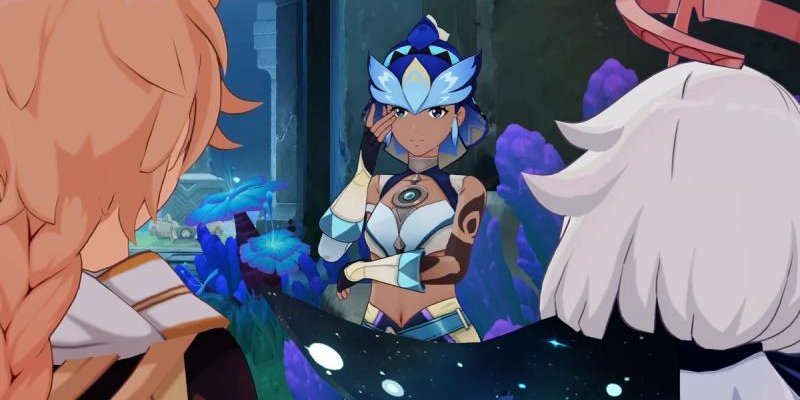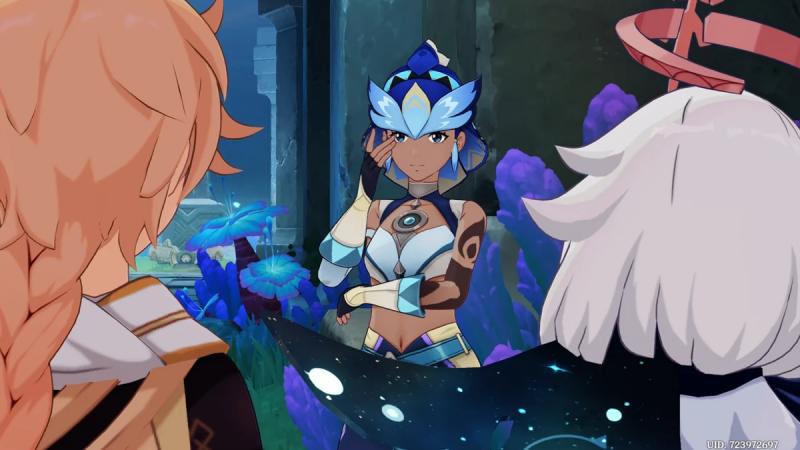
In Genshin Impact, “The Past Cannot Be Traced” is a world quest in Natlan and the first step in the “A Tale of Dreams Torn from the Fire” quest chain. The mission takes us into the ruins beneath the Waters of Ameyalco and meets Chikia, who is suffering from back pain. We need to help a native of the Night Wind Lords explore the lava ruins, open a spiritual path to the upper worlds, and obtain the “elixir that heals any wound.”
Next, we will analyze the full walkthrough of the quest “The Past Cannot Be Traced”: we will tell you how to explore the ruins and go through the gate with the engraving, and then find and examine all the opening symbols.
How to start and complete the quest “The Past Cannot Be Traced”
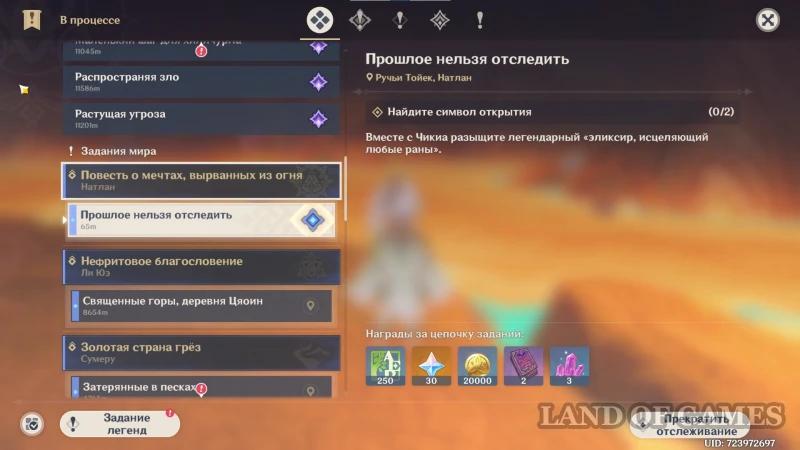
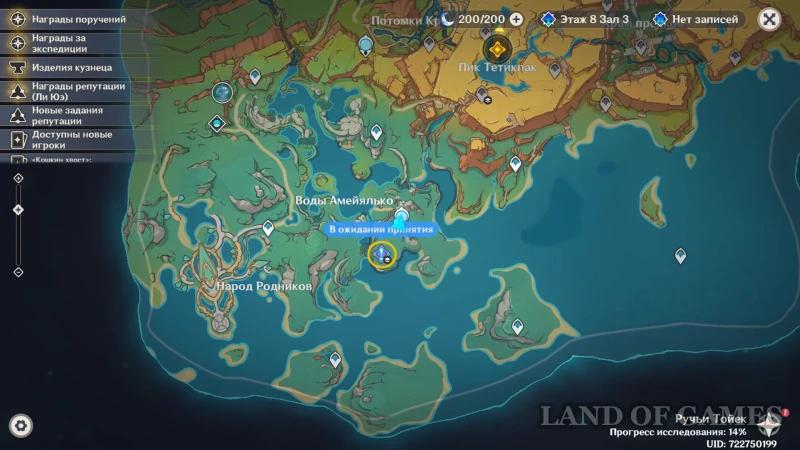
To start the quest, you must have at least Rank 28, and then simply head to Natlan, to the Toyek Creek area. After investigating the local Archon statue, the quest will automatically appear on the map with the “awaiting acceptance” mark.
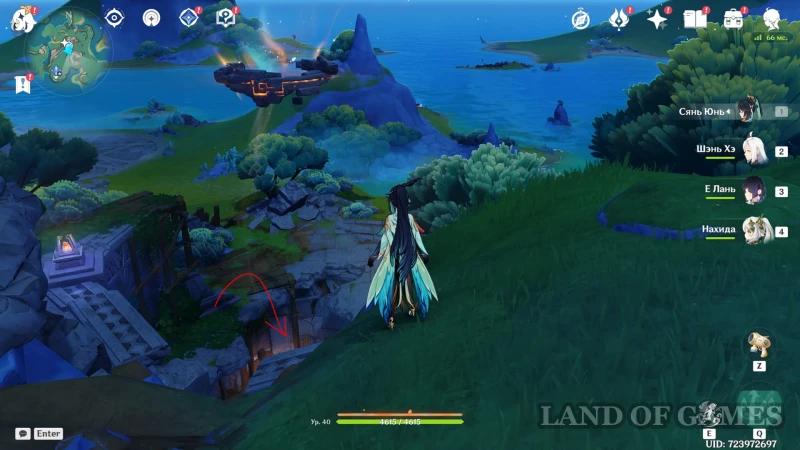
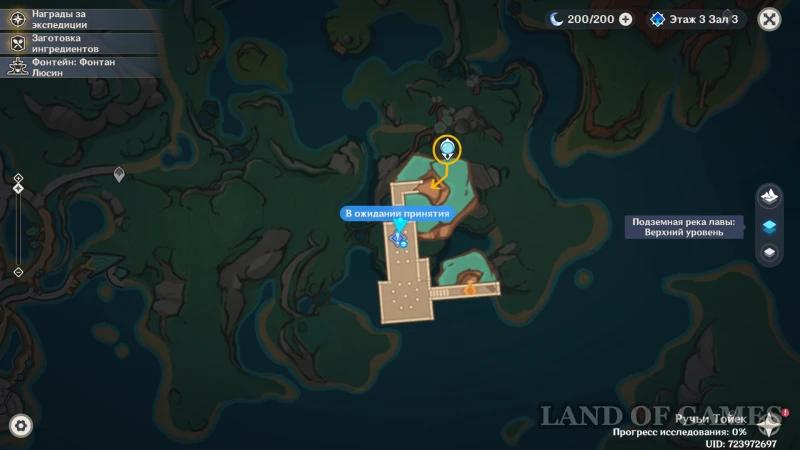
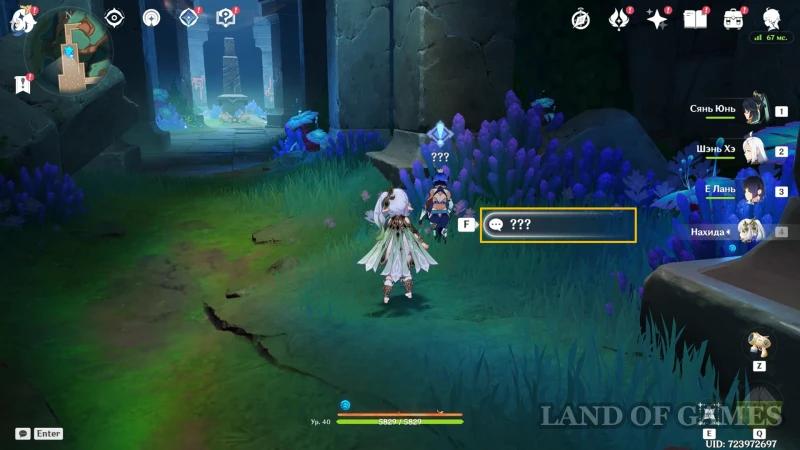
Travel to the ruins and go down the hole under the inactive ring of phlogiston molasses. Move forward until you see a stranger sitting near a column.
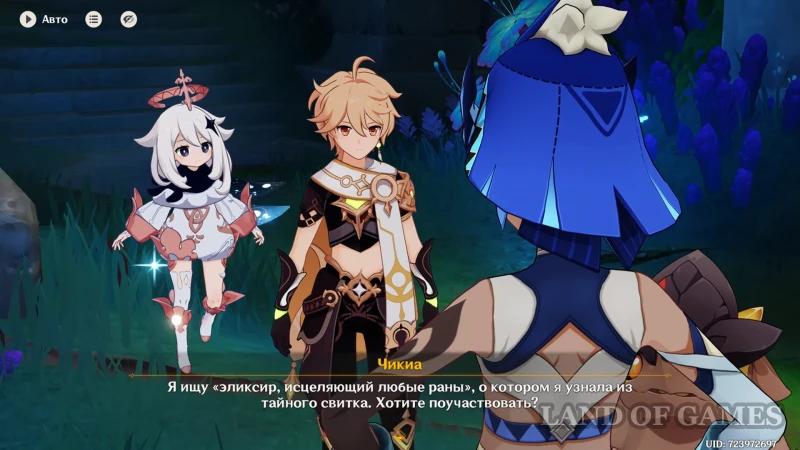
Chikia will tell you about the purpose of her journey – the search for an unusual treasure, which she calls a certain elixir that can cure any ailment. She suffers from progressive back pain, and the Traveler just needs to help a small dinosaur who became attached to us at the beginning of our wanderings in Natlan.
Defeat the mechanism
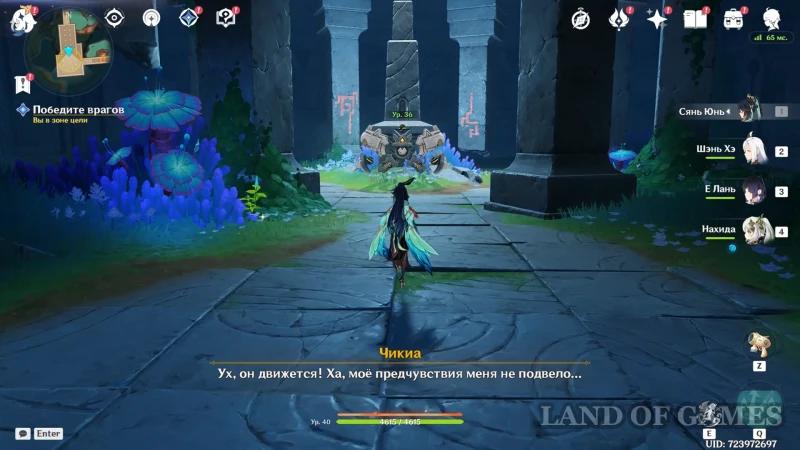
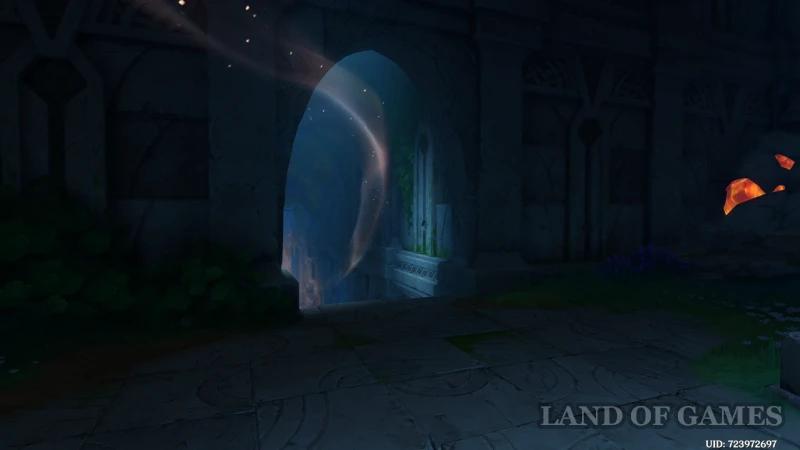
First, go to the mechanism in the northern half of the ruins and defeat the awakened enemy. After the enemy disappears, a passage into the ruins will open to the left of the stone stele.
Explore the ruins
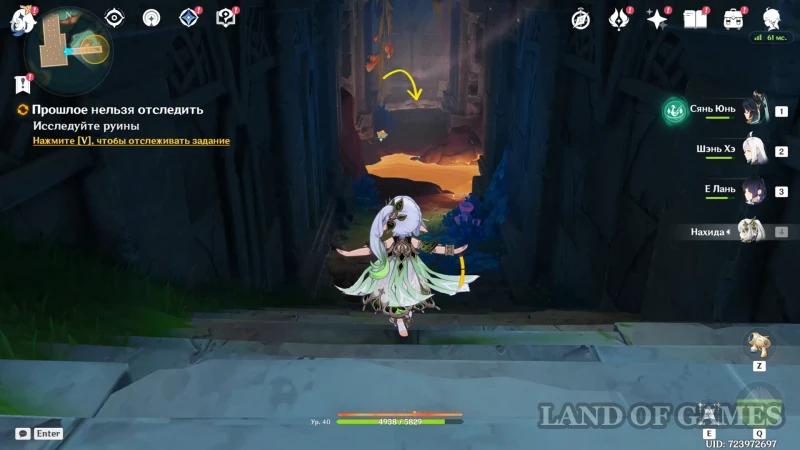
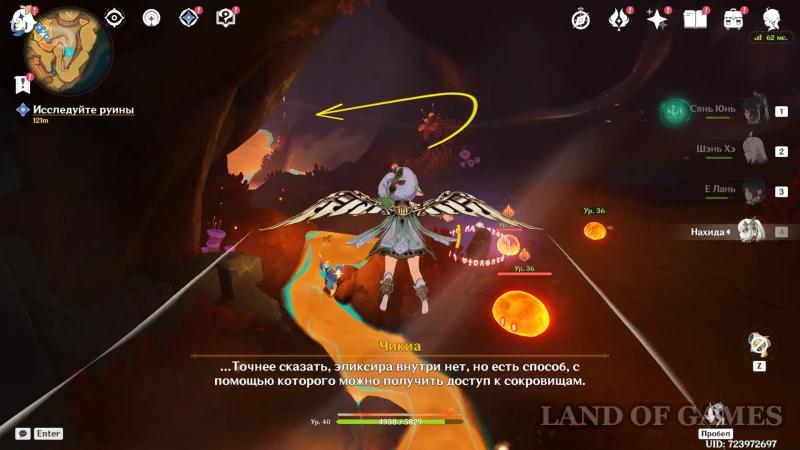
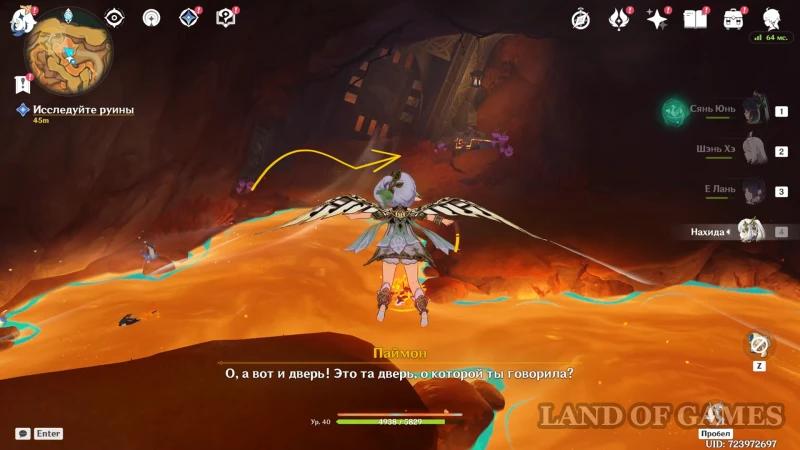
Through the opened passage, move to the end of the corridor and jump on the glider into the hole. Then follow the flow of the lava river into the cave with the burning lake, in the northern part of which there is already a second locked gate—you need to approach them.
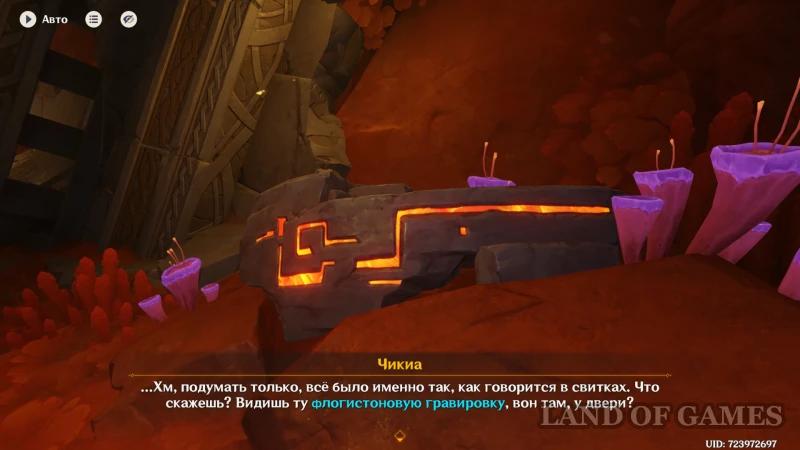
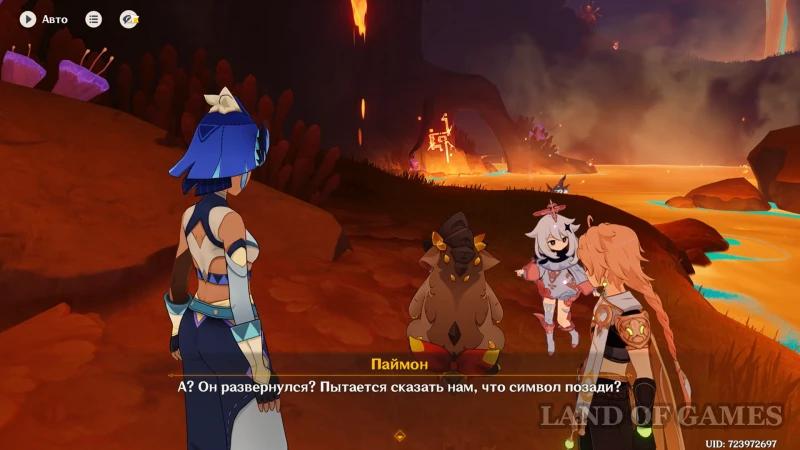
To the right of the closed passage, the heroes will find a slab with a phlogiston engraving in an ancient language, which is activated with the help of a special opening symbol. It remains to find a monument with similar glowing notches nearby.
Find the Opening Symbol and Paste It into the Phlogiston Engraving
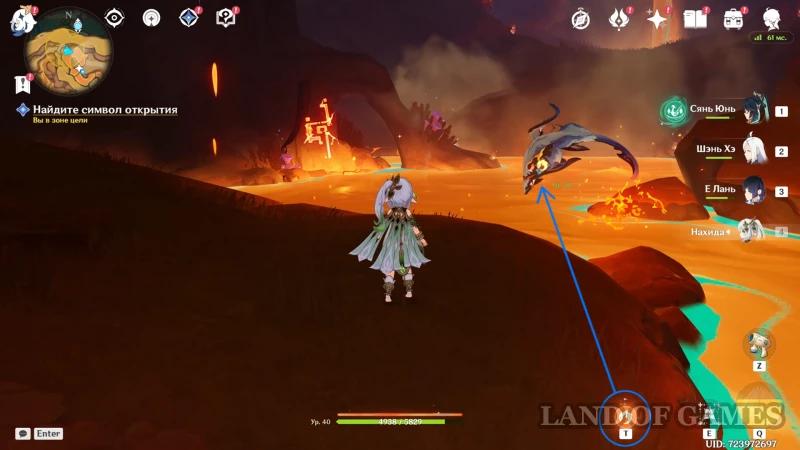
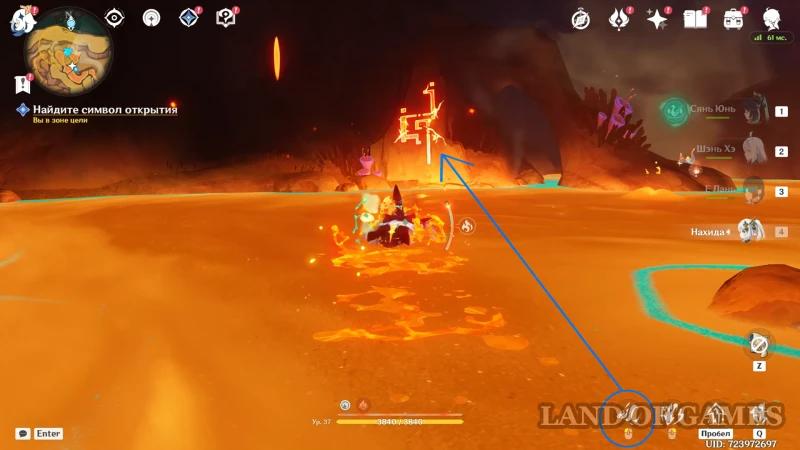
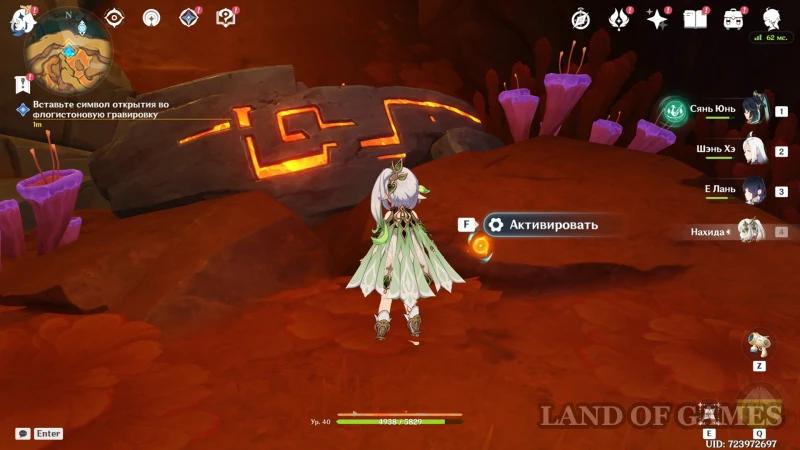
We turn the camera to the right of the engraved plate and see a sharp rock with similar symbols on the far shore of the lake. To use it, you need transform into one of the large water dragons, bathing in lava: approach the coholasaurus so that a yellow symbol appears above it, then press the flickering ability at the bottom of the screen (the “T” key on PC). In the form of a dragon, dash to the symbol (by pressing RMB), and when the ancient inscription goes out, return and activate the engraving.
If you have Mualani in your party, you can use her instead of dragons and surf the symbols when the heroine is in Night Spirit mode.
Examine the device in the center
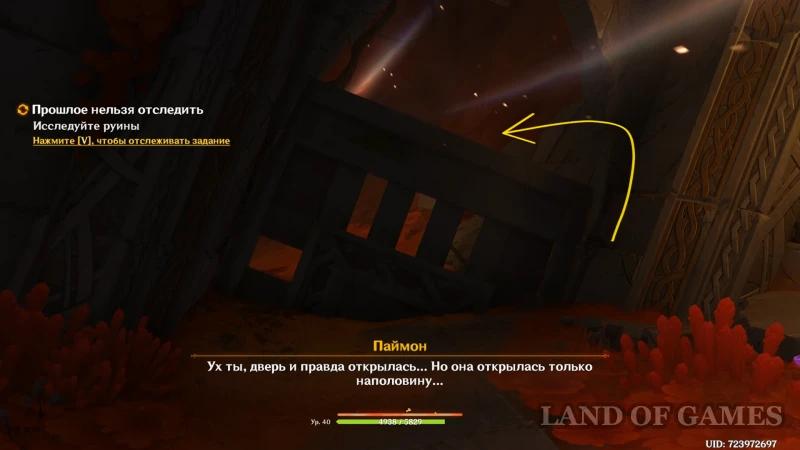
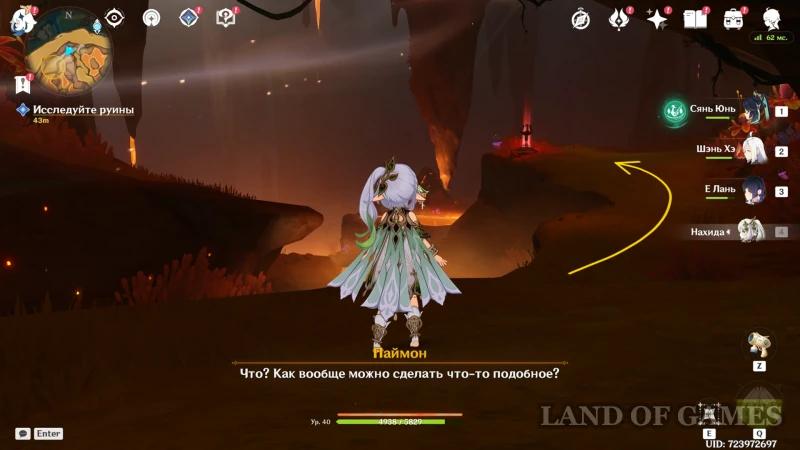
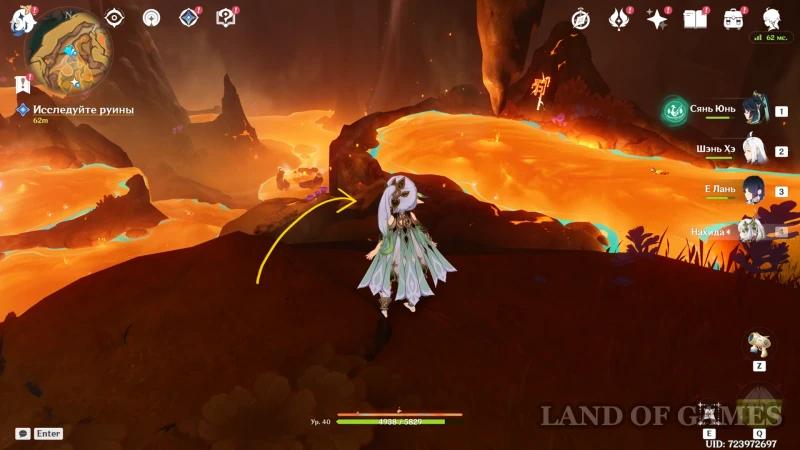
Activated phlogiston grooves on the plate tear off part of the gate, through which you need to pass to the next area with an underground teleport.
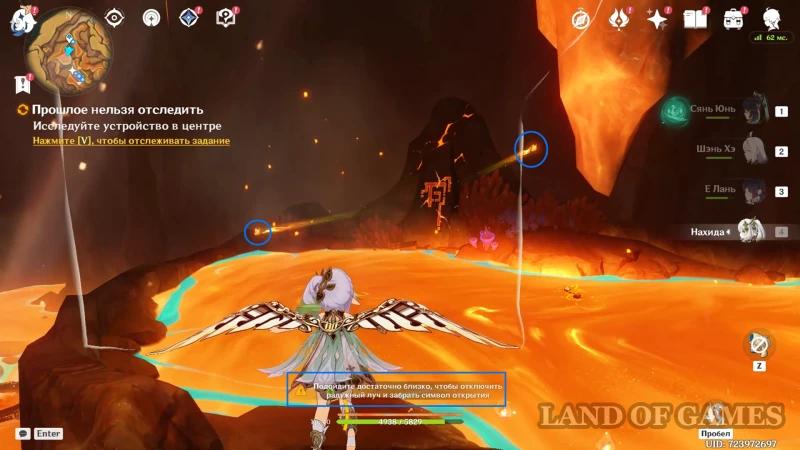
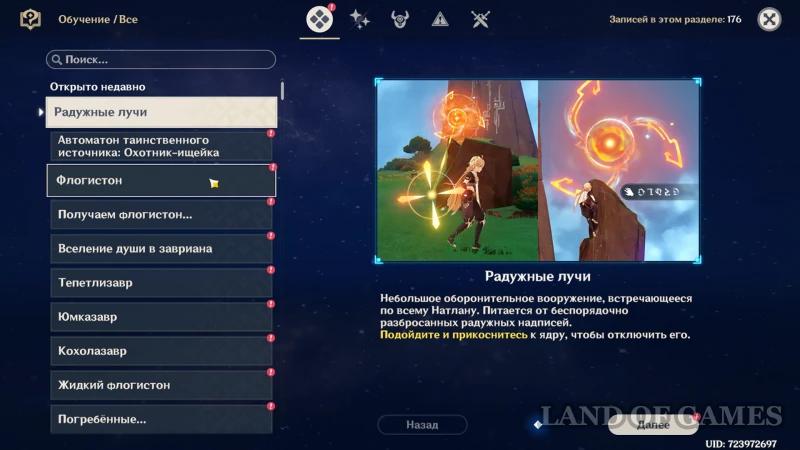
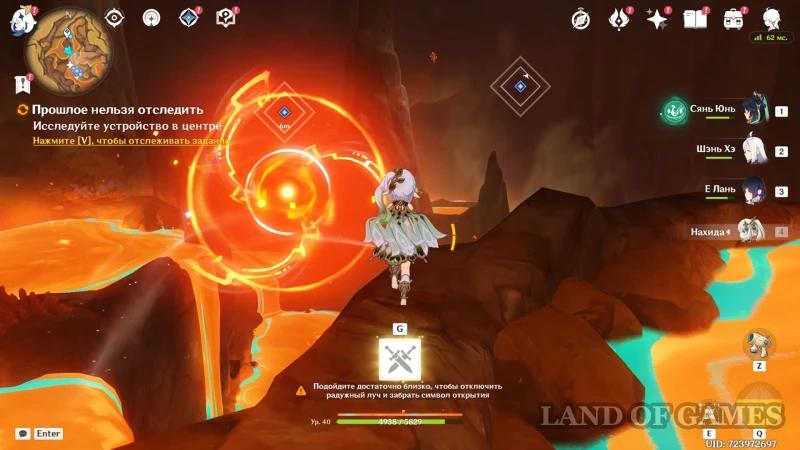
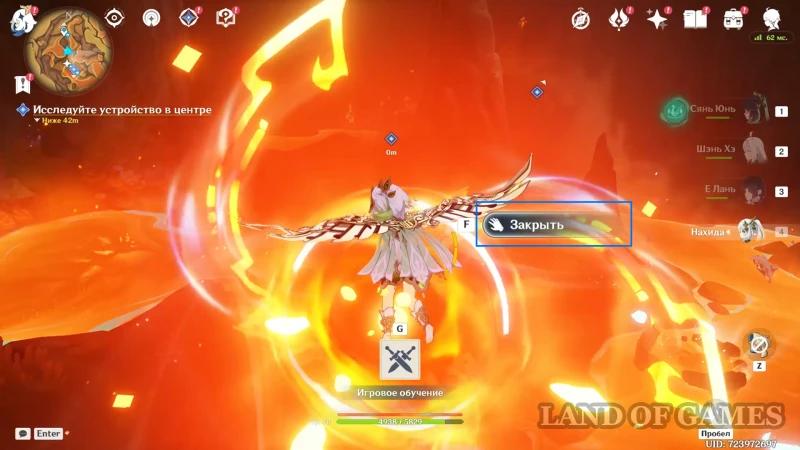
From the teleporter, go down, along the way neutralizing the source of the Rainbow Rays (a weapon hovering in the air that shoots fire), which flew out of the opening symbol – fly up to it and press “close”.
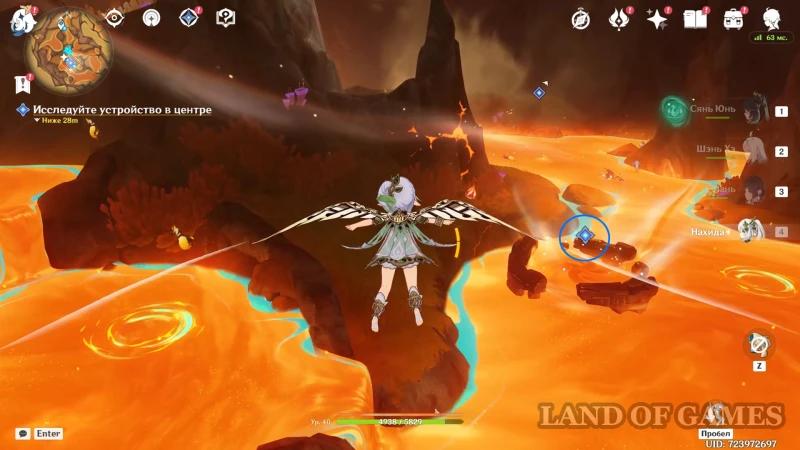
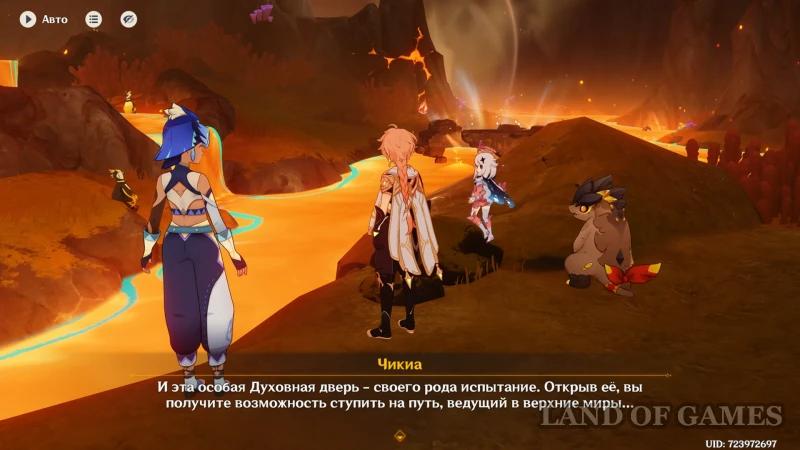
Afterwards, go down to the clay ring in the lake in the center of the lava ruins and learn the conditions of the next trial from Chikia.
Find and collect 2 Opening Symbols
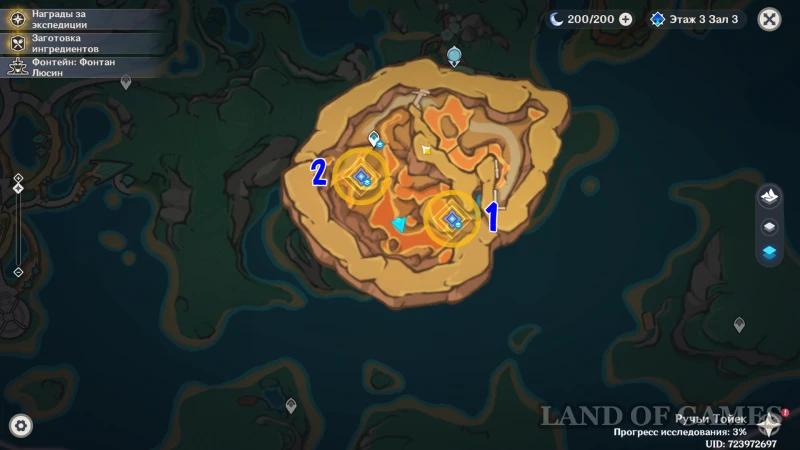
The ring in the center opens a flow of phlogiston, which can easily be used to ascend to the upper worlds – the main location for the second stage of the quest. For everything to work out, we need to find and study two opening symbols.
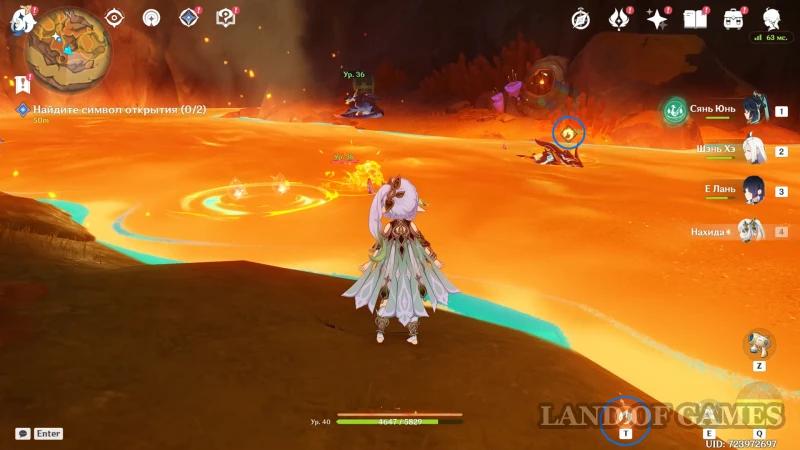
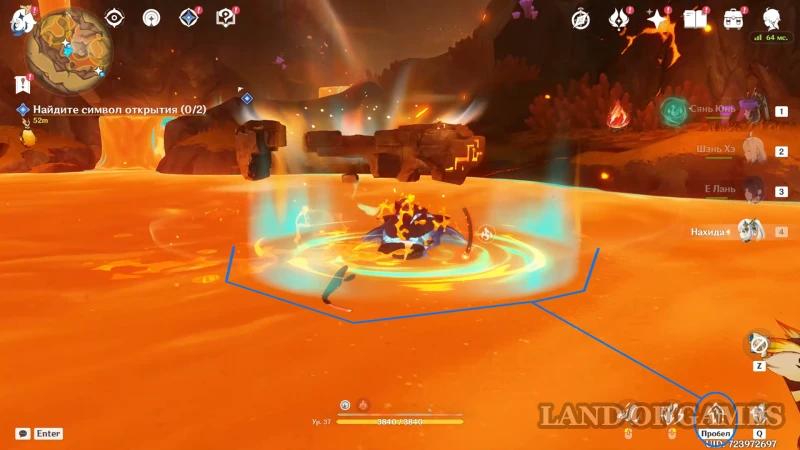
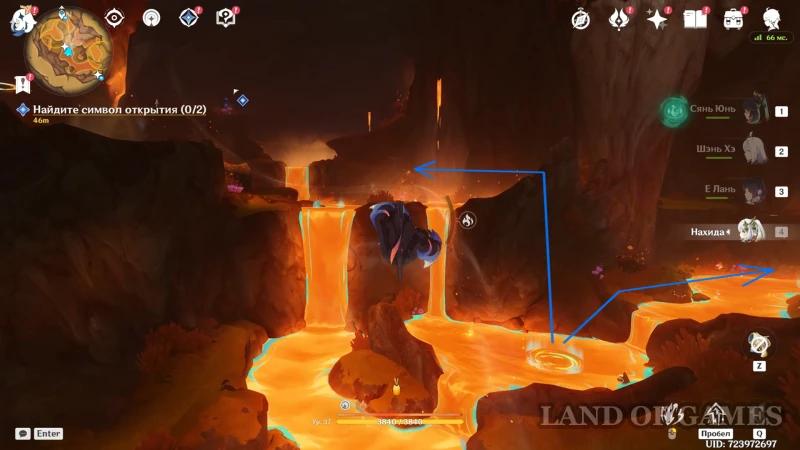
For ease of movement, use the same koholasaurus, as well as air rings on the lava – if you swim into them and jump, the dragon will be thrown up (convenient for moving around the area). Remember that the creature can drown, if he runs out of Night Spirit; don't forget to collect or activate the pedestals with Blazing Seeds along the way.
- The symbol in the southeast
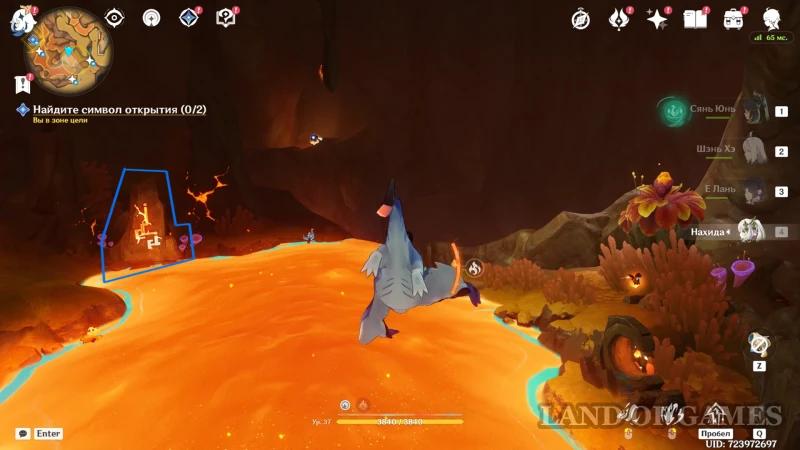
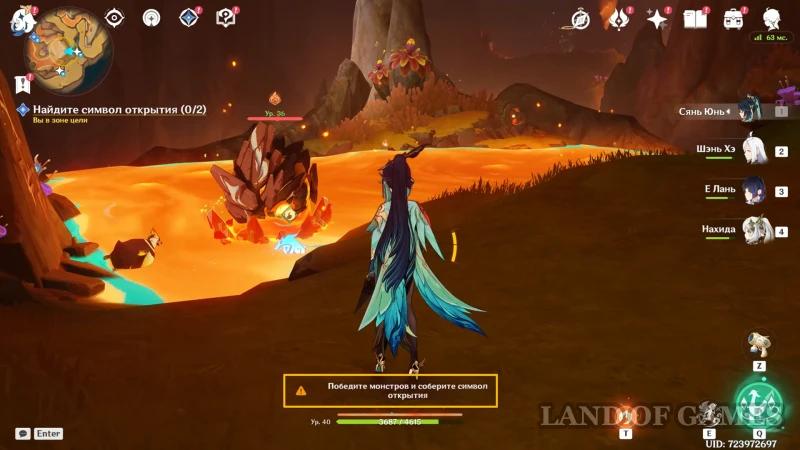
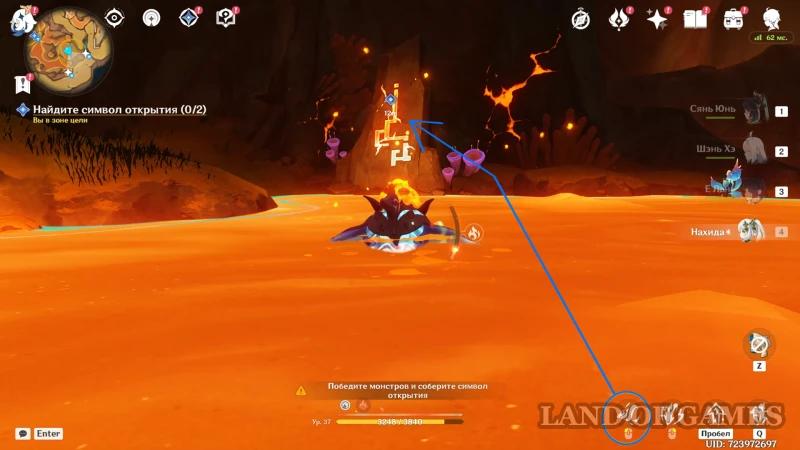
The first peak with the opening symbol is marked in the area in the southeastern half of the dungeon. When approaching it, a lava golem will appear – deal with the monster, and then also push the monument in the form of a dragon (by pressing RMB).
- The symbol in the northwest
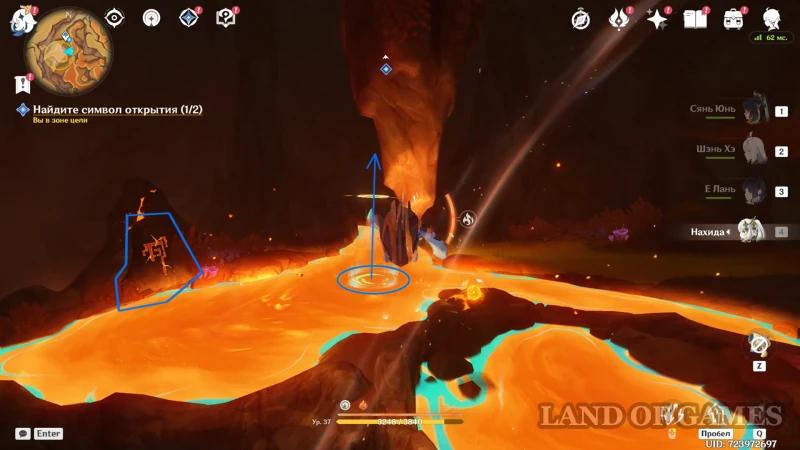
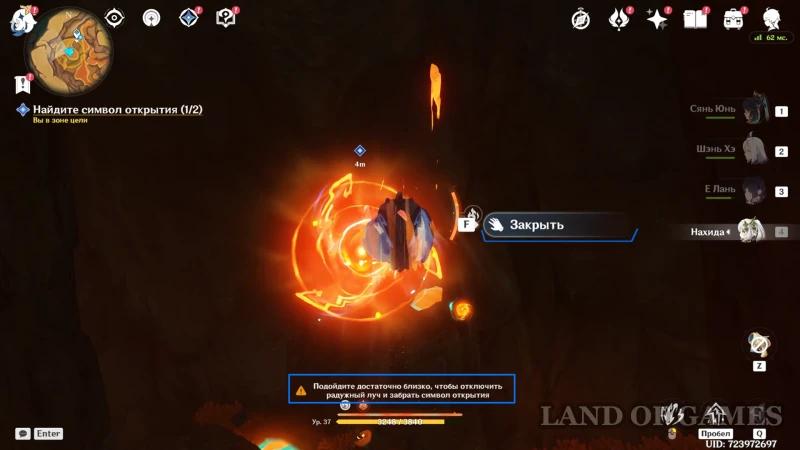
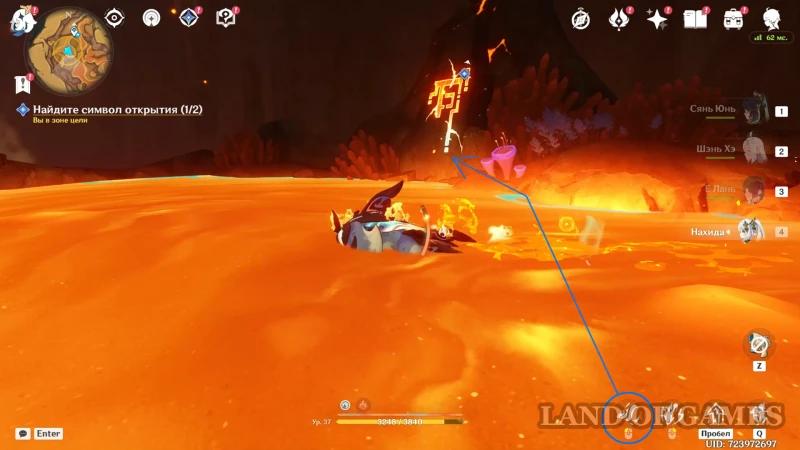
The second peak with the opening symbol is in the fire source under the teleporter: get to the place where you previously closed the first Rainbow Beam, use the air ring in the lava, climb up it to the second weapon and close the beam from close range. Then swim to the last symbol and dash along it.
Apply the symbol to the phlogiston engraving in the center of the lava lake
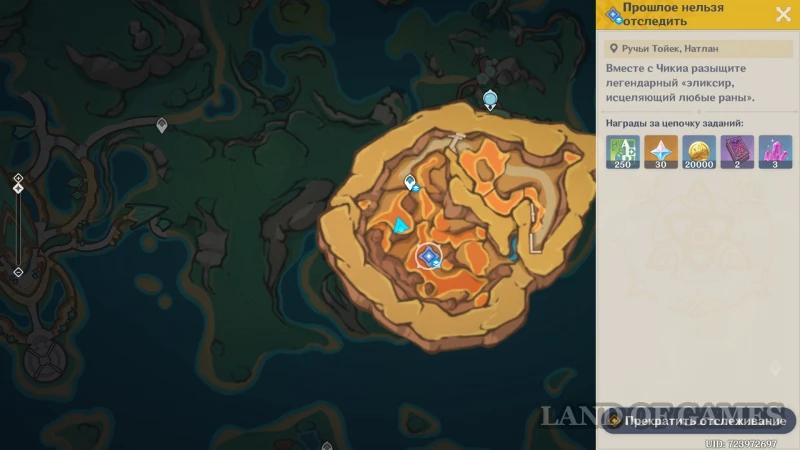
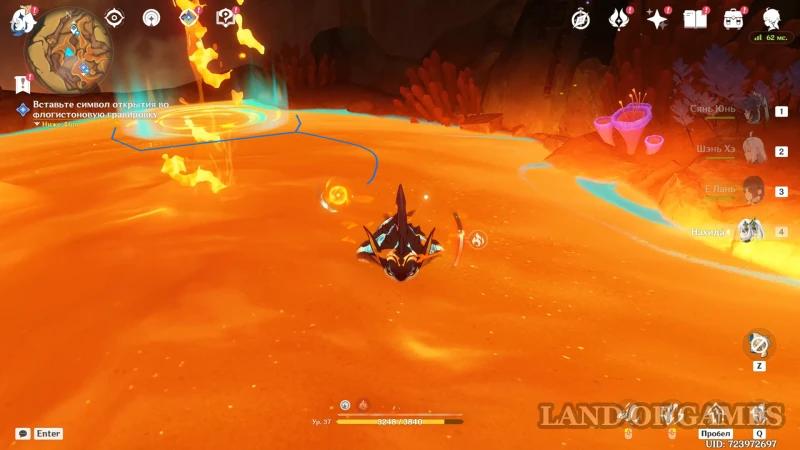
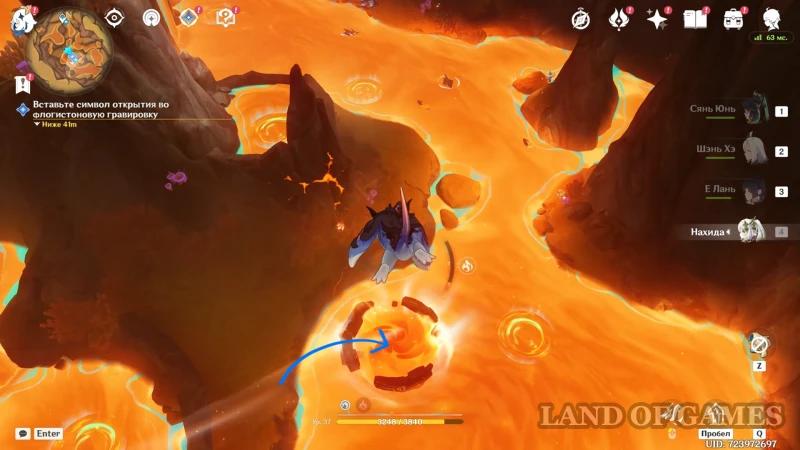
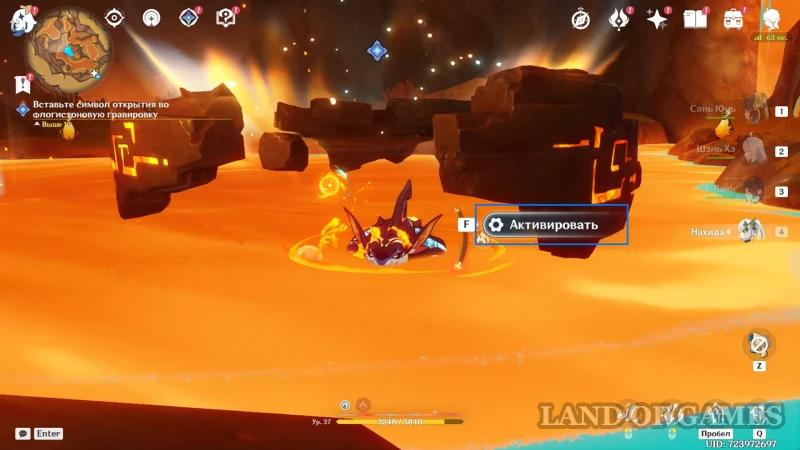
After learning all the symbols, do not remove control from the dinosaur and Return to the clay ring in the center of the lava dungeon. Swim under the structures with phlogiston grooves and activate them.
Return to the surface using the spiritual path
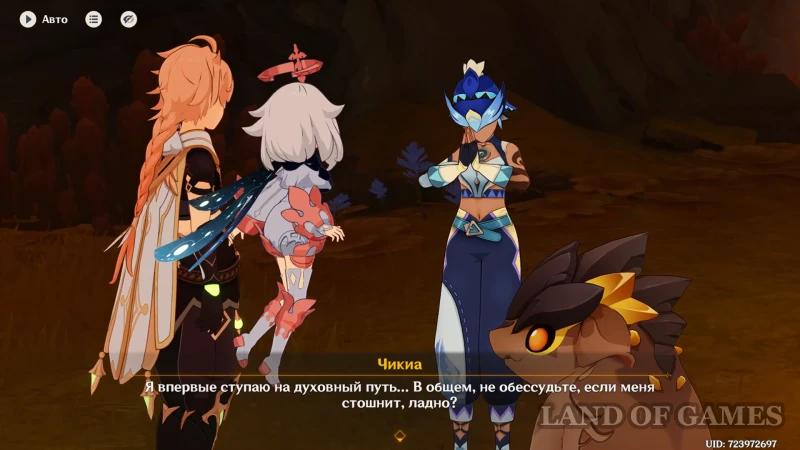
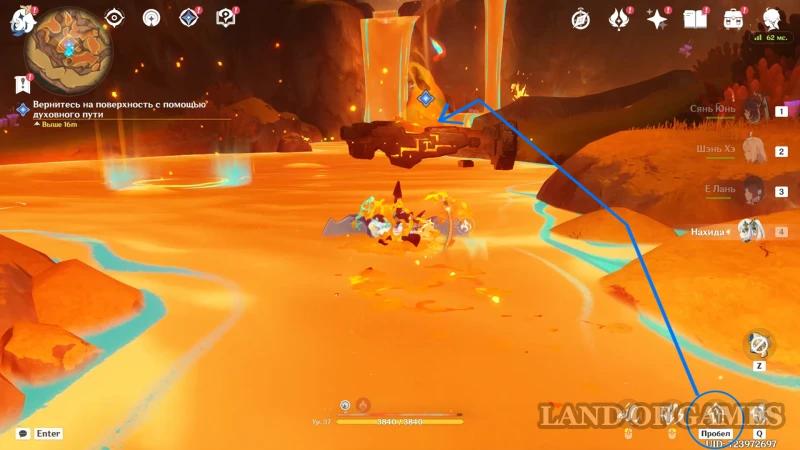
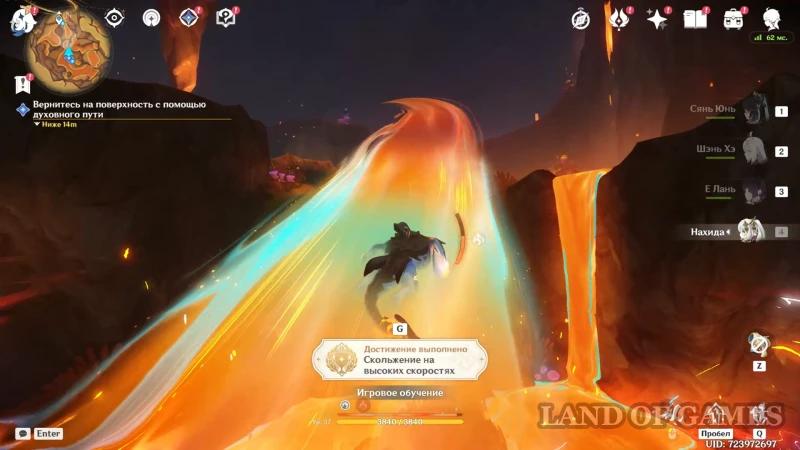
When the phlogiston flow breaks through the ring, possess the dragon again and jump onto the spirit path that appears leading to the exit of the ruins. If this is your first time using this method of movement, you will be given the achievement “Gliding at high speeds” (+5 Primogems).
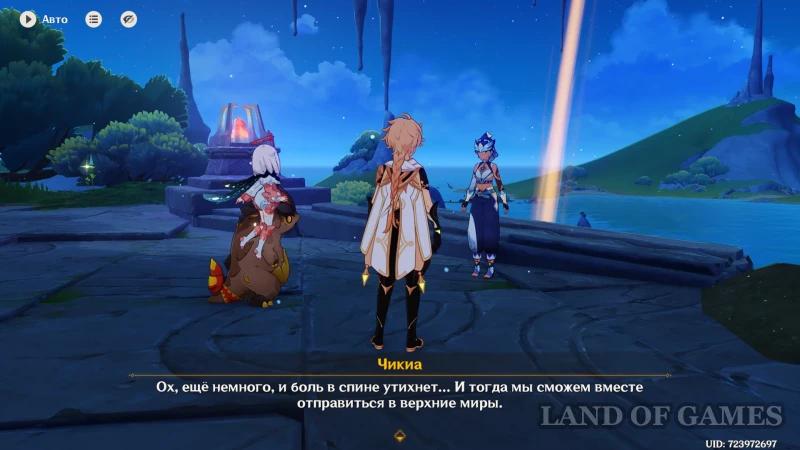
On the surface, Chikia will ask you to rest for a while, and then continue further exploration of the upper worlds. However, you don't have to wait to start the second stage of the quest chain, “The Seeker Doesn't Find”. At the end of the mission, we get the achievement “Like Floating Silk…“, the condition for which is the opening of the spiritual path leading to the upper worlds. As a reward, you can collect 5 Primogems + another 30 for completing the first stage of the assignment from Chikia.


