
Detailed walkthrough of Episode 6 “Chain Links” in Dispatch, using which you can find out which answers you should choose to improve your relationship with the characters and get the desired ending. We will also tell you which superheroes need to be sent on certain missions during the shift of the SDS dispatcher and give tips on solving hacking puzzles.
Walkthrough of Episode 6 “Links of the Chain” in Dispatch
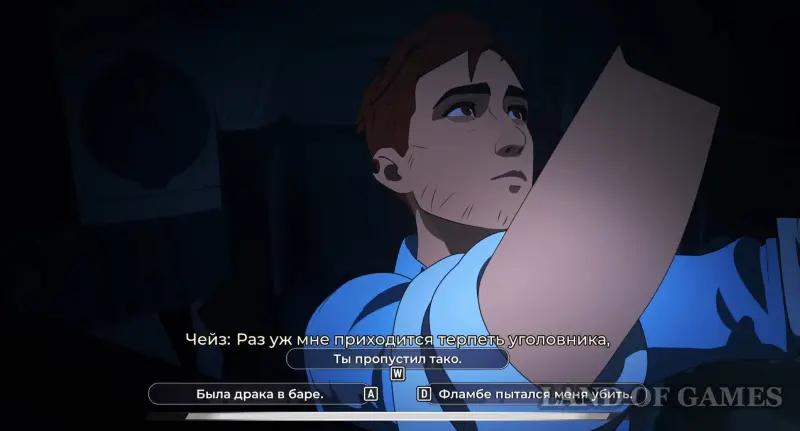
We watch the opening video in which we will test our new mech in front of the I-Team. Next, we answer the question (the available options will depend on whether we revealed our identity or not in the last episode; does not affect the plot):
- There was a fight at the bar.
- You missed the taco.
- Flambé tried to kill me/We had a good evening.
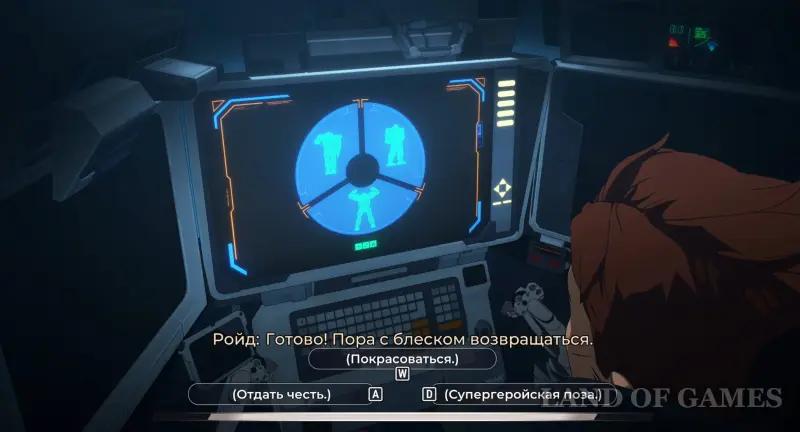
We begin checking the robot by choosing the first pose (not affects the plot, but only changes the following animation):
- Show off.
- Salute.
- Superhero pose.
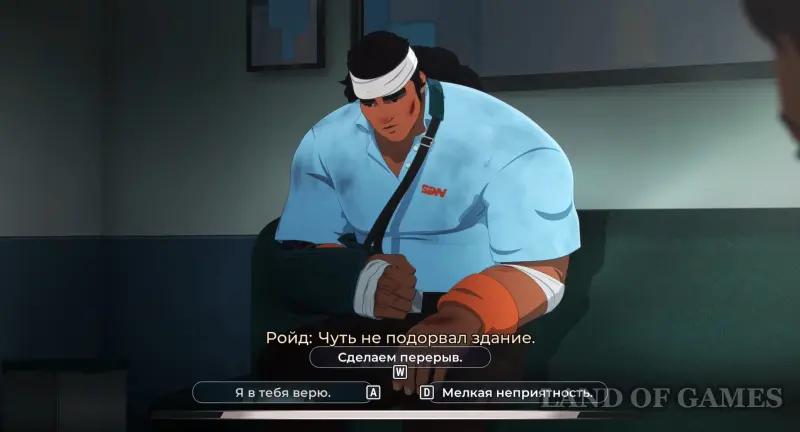
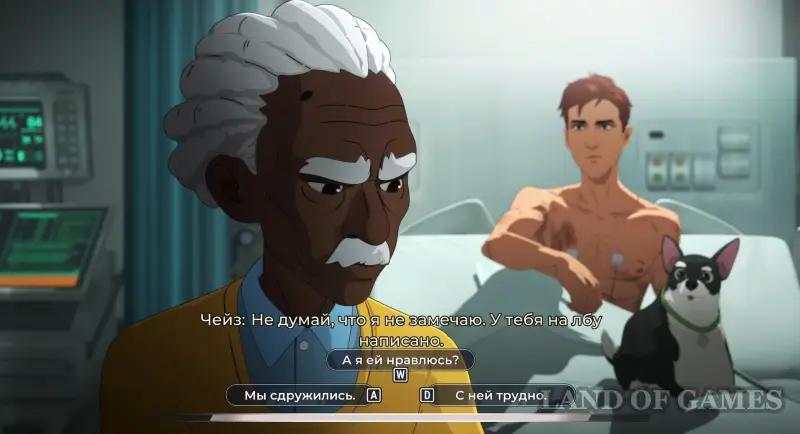
We watch the cut-scene with the explosion and find ourselves in the hospital, where we talk with Royd and Chase. The big guy will say that he cannot recreate the pulsator. We tell him (he will remember this):
- Let's take a break.
- I believe in you (let's improve relations with Royd).
- Minor trouble.
Consequences of past elections: If we greeted Royd with a fist bump in the toilet in Episode 2, then he will agree to make the same gesture in the hospital. Otherwise, he will refuse to fulfill it.
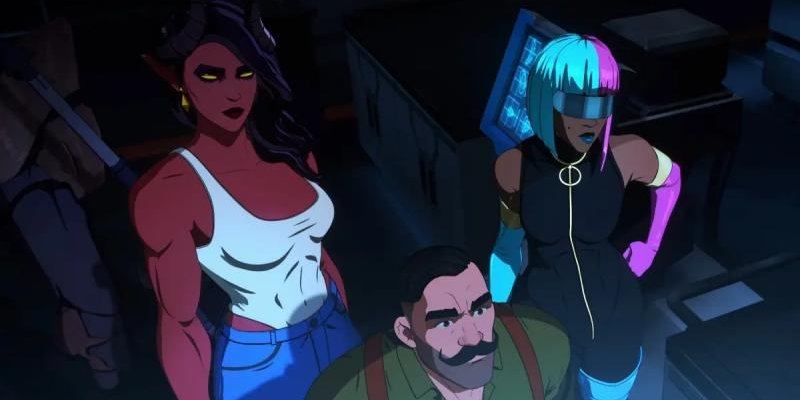
Then the conversation will turn to Nevidiv. The options available will depend on whether we've gone on a movie date with her in the past (Chase will remember our answer):
- We became friends.
- Is this purely professional/Does she like me?
- She's difficult.
Change SDS dispatcher (correct choices)
After the conversation, we return to our workplace, where we meet Blondie Blazer (if we previously went to dinner with her, she will hug us during the meeting). Next we get to work. As usual, we will indicate the best characters to send to certain tasks.
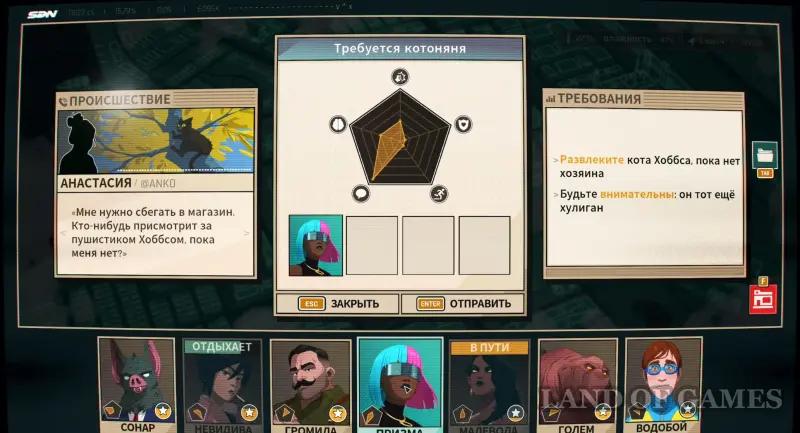
Cat nurse required
We recommend sending Prism or Bruiser or Golem to this task.
- Stand still – for success you need 8 units of stamina or more.
- Run. With all your might – for success you need 8 units of charisma (pett him) and above, or 8 units of intelligence and above (offer a treat).
- Fight the tiger – for success you need 8 units of stamina and above. Make yourself a new friend – available if there is a Golem in the team.
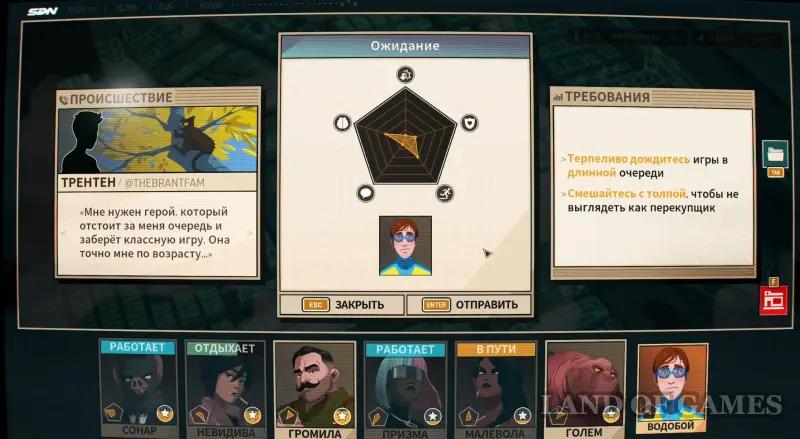
Waiting
We recommend sending Golem or Invisible (or someone with high agility and charisma) for this task.
Cyber-Villain
We are waiting for another hacking test, which will combine almost all the mechanics from previous puzzles. We will need to first delete the data in the green cells, and then evade the antivirus and destroy it with a charge of electricity. At the end, pick up the two keys to find out the code for the final track, which looks like this: Up, Up, Down, Left, Right and Left. The full process is shown in the video below.
Cleaning
We recommend sending Prism or Golem or Invisible (or someone with increased agility) to this task. If the total charisma value exceeds 8 units, the hero will receive additional experience points.

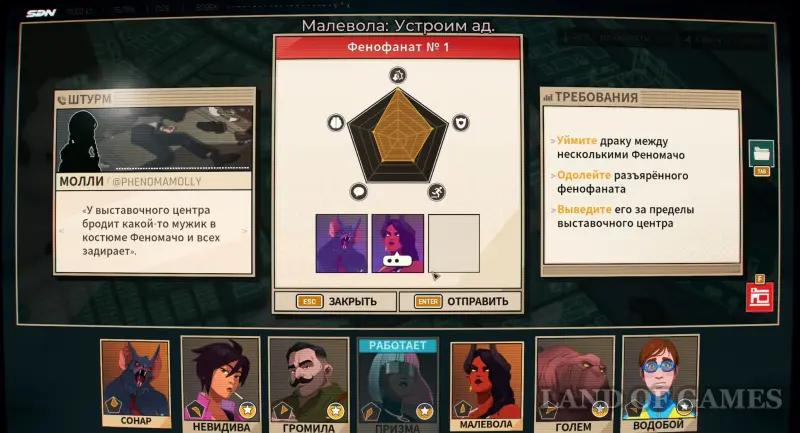
Pheno Fan No. 1
We recommend sending Brute and Coupe or Fenomacho or Malevola and Sonar (in bat form) for this task.
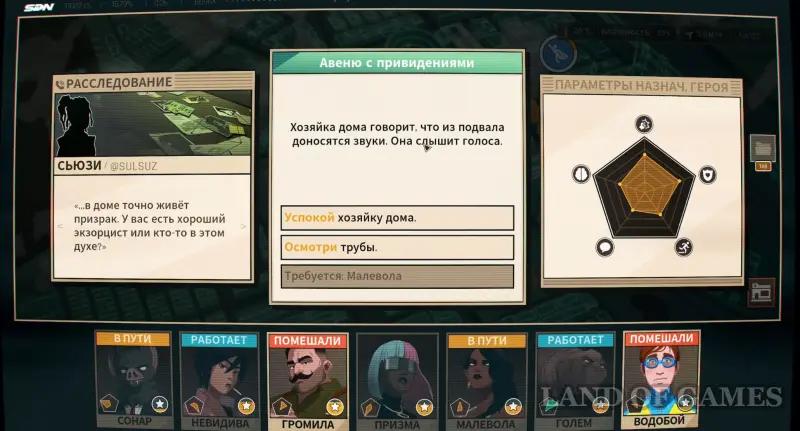
Haunted Avenue
We recommend sending Malevola and Sonar (not in mouse form) or someone with increased intelligence and charisma to this task, and then choose the following options:
- Calm down the lady of the house – 8 units of charisma and above are required for success.
- Inspect the pipes – 7 units of intelligence and above are required for success.
- Call a friend – available with Malevola in the team.
Roasting Mayor Yao
We recommend sending Prism or Sonar or someone with increased charisma and intelligence to this task.

Red Alert
We recommend sending Bruiser and Kupe or Malevol and Sonar or Prism and Flambeau for this task.
Hero training
As usual, we send any free hero for this task who you would like to unlock an additional ability.
Courier bots
We recommend sending Fenomacho or Golem or Sonar (in the form of a bat) or Bruiser or Coupe for this task. If the team's total durability exceeds 6 units, it will receive additional experience points.
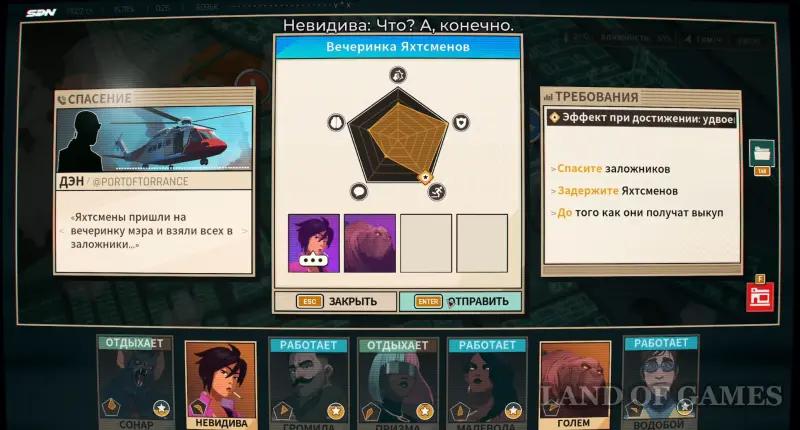
Yachtsmen's Party
We recommend sending Nevidiva and Golem to this task. If the team's total agility exceeds 8 units, it will receive additional experience points.
Frustrated Role Playing
We recommend sending any character to this task that matches the archetype chosen later:
- Play as a rogue – for success you need 7 units of agility and above.
- Play as a barbarian – 7 units of fearlessness and above are required for success.
- Play as a bard – 7 units of charisma and above are required for success.
- Play as a knight – 7 units of fortitude and above are required for success.

Melted Ice or Thickness of Ice
If we choose “Melted Ice”, then Flambeau in this task will be able to receive 200% of experience points.
If we choose “Thickness of Ice”, then the whole team will receive experience if successful. We recommend sending Flambe/Coupe/Malevola and Golem or Fenomacho and Brute (or someone with increased fearlessness and durability).
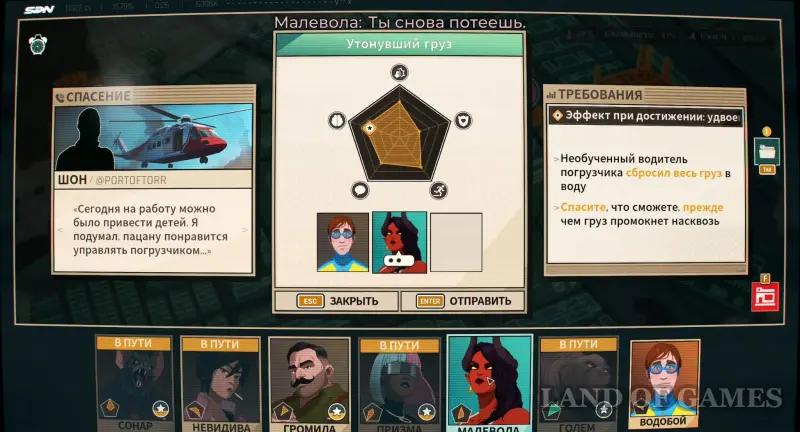
Drowned Cargo
We recommend sending Invisible and Golem or Brute and Kupe (or someone with increased intelligence) for this task. If the team's total intelligence exceeds 6 units, then it will receive additional experience points.
Reconfiguring bots
We recommend sending Prism and Flambeau or Sonar and Nevidiva (or someone with increased intelligence and mobility) to this task. The total fearlessness indicator should not exceed 4 units.
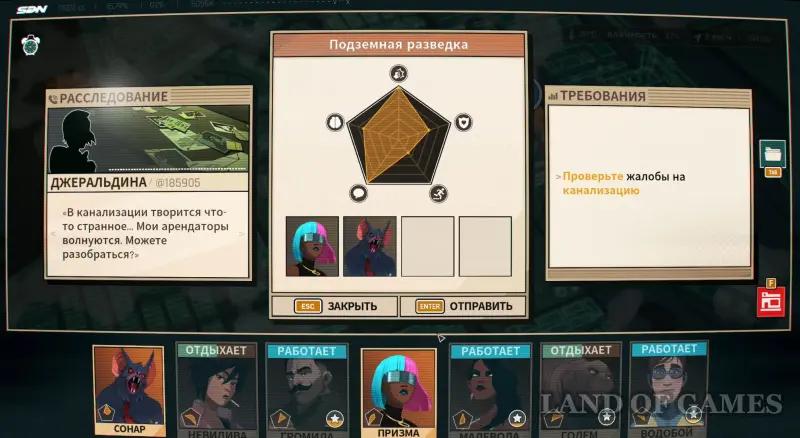
Underground exploration
We recommend sending a Brute or Sonar (or someone with increased charisma or durability) to this task, and then choose the following options:
- Find a common language with hybrids – available if you have Sonar in the team.
- Establish a partnership – for success you need 8 units of fortitude and above.
- Win them with kindness – for success you need 8 units of charisma and above.
Destruction bots
We recommend sending Brute and Coupe or Fenomacho or Sonar (in bat form) and Malevol (or someone with increased fearlessness and durability) for this task.
Party with the team
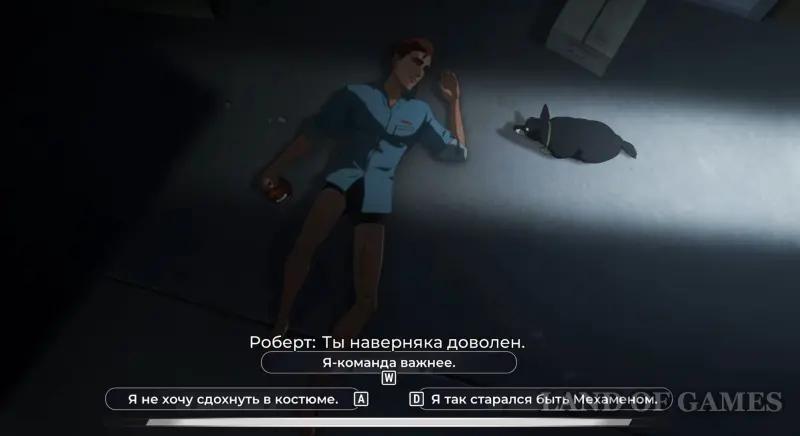
We finish our shift and go to the workshop, and then we return to our home and talk to the dog. We can tell him (does not affect the plot):
- I don't want to die in a suit.
- I am the team is more important.
- I tried so hard to be Mecha Man.
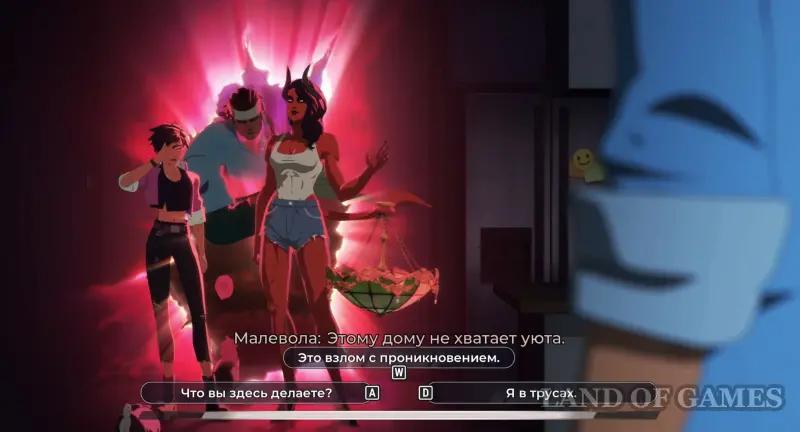
Soon our new friends will come to our apartment. To do this, Malevola will open a portal to our room. We answer (does not affect the plot):
- What are you doing here?
- This is a breaking and entering.
- I'm wearing shorts.
Nevidiva will tell us that the original pulsator may have survived and needs to be found. We tell her (she will remember this):
- Why are you doing this? (we'll get good mentor points).
- Are you sure it will work out?
- Thank you, people (we'll improve relations with the Invisible and Royd, and also get good mentor points).
Consequences of the past elections: At the party we will dance with Blondie Blazer or Invisible, depending on which of them we began to build a romantic relationship with (went on a date).
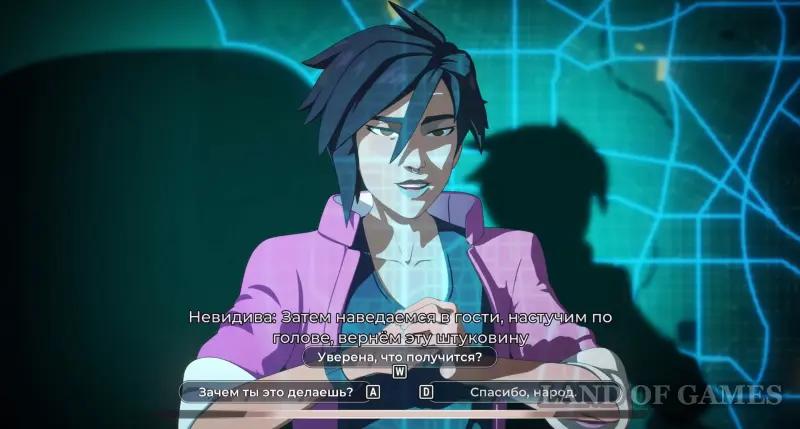
Next, Blondie will begin to argue with Invisible about the time of the attack on the warehouse. How will we answer? (they will remember this).
- Let's go today (we'll improve our relationship with the Invisible One, but worsen our relationship with Blondie Blazer; we'll get good mentor points).
- It's too much for you (we'll worsen our relationship with Nevidiva).
- Let's make a plan (we'll improve our relationship with Blondie Blazer and get points for a good mentor).
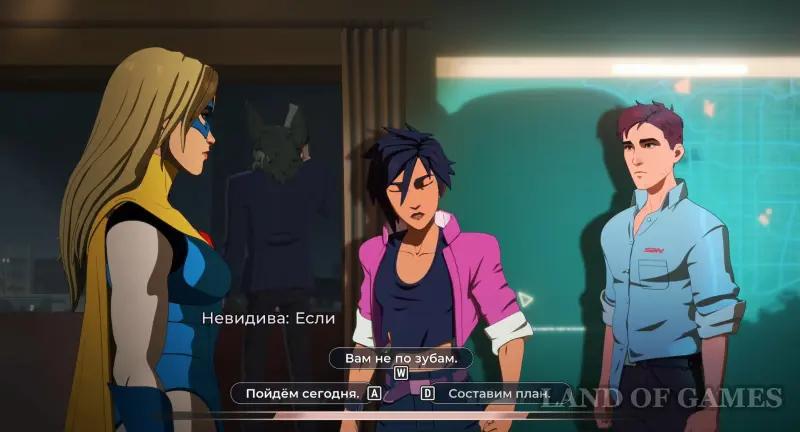
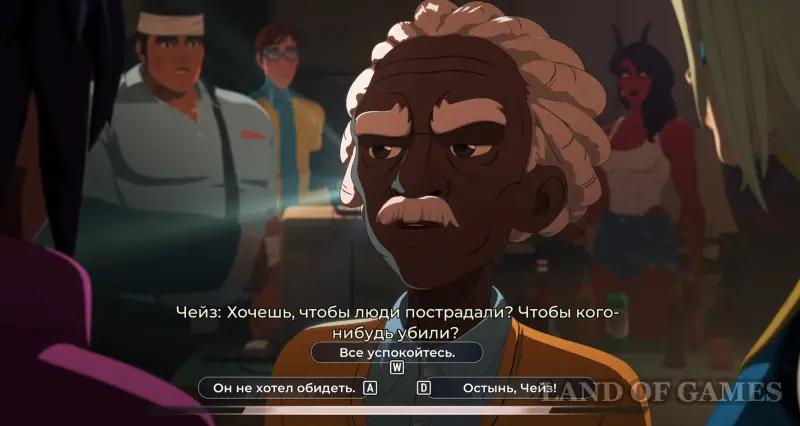
Then Chase will start running into Nevidiva. We say (they will remember this):
- He didn't mean to offend (let's indirectly side with Chase; we'll get good mentor points).
- Everyone calm down (neutral response; we'll get bad mentor points).
- Chill out, Chase (we'll side with Nevidiva; we'll get good mentor points).
The Invisible One will disappear and hit Chase, then run away. We say (does not affect the plot):
- Well, let's have a drink?
- How are you, Chase?
- Everyone out.
Consequences of past elections: If we are romantically involved with Blondie Blazer, she will kiss us on the cheek before leaving.
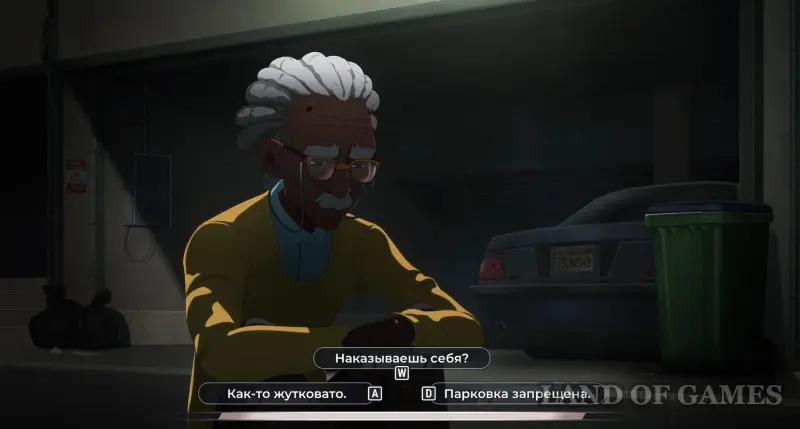
When the party is over, we will see Chase on the street. We approach him and say (does not affect the plot):
- Somehow creepy.
- Are you punishing yourself?
- Parking is prohibited.
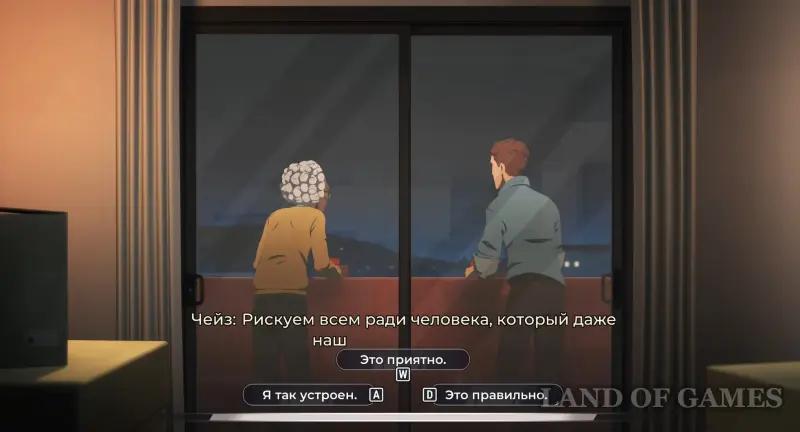
Let's continue the conversation. He will ask why we are doing this – being heroes. We answer (he will remember this):
- I’m built this way.
- It’s nice.
- That’s right.
Help Nevidiva find the pulsator
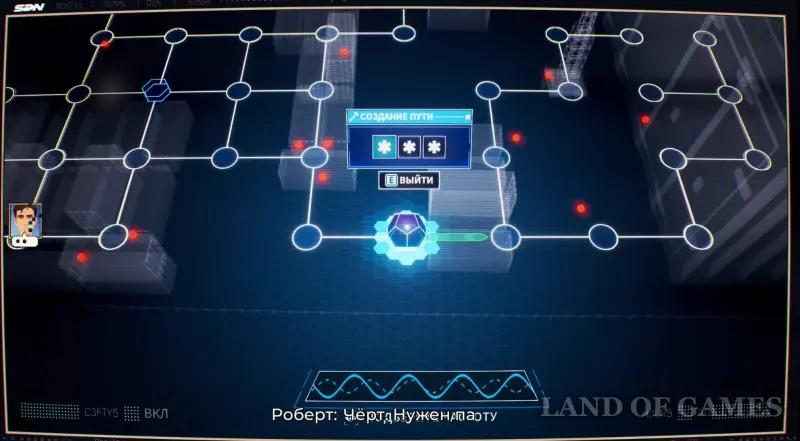
Having entered the room, we will notice an alert on our computer and see that Nevidiva is on the ship and is looking for our pulsator. We will need to help her by going through several hacking tests.
Important: In each puzzle we will only have 3 lives to hack, so we try not to get caught by the antivirus and do everything on time. Our success will determine whether we can help Nevidiva or not.
First hack (good mentor points)
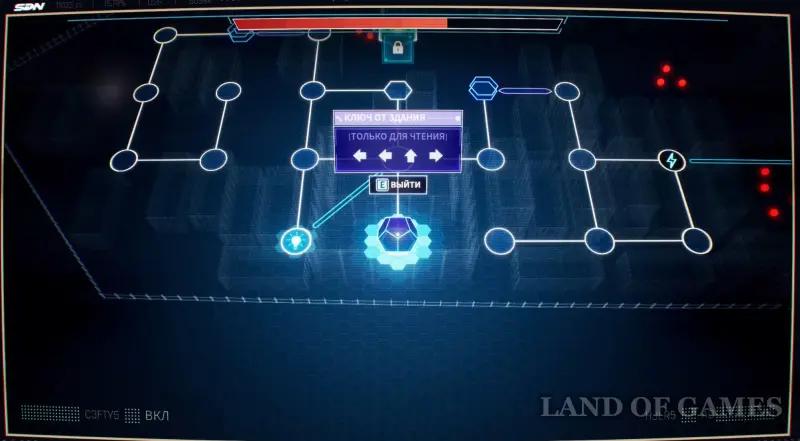
Move to the right and unlock a huge field where you will need to find the correct cell to synchronize the waves. First get the access key on the left and top: Up, Up and Right. Next, move to the right and enter the specified password to go to the right side of the area, where the slot you need is located (see 3rd screenshot below).


Second hack (good mentor points)
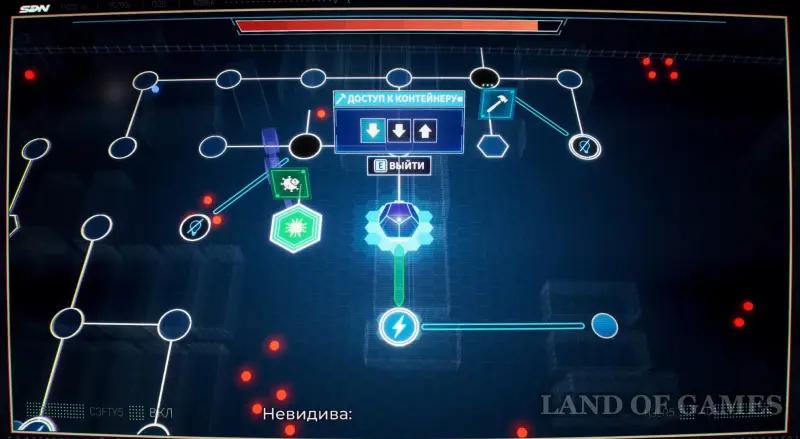
You will need to open the door for Nevidiva. To do this, first get the access key by going to the right and taking the electricity, and then go down to the purple key and look at the password: Left, Left, Up and Right. Then go upstairs to the locked square and enter the access code to unlock the passage.
Third hack (good mentor points)
First, head right and down to the first hammer to create a path and grab the power, then head right and up where you'll need to interact with the second hammer. Get your electricity back and move towards the green cell, creating a path to it.

Fourth hack (good points mentor)
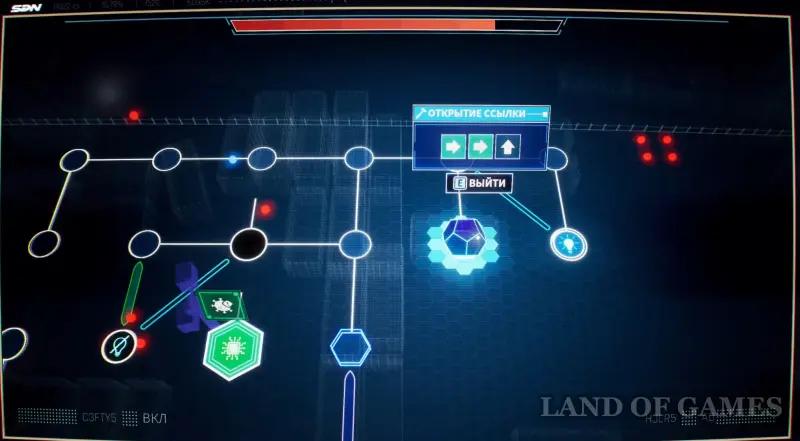
Here you will need to get to the purple key to see the password to the green cell. It looks like this: Left, Left, Left and Right. However, you will be interfered with by two antiviruses, which you can destroy using electricity. The video below shows the solution to this puzzle.
The fifth hack (good mentor points)
In the last test you will need to collect 3 cipher keys, and then go to the green cell. At the same time, you will be attacked by antiviruses, and there will be quite a lot of them, but you will be able to destroy the red spheres by collecting electricity. True, one ball will still remain. In the video below we showed the solution to this puzzle.
Having completed all the hacking tests, watch the final video, and then begin completing the seventh episode.