Detailed walkthrough of Episode 8 “Unity” in Dispatch, in which you can find out what to do with the Canopy, whether you should forgive Sonar/Coupe, and what to answer in dialogues. We'll also tell you which superheroes should be sent on certain missions during the VTS controller shift and give tips on solving hacking puzzles.
Walkthrough Episode 8 “Unity” in Dispatch
VTS Controller Change (correct choices)
We watch a couple of introductory videos, and then almost immediately begin our next controller shift SDS. Before this, we decide what to answer to Blondie Blazer (she will remember this):
- Go.
- Come back (improve relations with Blondie Blazer; she will join the team in the future).
- Stay.

Next, a full-fledged shift will begin, in which only three heroes will be with us: Prism, Brute and Golem, but later we will be able to collect the rest of the characters, including Nevidiva. Below we will indicate the best options for each call.
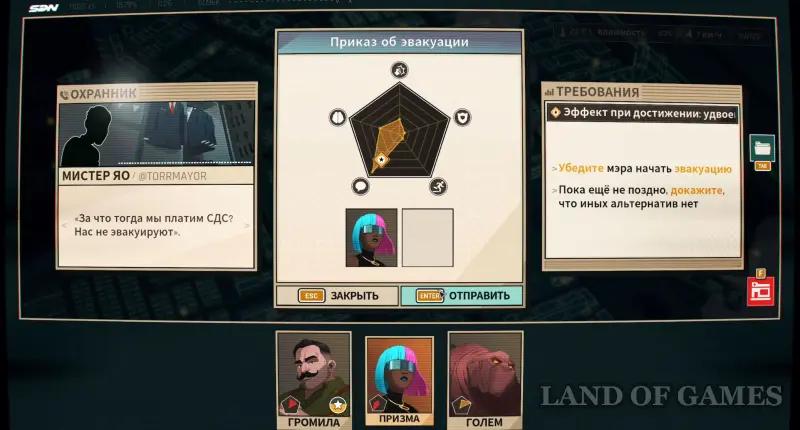
Evacuation order
We recommend sending Prism to this task. Please note that if the total charisma of your team exceeds 7 units, you will receive additional experience points.
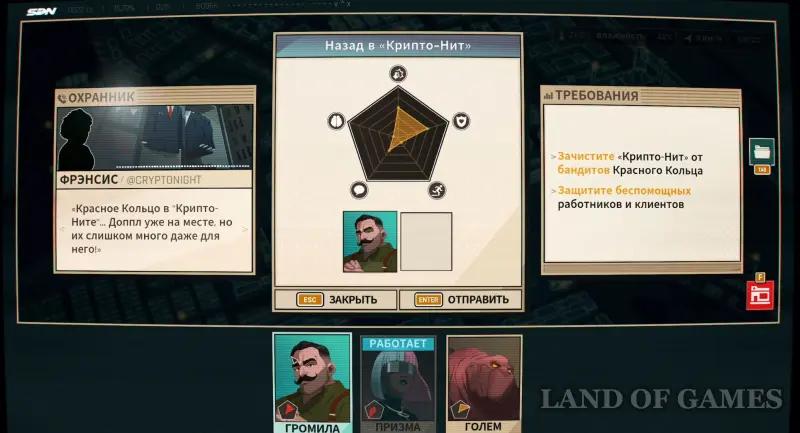
Back to Crypto-Nit
We recommend sending Brute to this task.
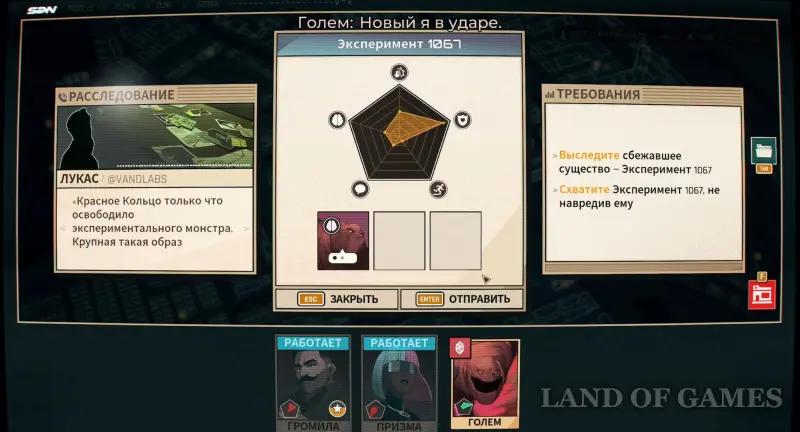
Experiment 1067
We recommend sending a Golem (or someone with increased agility) to this task.
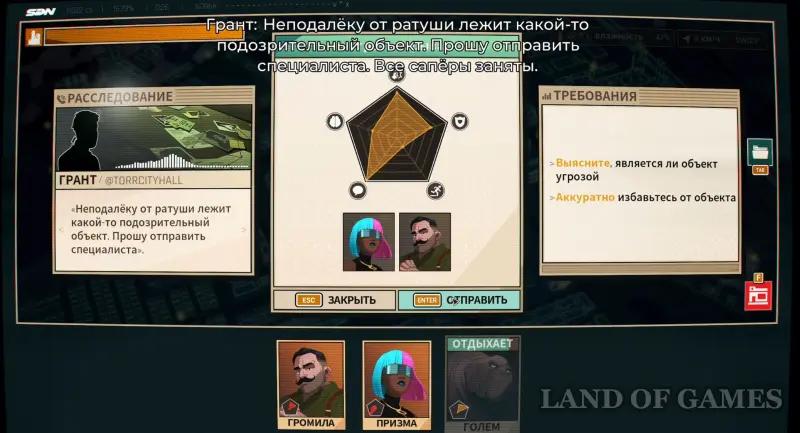
Threat explosion
We recommend sending Prism and Brute/Golem to this task.
Important:From now on, each failed challenge will result in a decrease in the city's health bar, which will appear in the upper left corner of the screen. Try to prevent it from dropping to zero to protect the city and unlock a special achievement.
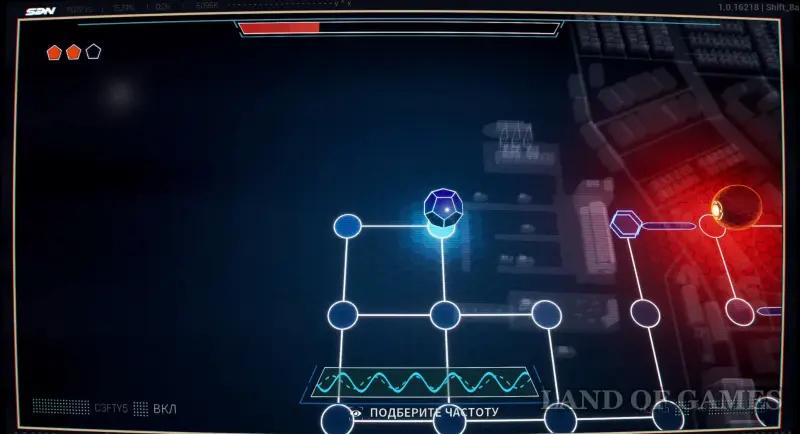
Searching for the Beacon
We are completing another hacking test. Move to the right, where the antivirus will immediately attack you. Move it in a circle, and then hack the light hammer on the right to unlock the path to the top – move up there, and then lock the red sphere there. Now you can safely unlock the top left hammer, opening up a new path up and to the right, where you can pick up a charge of electricity and destroy the antivirus.
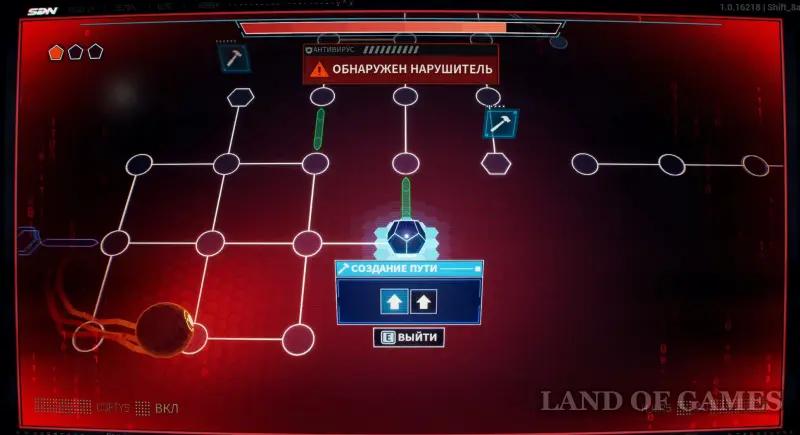
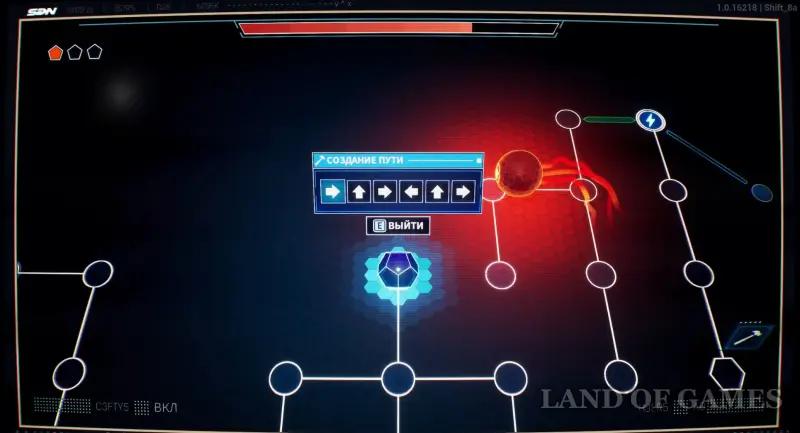
Move further to the right and unlock a field with a large number of cells, where you will need to find special slots to synchronize two waves. Their location is shown in the screenshots below.

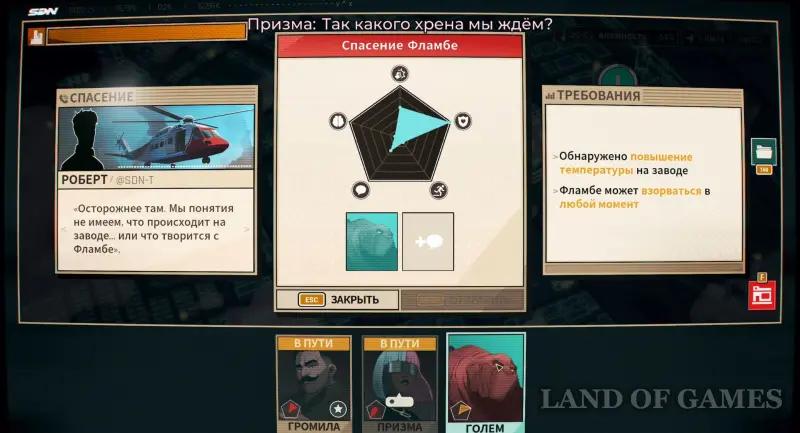
Salvation Flambé
We recommend sending a Golem (or someone with increased agility and durability) to this task.
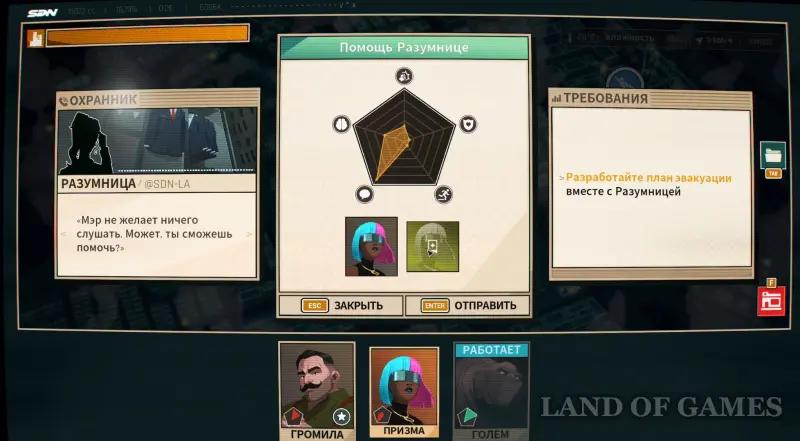
Help Clever One
We recommend sending Prism (or someone with increased intelligence) to this task.
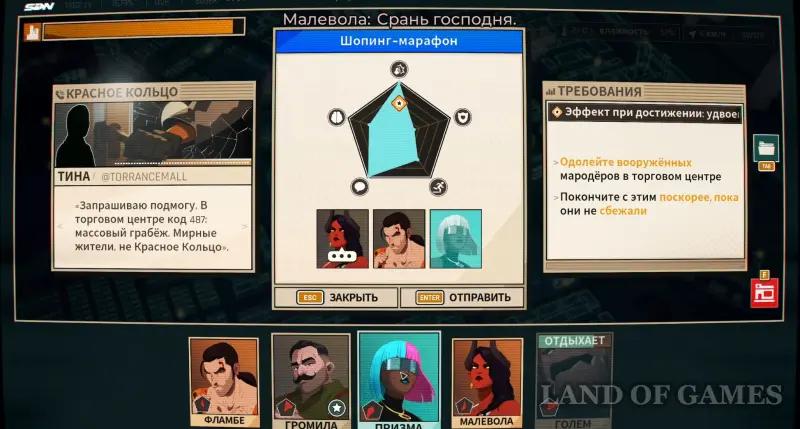
Shopping marathon
We recommend sending Flambe or Golem (or someone with increased durability) to this task. Note that if the total fearlessness of your team exceeds 6 units, then you will receive additional experience points.
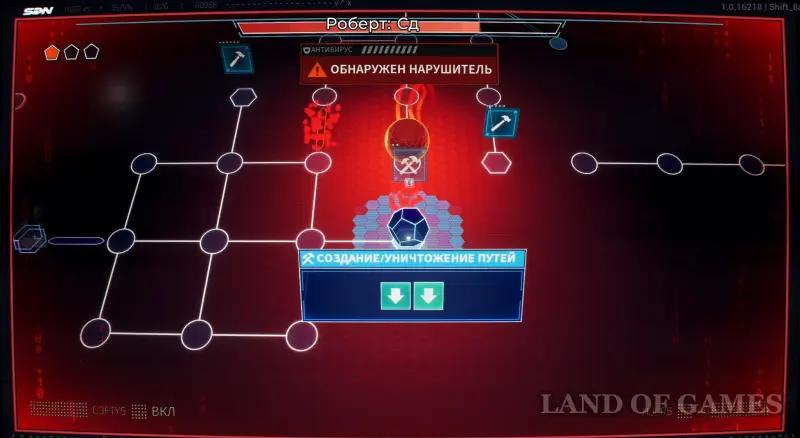
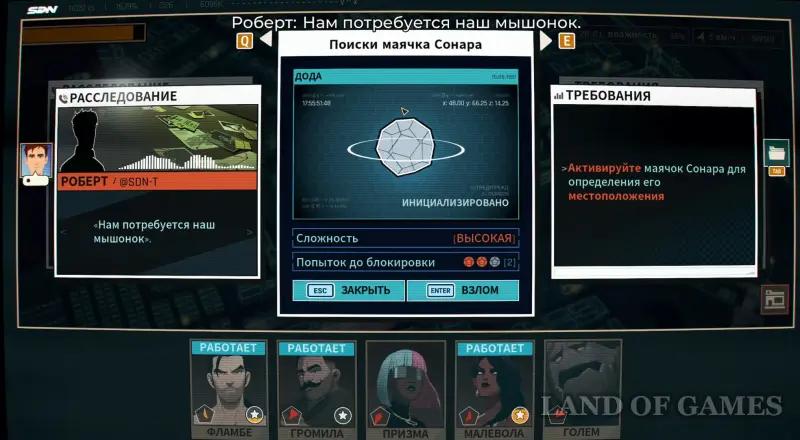
Search for the Vodoboy/Fenomacho beacon or Search for the Sonar/Coupe beacon
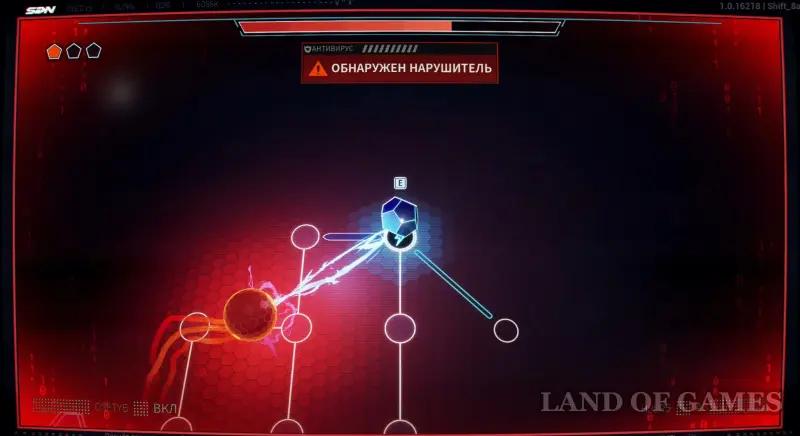
In any of the options, we will have to undergo a hacking test, and it will be the same for both cases. Note that in the end we will save both, so you can choose from them the one who will be more useful to you at the current moment in time. As for the puzzle, everything is quite simple here – we will again need to find two cells to synchronize the waves. The first is in the very top left corner, and the second is in the blocked area with the antivirus (see screenshots below).

Salvation Sonar/Coupe
We recommend sending Flambe or Golem (or someone with increased agility) to this task.
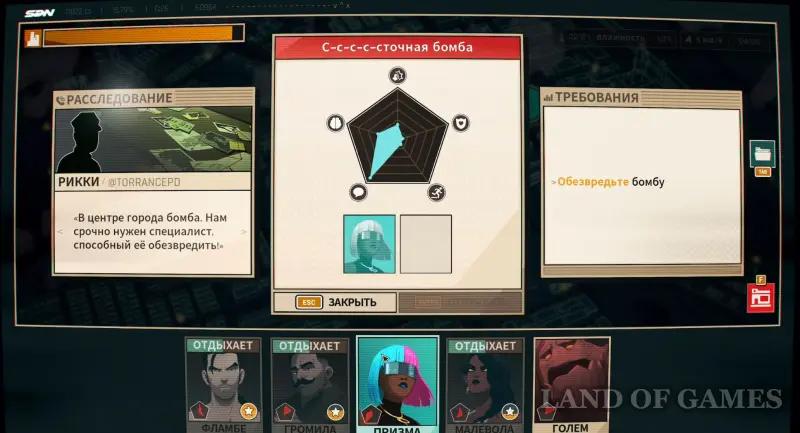
Ssssss-sewage bomb
We recommend sending Prism or Sonar (or someone with increased intelligence) to this task.
Consequences of the past elections: If in the previous episode we “stood up for the defense” of Nevidiva, did not expel her from the team and forgave her, now she will join the squad to help with the challenges.
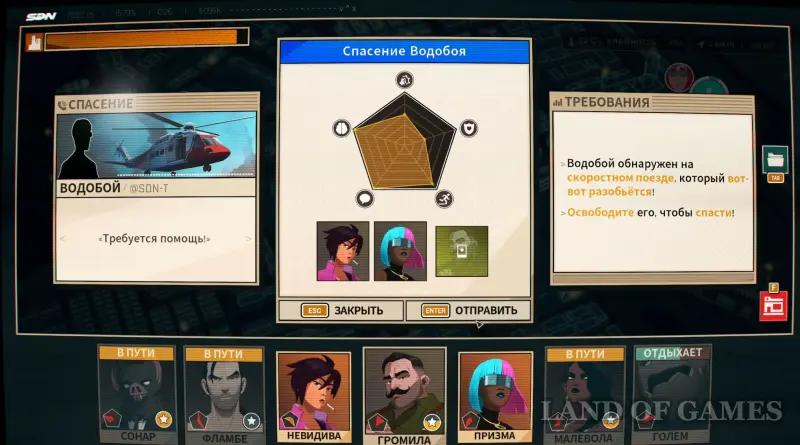
Rescuing Waterboy/Fenomacho
We recommend sending Flambe and Brute/Malevol or Golem (or someone with increased dexterity and stamina).
Help Toadily
We recommend sending Prism/Thug/Malevola or Sonar/Coupe to this task, and then choose the following options:
- Give a fiery speech – success requires 8 units of charisma and above.
- Calm your nerves – available if you have Sonar in the team.
- Conduct the last combat training – available if you have Coupe in the team.
Consequences of past elections: Next, a cut-scene will begin, during which we will talk with Waterboy or Fenomacho (if we previously invited Fenomacho or Waterboy to the team, respectively) and persuade him to also join our team.
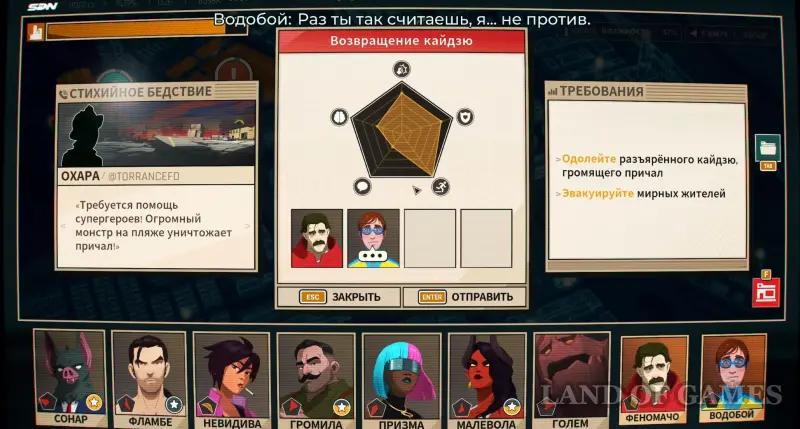
Return of the kaiju
We recommend sending Bruiser/Malevola and Fenomacho (or someone with increased fearlessness and tenacity) to this task, and then choose the following options:
- Attack with all means – 10 units of fearlessness and above are required for success.
- Destroy the collar – 10 units of fortitude and above are required for success.
Witch Hunt
We recommend sending Prism/Thug/Sonar (or someone with increased charisma or intelligence) or Fenomacho to this task, and then choosing the following options:
- Let's remind you who the real enemy is – 6 units of charisma and above are required for success.
- Convince them – for success you need 6 units of intelligence and above.
- You know them, right? – available if there is Fenomacho in the team.
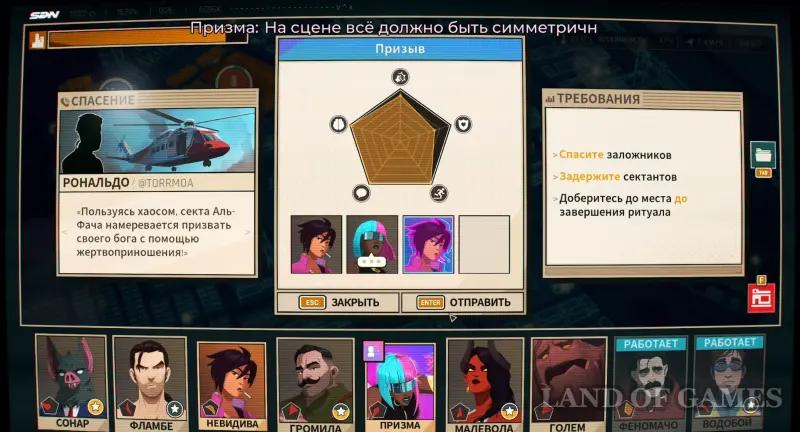
Summon
We recommend sending Flambe/Malevola/Invisible and Brute/Fenomacho/Golem (or someone with increased agility, durability and fearlessness) for this task.
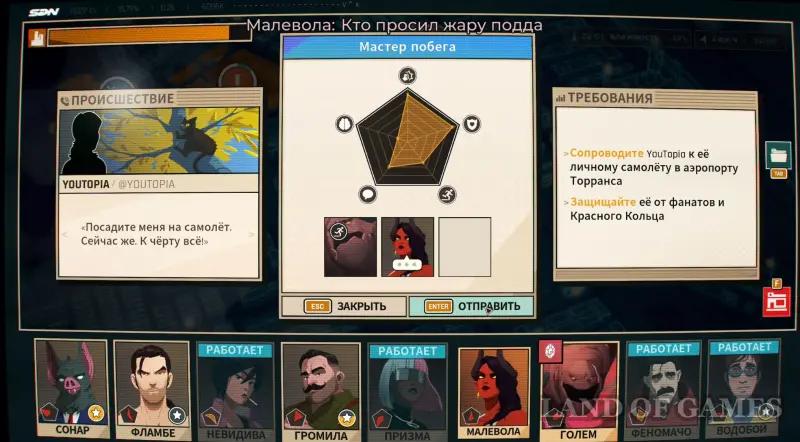
Escape Artist
Recommended send Fenomacho or Golem or Nevidiva (or someone with increased agility and durability) to this task.
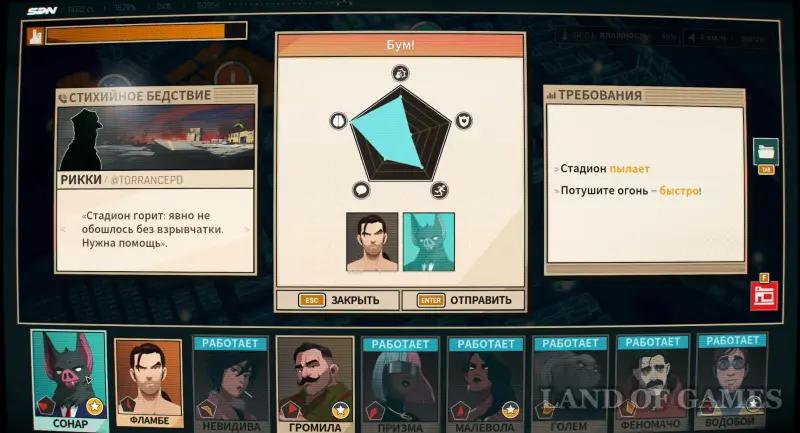
Boom!
We recommend sending Flambe/Golem/Fenomacho/Invisible and Waterboy (or someone with increased agility) to this task.
Isolation
Another hacking test in which you will first need to remember the access key: Left, Left, Right and Up, and then start collecting power sources to get to the green cell. The video below demonstrates the passage of the entire stage.
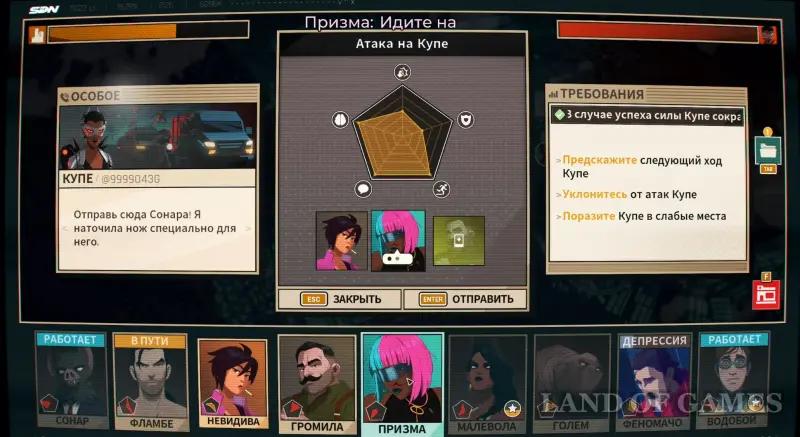
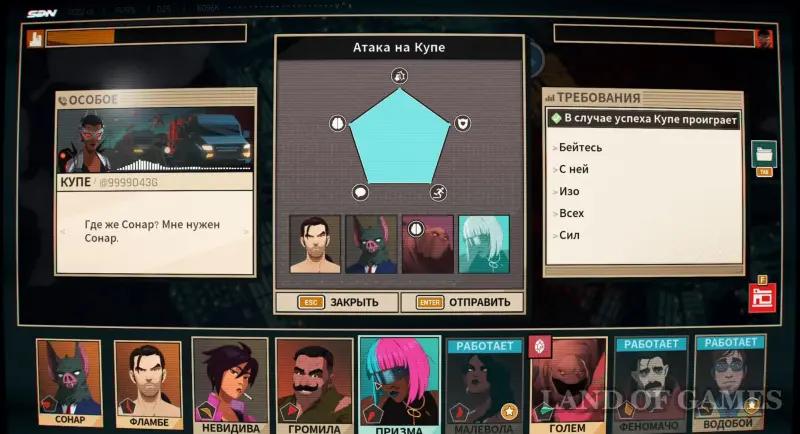
Attack on Sonar/Coupe
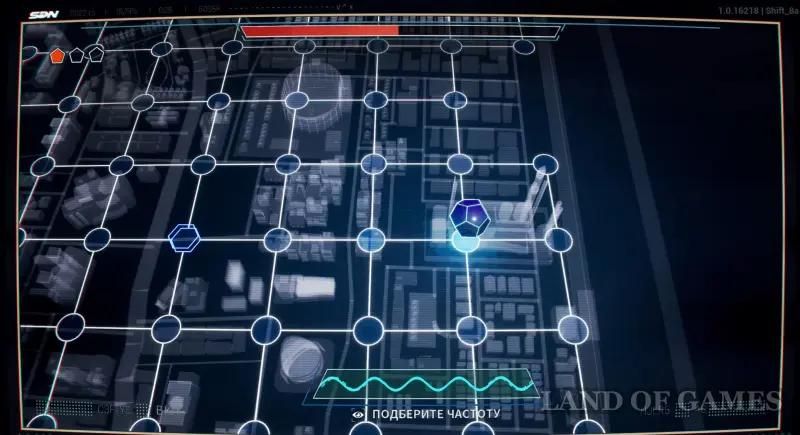
From about this moment, the Los Angeles zone allocated to you will expand significantly, and an icon with Sonar or Coupe (depending on who you excluded earlier) will appear on the top/right. You will also see a Red Ring health bar, which you will need to bring down to zero. Don’t forget to save the city’s life scale – only in this case will you be able to return the departed member back to your team.
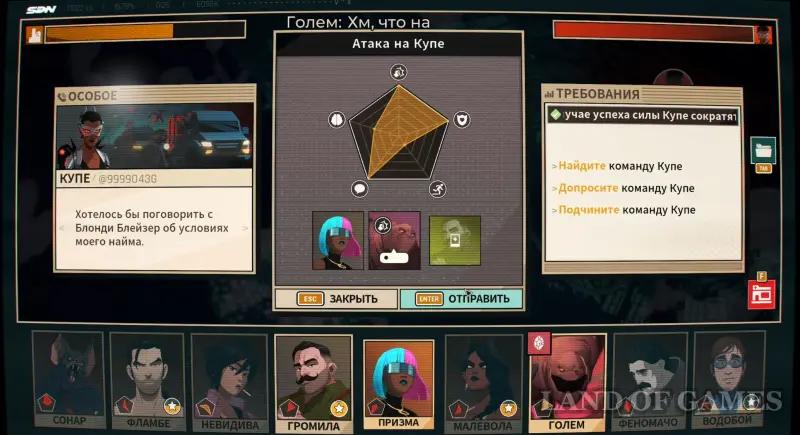
We recommend sending to this is a task for Prism/Sonar and Bruiser/Golem/Fenomacho or someone with increased intelligence, charisma and durability.
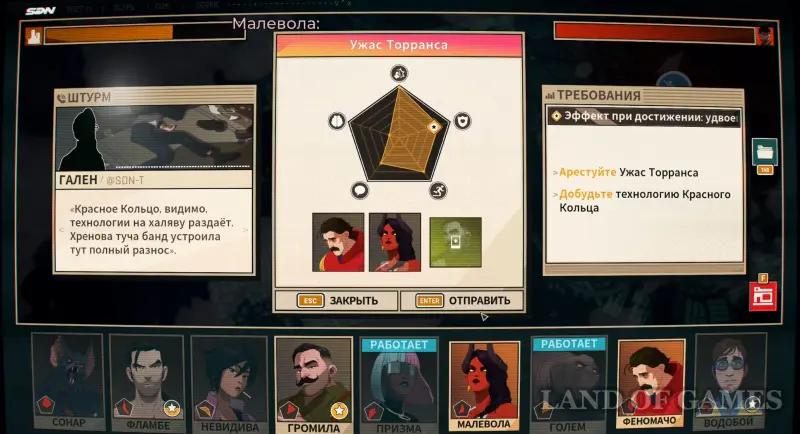
Torrance Horror
We recommend sending a Brute/Golem and a Flambe/Malevola or someone with increased fearlessness and durability for this task. Please note that if your team’s total fortitude exceeds 8 units, you will receive additional experience points.
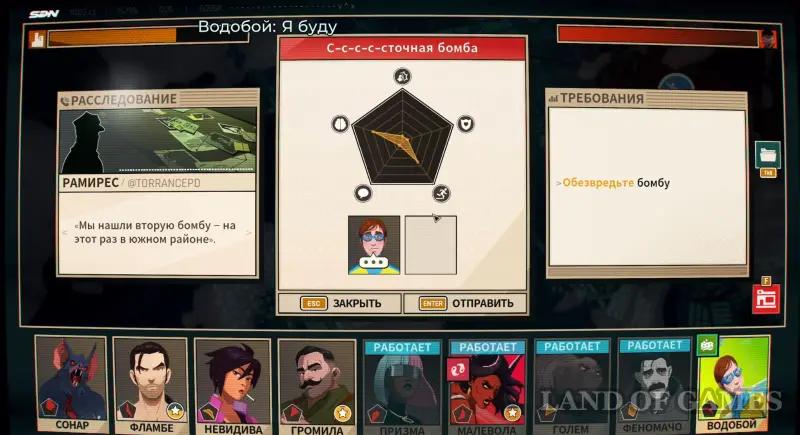
S-s-s-s-sewage bomb
We recommend sending Sonar or Prism or Waterboy or someone with increased intelligence to this task.
Barricade
We recommend sending Brute/Golem and Flambeau/Malevola/Fenomacho or someone with increased fearlessness and durability for this task.
East Side Gang
We recommend sending Brute/Golem and Flambé/Malevola/Fenomacho or someone with increased fearlessness and stamina for this task. Please note that if your team's overall fortitude exceeds 8 units, you will receive additional experience points.

Thirst for Coffee
We recommend sending Flambe or Golem or Nevidiva (or someone with increased agility) to this task. Note that if we do not perform this challenge, then this will not affect the city strip.
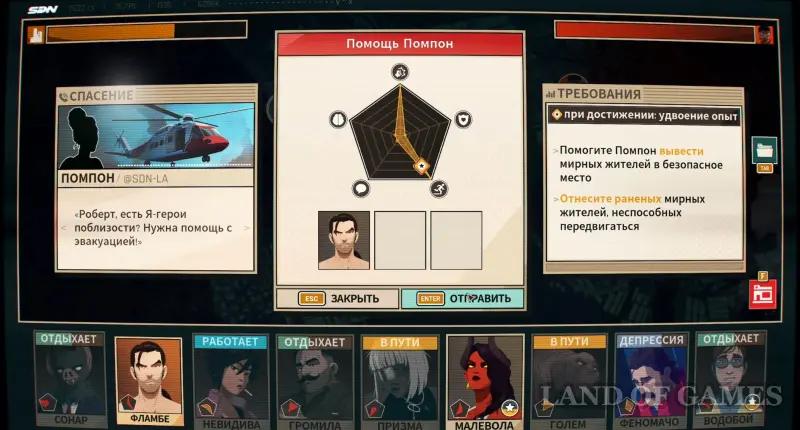
Help Pompon
We recommend sending Flambe/Golem/Invisible and Bruiser/Fenomacho/Sonar/Golem or someone with increased agility and durability for this task.
Against Mr. Fist
We recommend sending a Brute or Malevola or someone with increased fearlessness and durability and at least a small amount of agility for this task. Note that the total value of the team's fearlessness should not exceed 6 units.
Attack on Sonar/Coupe 2
We recommend sending Prism/Sonar and Flambeau/Coupe/Fenomacho/Invisible or someone with increased agility, intelligence and fearlessness to this task.
Housing crisis
We recommend sending Waterboy and Golem/Thug or Fenomacho or someone with increased durability to this task.
Help Betonella
We recommend sending Flambe/Invisible and Brute or Fenomacho/Golem or someone with increased durability and dexterity.

Fight with Smile
We recommend sending Sonar or Prism or someone with increased charisma and intelligence to this task. Please note that the total charisma of the team should not exceed 9 units.
Warriors
We recommend sending a Golem or a Fenomacho or a Brute or someone with increased durability, agility and charisma to this task, and then select the following options:
- Help them in battle – success requires 8 units of fearlessness and above.
- Lead them to a safe place – requires 7 units of agility and above for success.
- Convince them to retreat – success requires 7 units of charisma and above.

Next, a short cutscene with Royd will begin, after which we will almost immediately return to work. Now your characters will spend less time moving, but their risk of getting injured will increase. Don't forget to use special items for healing, as well as use the abilities of Chalkbreaker and Waterboy.
Attack on Sonar/Coupe 3
We recommend assigning someone with increased intelligence, durability and fearlessness to this task.
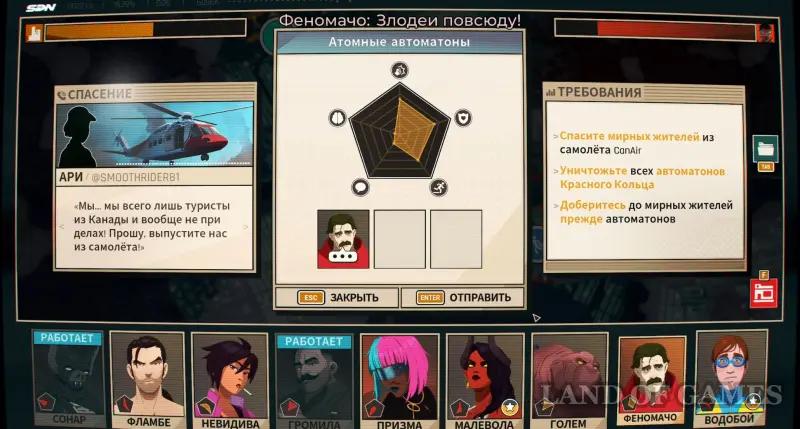
Atomic Automata
We recommend sending Fenomacho or Brute and Coupe or Flambeau and Golem (or someone with increased agility, fearlessness and durability) for this task.
New meeting
We recommend sending for this task Flambé/Malevol/Kupe/Nevidiv or someone with increased fearlessness and agility.
Trap
We recommend sending Sonar/Prism or someone with increased intelligence or Waterboy or Flambeau to this task, and then choose the following options:
- Be smart – success requires 8 units of intelligence and above.
- Douse them with water – available if you have Waterboy in the team.
- Heat them up – available if you have Flambeau in the team team.

Attack on Sonara/Coupe 4
We recommend assigning someone with increased intelligence, agility and fearlessness to this task.

Beyond the Red Ring
We recommend sending Flambe/Coupe/Fenomacho/Invisible and Brute/Golem or someone with increased agility and durability for this task.

Rescue from the bridge
We recommend sending Golem/Invisible/Fenomacho and Bruiser or someone with increased durability and agility for this task.
Attack on Sonar/Coupe 5
We recommend sending someone with increased intelligence, agility and fearlessness for this task.
To the helicopter
We recommend sending for this task Sonar/Prism and Flambeau/Coupe and Brute/Golem/Fenomacho or someone with increased durability, agility and intelligence.
Attack on Sonar/Coupe 6
We recommend sending someone with increased intelligence, agility and fearlessness to this task.
Help Equilibrium
We recommend sending Flambe or Golem or Fenomacho or Kupe or Invisible or someone with increased agility for this task.

S-s-s-s-sewage bomb
We recommend sending Fenomacho or Golem or Flambé or Nevidiva or someone with increased agility for this task.
Regardless of which one we sent on the mission, you need to choose the answer: “Yellow” (for success you need 1 unit of intelligence and above). Then select the following options:
- Launch a bomb into space – available if there is a Fenomacho in the team.
- Absorb the explosion – available if there is a Golem in the team.
- Run to the ocean – 8 units of agility and above are required for success.
Fight with the Brainfuck
The last hacking challenge in the game, where you will have to constantly move to the right, even if you can't see the path ahead. At some point, your controls will also be inverted, that is, right will mean left, and up will mean down, not only in movement, but also in unlocking the hammers. Beware of the antivirus you will encounter ahead. The video below shows the entire hacking process.
Consequences of the previous elections: If you built a romantic relationship with Blondie Blazer and asked her to return, then around this moment she will join your team.
Capture the Hospital
We recommend sending a Golem/Brute and Coupe/Flambe or someone with increased durability and fearlessness for this task. Please note that if your team's total stamina exceeds 6 units, you will receive additional experience points.
Courier bots again
We recommend sending Sonar/Prism/Waterboy and Flambé/Fenomacho/Coupe/Malevola or someone with increased intelligence and fearlessness to this task.
Attack on Sonar/Coupe (final)
If you have Blondie Blazer, you can send her alone with another character with increased durability and fearlessness. Otherwise, send all available heroes there to ensure a guaranteed defeat of Kupe/Sonar.
Achievement“Gas to the floor, without brakes: to open it, you need to defeat Sonar/Coupe and at the same time the Los Angeles bar should not drop to zero.
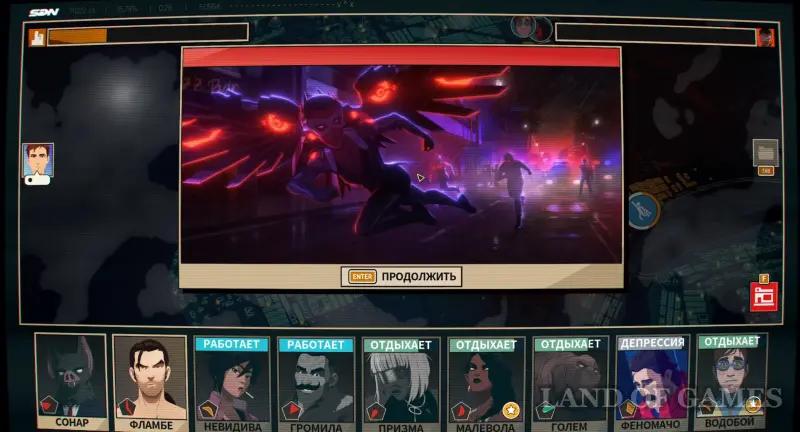
Collision with the Invisible One
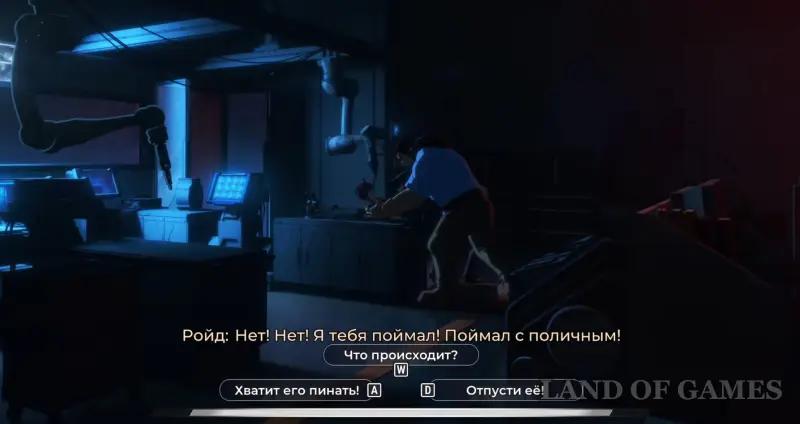
Having dealt with Coupe/Sonar, we begin watching a new cut-scene, having completed the dispatcher's shift. First we run to Chase, and then to the workshop, where we find Royd fighting with the Invisible. What shall we say? (does not affect the plot).
- Stop kicking him!
- What's going on?
- Let her go.
Roid will wear handcuff Nevidiva, and then the villains will arrive. Diva will say that we need her. How will we answer? (does not affect the plot).
- Call Blondie Blazer.
- I-Team is needed.
- Prepare the suit.
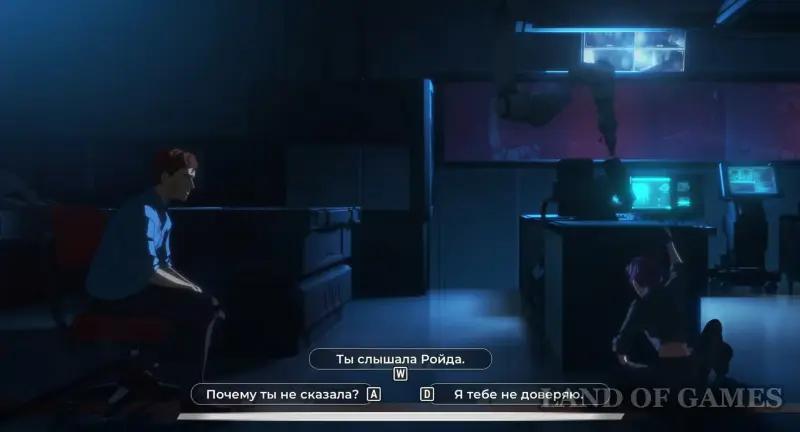
Roid will leave, and we will be left alone with the Invisible One. We point out that she did not tell us the whole truth. Then add:
- Why didn't you tell me?
- You heard Royd.
- I don't trust you (we'll get 2 bad mentor points)
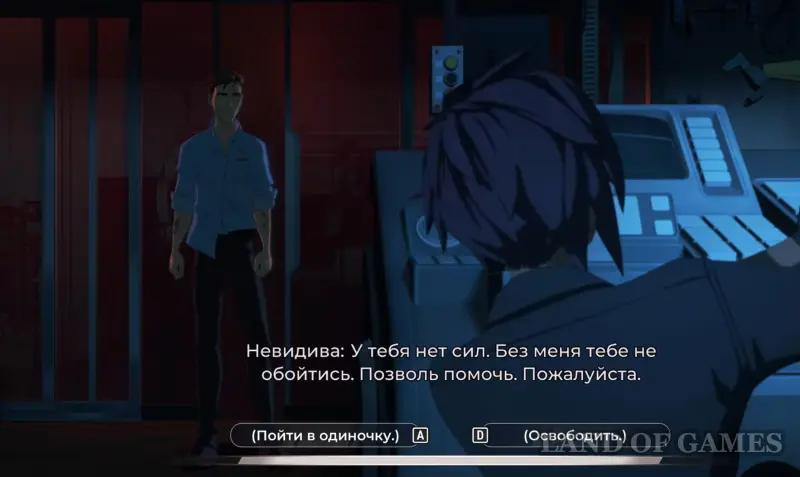
Nevidiva will ask us to free her. What should we do? (she will remember this).
- Going alone will worsen your relationship with the Nevidiva.
- Free – we will improve relations with Nevidiva and get 5 points of a good mentor.
If we leave her handcuffed, Nevidiva will attract the attention of the villain in the corridor, which will make it more difficult for us to deal with him. Plus, she will trust us less, which will negatively affect our relationship with her in the future.
If we free her, then Nevidiva will help us deal with the enemy, so we can escape without any problems. Plus, she will trust us more, which will have a positive impact on our relationship with her. In addition, we will have additional dialogue with her (does not affect the plot):
- No way.
- Clean it up yourself.
- Okay (maybe it will be a plus for the relationship).

Fight and conversation with Canopy
We look at the fight scene with Royd, after which Toxic and other villains will appear. What shall we answer? (does not affect the plot).
- Go get it.
- I should have cracked you.
- Where is the Canopy?

Then the Canopy will appear on his a huge spider robot. We answer him (does not affect the plot):
- Can I skip it?
- Predict how you will be dealt with.
- This will be difficult.
Then the battle will begin. Select the first movement (affects only animations):
- Two energy blades.
- Rocket barrage.
During QTE moments, we may well be wrong, since in reality this will not affect the plot in any way, but will only slightly change the cutscenes. Again, select the type of attack:
- Cluster bombs.
- Plasma network.

We continue to watch the video, after which Sonar/Coupe will attack us. We answer him/her (he/she will remember this):
- I was right.
- Nothing personal.
- Sorry.

When the Canopy robot is thrown into the air, we will fly up to it and a new choice will appear (affects animations):
- Come here.
- Super Spirit Bomb.
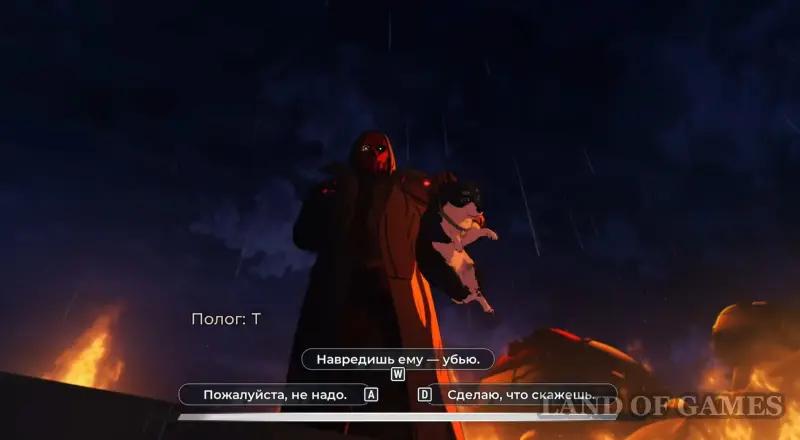
The Canopy will then come out of the fur and grab Bacon the dog. What shall we tell him? (does not affect the plot).
- If you hurt him, I’ll kill him.
- Please don’t.
- I’ll do what you say.
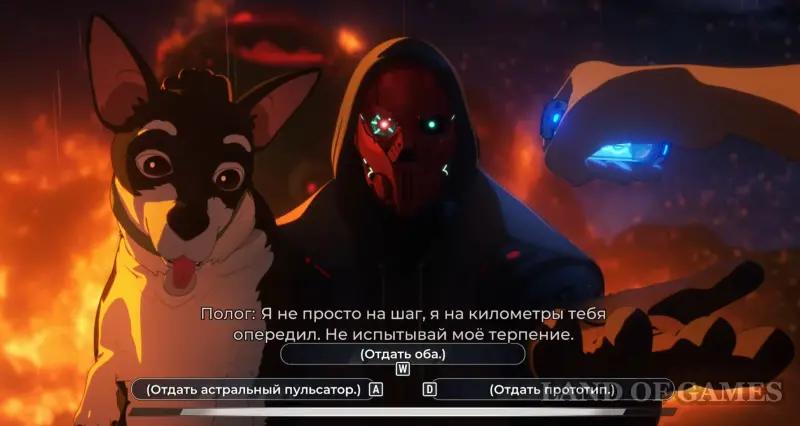
Next we need to decide what give to Canopy (the next scene will differ depending on our relationship with the Invisible and Blondie; they will remember this):
- Give both (as a result, he will receive the prototype and will not be able to activate his powers).
- Give up the astral pulsator (he will receive the real pulsator).
- Give up the prototype (as a result, he will take only the real pulsator).
The scene will develop further according to one of two possible scenarios, which will directly depend on our relationship with Nevidiva.
Bad mentor (turned away from Nevidiva)
If we failed to win the trust of the Invisible, then she will appear right in front of the Polog and kill him, depriving us of the opportunity to take revenge on the villain or bring him to a fair trial. She will take his mask and disappear. To get this ending, you must not start a romantic relationship with her, do not help her in tasks, do not stand up for her and do not forgive her in the locker room.
As a result, you will unlock an unusual trophy called “Didn't you see this coming?”.
Good mentor (supported Nevidiva)
If we managed to build a trusting relationship with Nevidiva, then she will stand in front of us, taking a bullet from Canopy, and we will attack the villain and begin to beat him, and later we will have the opportunity to decide his fate.
To obtain this result, we will need to support Nevidiva and trust her throughout the game, that is, it is not necessary to build a romantic relationship with her. Here are some important decisions that can help this:
- Don't tell Blondie that the Invisible One hit you in the second episode.
- Help Nevidiva at the donut shop (burglary challenge) in episode two and at the jewelry store (burglary challenge) in episode three.
- Tell Blondie that you believe in Nevidiva in episode three.
- Go to the movies with Nevidiva in episode four.
- Tell the team that you are Mecha Man in episode five.
- Side with Nevidiva in episode four party and help her on the ship (burglary tests) in the sixth episode.
- Do not exclude Nevidiva from the team in the seventh episode.
- Forgive her in the locker room in the seventh episode.
- Uncuff her in the eighth episode.
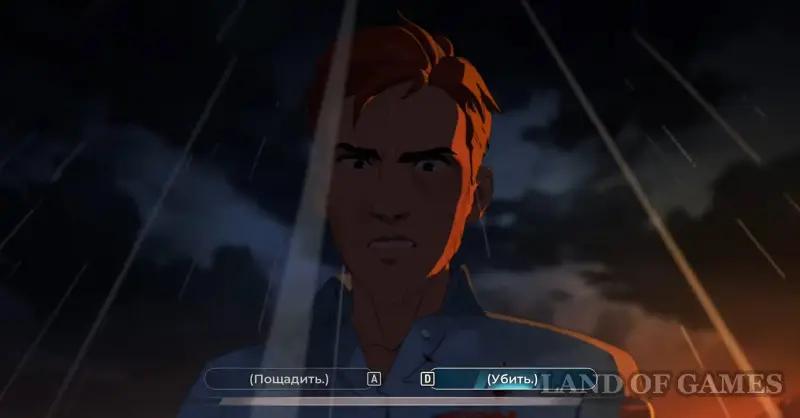
Next we have to decide what to do with Polog (everyone will remember this):
- Spare – you will not kill Polog, but put him in prison. This will allow you to unlock the achievement “I declare that this man is fucking cool.”
- Kill – you will personally kill Canopy. This will allow you to unlock the “Killer-a-a-a-a!” achievement.
Achievement “Sorry”: you will get it if you can follow the path of a good mentor by supporting Nevidiva.
What to do with Sonar/Coupe
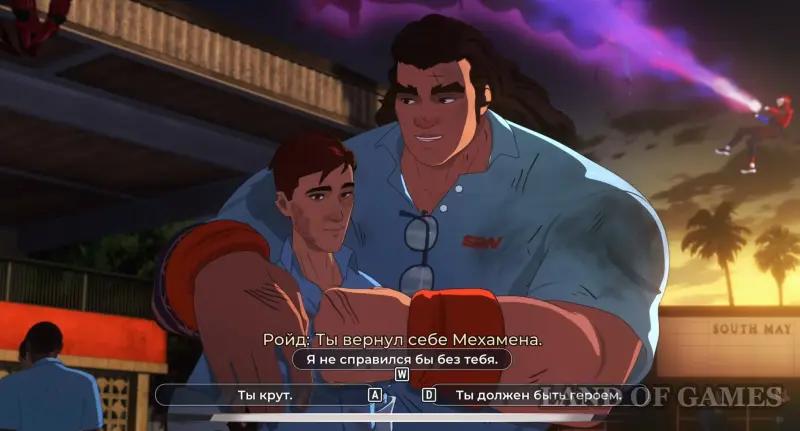
We watch a couple more videos and talk with Royd. We answer him (does not affect the plot):
- You are cool.
- I couldn’t have done it without you.
- You must be a hero.
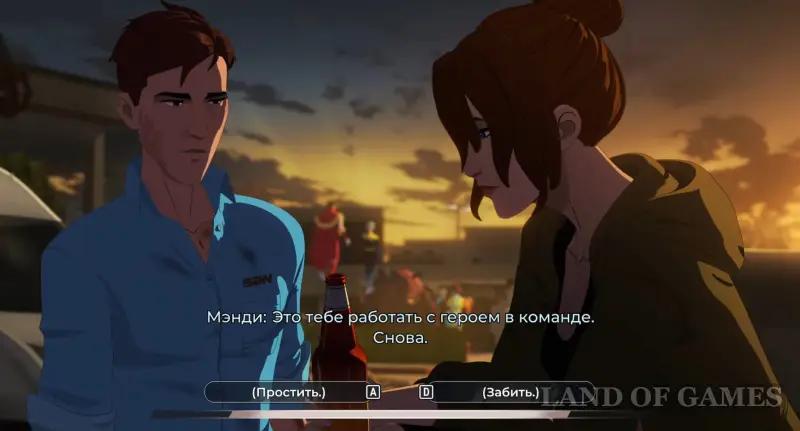
Next, we notice how Sonar/Coupe is taken away in handcuffs, and we will need to decide the fate of the character (this option will only be available if we managed to protect Los Angeles, that is, not bring his bar to zero):
- Forgive – in this case, Coupe/Sonar will be released, and she/he can join the celebration.
- Forgive – in this case, Coupe/Sonar will be led away in handcuffs.
Note thatCoupe/Sonar will remember our answer, which is quite strange, because the eighth episode is the last in the game. There is a good chance that our answer will be important for the second season, that is, if we forgive the traitor, then he will most likely re-join the I-team, so we still recommend choosing forgiveness.
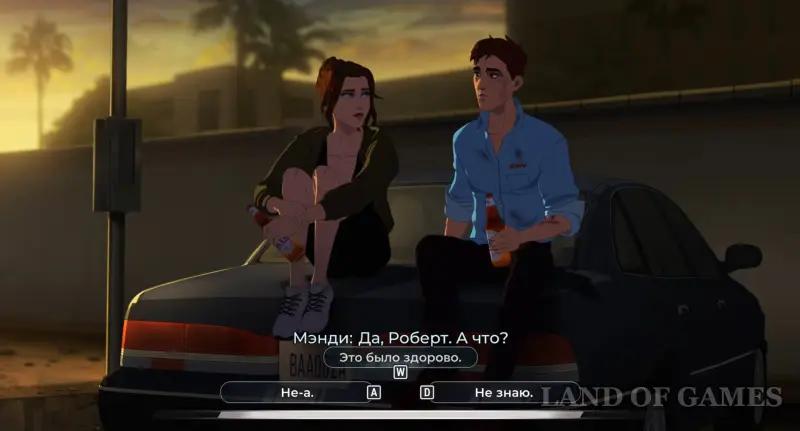
If we killed Canopy, then Mandy (Blondie) will ask about our well-being. We answer her (she will remember this; again, it will most likely affect the next season):
- That was great.
- Nope.
- I don’t know.
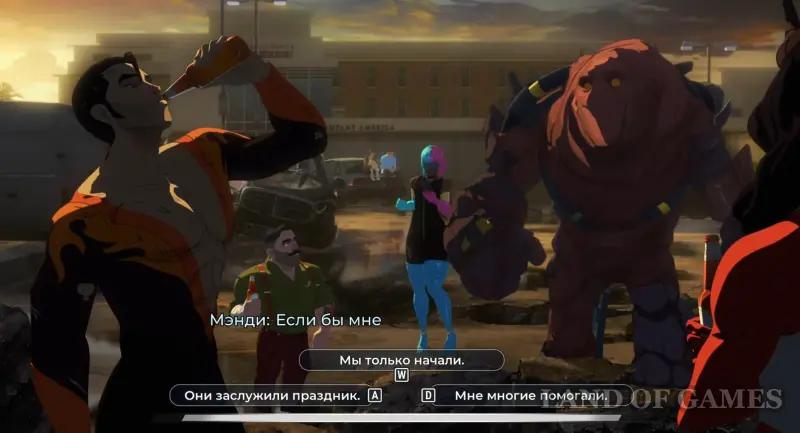
When you receive the “Good” ending mentor” we will continue our conversation with Mandy regarding the I-team. We answer her (does not affect the plot):
- They deserved a holiday.
- We have just begun.
- Many people helped me.
Next we look at the final cutscene where we will take a photo with the whole team. Now let's briefly talk about novels with characters.
Romantic lines
Next, separate romantic scenes will begin with characters with whom we have previously built similar relationships (if we are talking about Diva, then the conversation with her will take place before we decide the fate of the traitor).
Romance with Nevidiva
The girl on a gurney will be taken to an ambulance. We tell her:
- Thank you, I guess.
- Should I stay with you? – Nevidiva will kiss us.
- You did it.
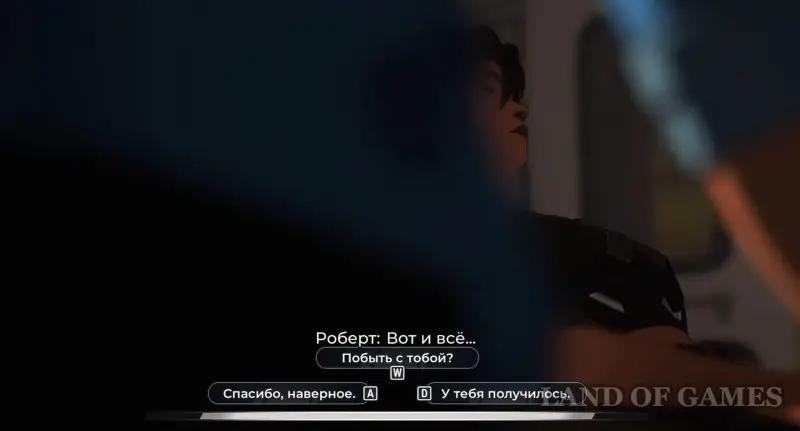
Achievement“I'm Always Expiring”: You need to build a romance with Nevidiva and get a kiss from her at the end.
Romance with Blondie Blazer
Romance with Mandy is possible even if Nevidiva remains on the team and we open the “Good Mentor” ending, but it will be much more difficult to do. If Diva leaves the squad, then we say to Blondie Blazer (she will remember this):
- He will come for me.
- I hope she is doing well.
- He will lead the Red Ring.
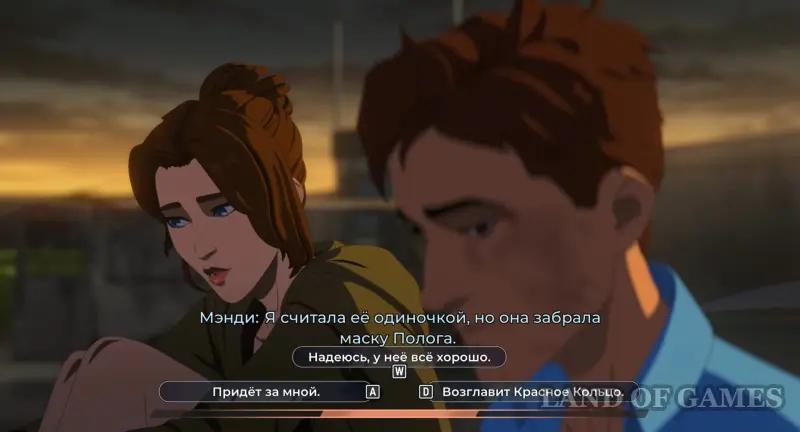
And then Blondie Blazer will kiss us on the hood of the car, and we will unlock the achievement “Do you have plans for the evening?”
Romance with both girls
Note that in the game you can easily try to build relationships with two girls at once, that is, for example, go on a date with Blondie Blazer, and then help Nevidiva, forgive her and kiss her in the locker room. However, in this case, in the end you will still be left with Nevidiva, and Blondie will calmly accept this, wishing us happiness.
No romance
If you rejected any advances from Blondie Blazer without showing your interest in her, and did not help Nevidiva, receiving the ending of “Bad Mentor”, then in the end none of the girls will remain with you, and you will open rare trophy “Let's remain friends.”