In Zenless Zone Zero (ZZZ), Banbu's Golden City is a small side chain consisting of combat and research orders. During them, you will have to help the young blogger Clara get to and explore the legendary place in the caverns, where, according to rumors, incredible treasures are stored.
In this guide we will tell you how to start this mission, where to find all the data packs and collect 500 thousand sixlings for the bear. You will also learn how to unlock the secret achievement “I don’t take part-time jobs.”
Completing the mission “Golden City of Banbu” in ZZZ
How to start an order
Before you can gain access to this quest, you will need to meet a couple of conditions, namely:
- Increase the level of Internot to at least 27.
- Get to the “Chapter 2: Interlude” when completing the main storyline of the game.
Once you have the requirements, start looking around the area in front of your video rental store. One day, you should notice a pink-haired girl named Clara standing in front of it – talk to her and fulfill her request. Then update the location or wait until the next day until the blogger appears right next to the entrance to your store. Talk to her and agree to help.
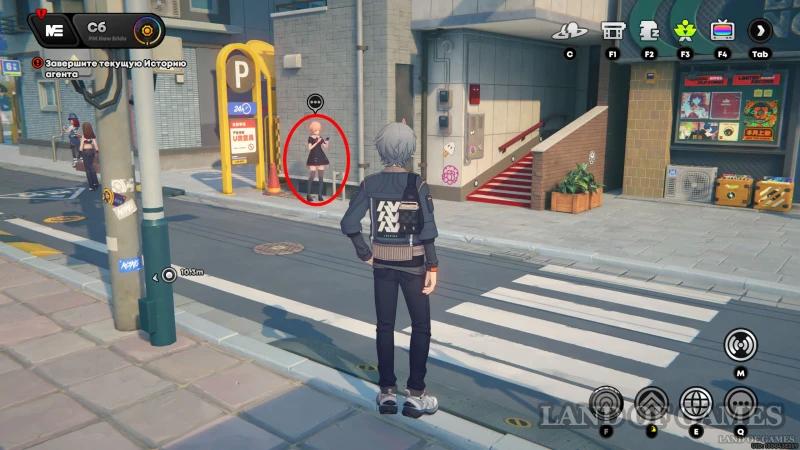

Refresh the area again (for example, enter a room) and almost immediately you will receive a message from Clara on Knock Knock. As a result, you will receive your first task from her, which is a combat order. You will have to complete it before you can proceed directly to exploring the golden city.


Complete the “Banbu's Golden City: First Inspection” order
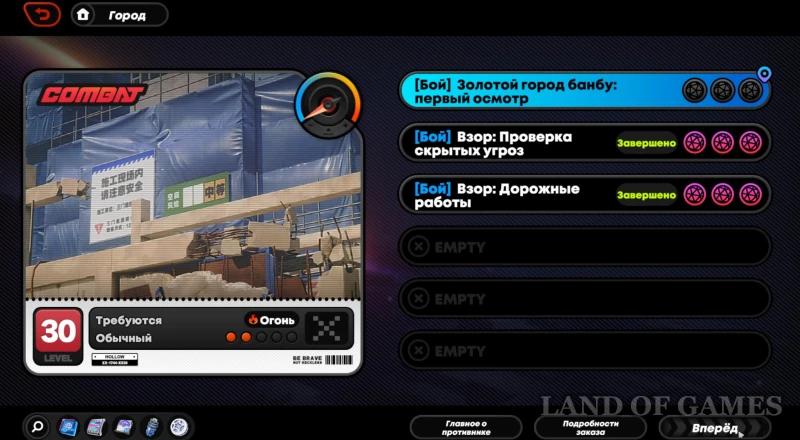
Return to your office and interact with the HDD system. Select “Chapter 2” and go to “Battle Orders”. Here you will find the corresponding mission. The game will recommend taking characters of at least level 30 with the Fire attribute. However, the battles themselves in this trial are not very difficult, so fighters of other elements will do.

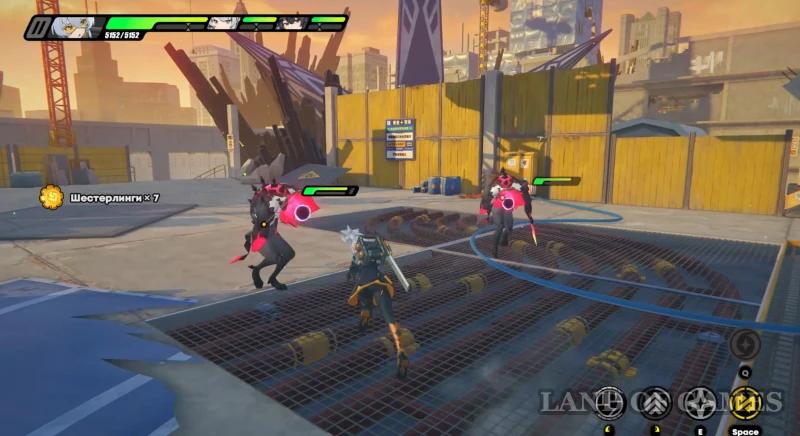
After starting the mission, run up the stairs, collecting shearlings along the way. After going up, you will engage in a fight with a group of ordinary ethereals. Then go down, picking up coins, and you will see a golden banbu ahead – immediately attack him. Hit the enemy until he burrows into the ground again. Then the ethereals will appear. Destroy them and run on.

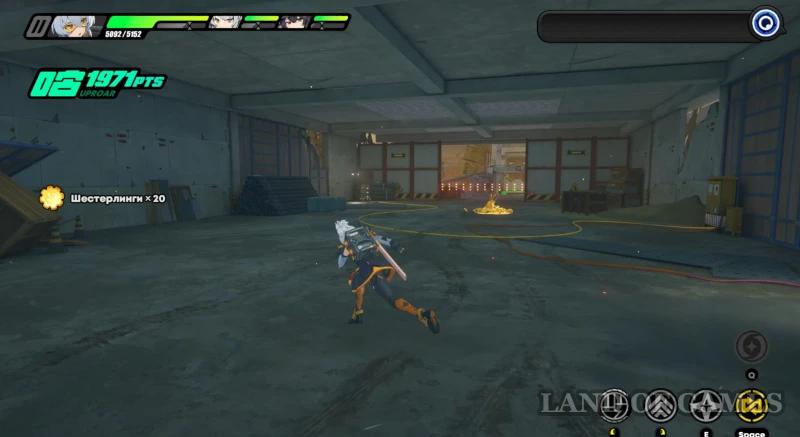
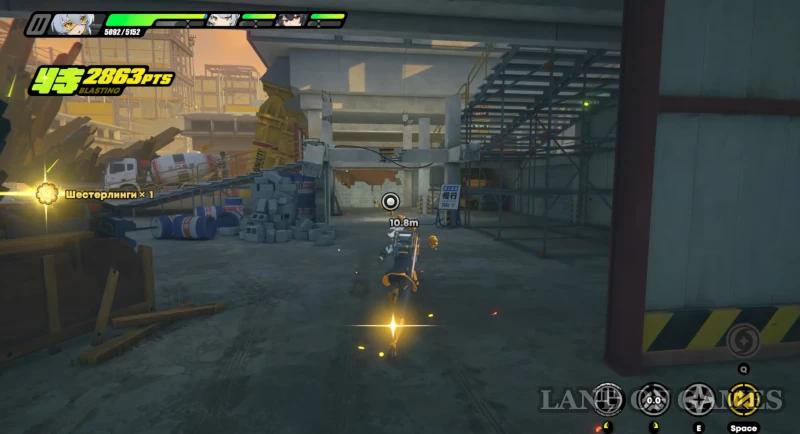
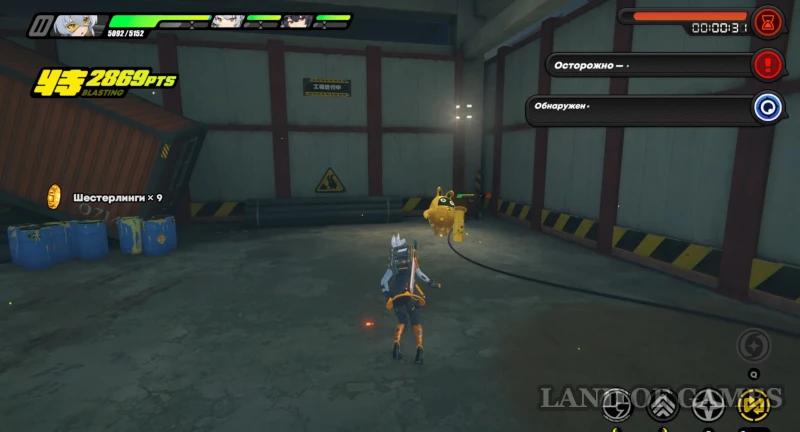
Destroy the wall and enter the next arena. Attack the golden banbu again, not letting it escape. Ignore the other enemies, as its destruction is the main condition for getting the “S” rating. Let's add that you need to kill it in 35 seconds. Once you deal with it, the order will be over.
Find the First Observation Data Packet
Exit the HDD and read the new message from Clara in the Knock Knock. Interact with the device again, select “Chapter 2” and go to the “Research” section, where you will find the corresponding order. The game will recommend taking characters of at least level 36, but without specifying the recommended attributes. We advise you not to take Ice and Electric heroes, as some enemies in this mission are resistant to these elements.


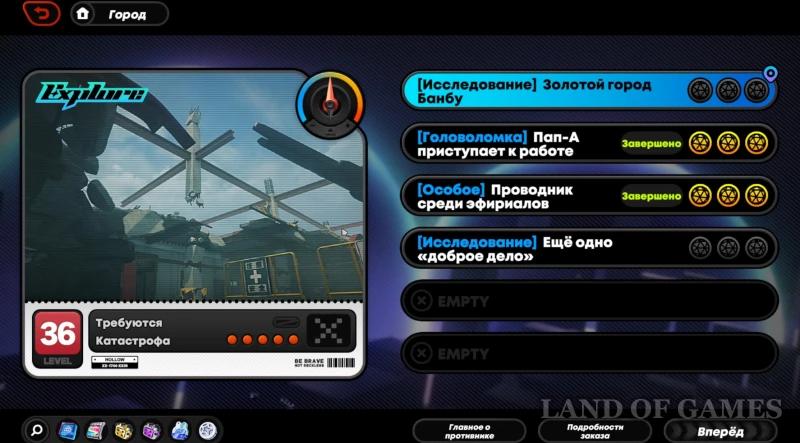
Immediately after the mission begins, a combat test begins. Deal with the first group of ordinary bandits. Next, you will be attacked by a Wanted Brute, who is vulnerable to fire and physical attacks, but resistant to ice. He mainly attacks in close combat, so you can shoot him from a distance without any problems.


After dealing with all the enemies, go upstairs and talk to the Good Bear. He will tell you about his huge debts, so you will decide to help him. This will end the test, and you will return to the playing field, having received about 1000 sixterlings from the bear – this is just enough to pass through the gate ahead.

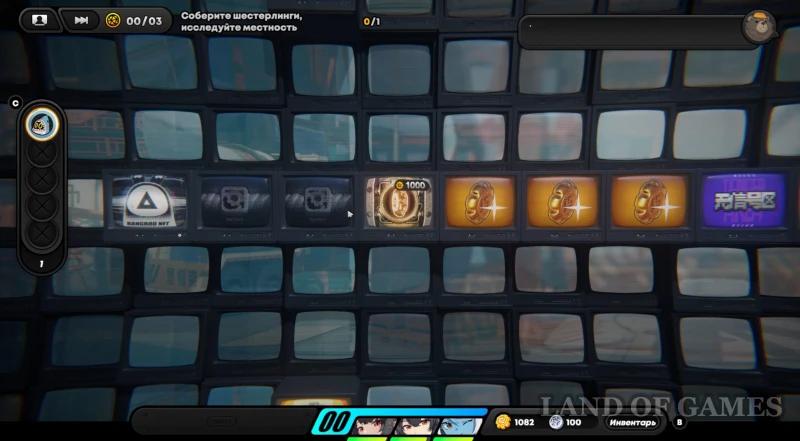
Next, go forward and immediately turn up. Start moving north, collecting coins along the way. At the top, you will find another gate – pay 1000 sherlings. A new obstacle will appear in front of you, to overcome which you need to pay half of all the gears you have. We advise you not to give the money yet, but first open the two remaining gates below. In the end, you will have to give only 700 sherlings to go further and take the 1st surveillance data package.
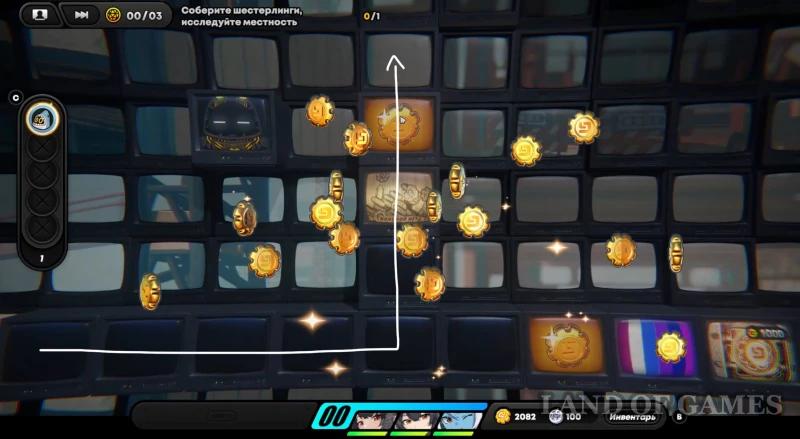
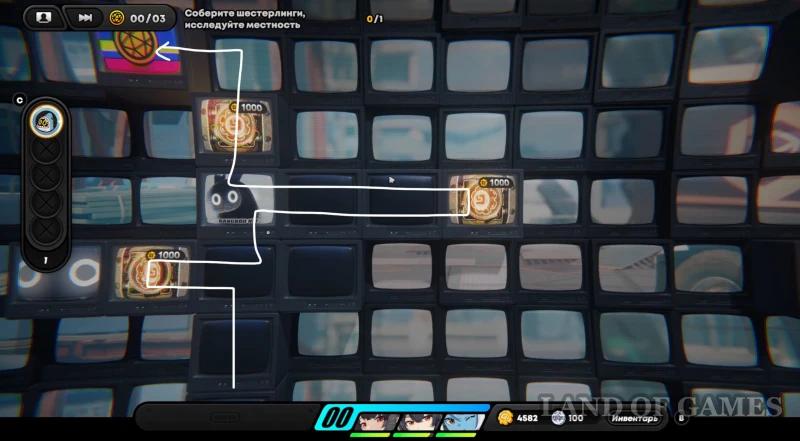
Collect Sherlings, Explore the Area
Now go down, go right and open another shutter for 1000 sixlings. After opening the fork, go down. On the left you will find an Activated Crystal – if you stand on it, you can double the gears you have, so we advise you to first collect more gears, and only then use this function.
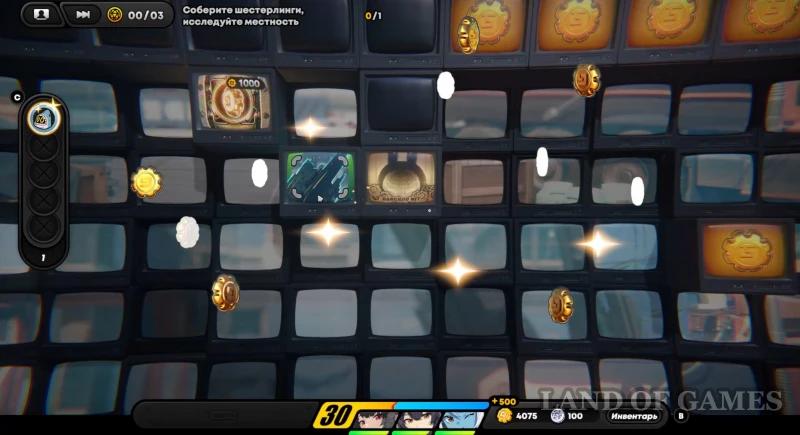
Next, go left and down, removing 1-2 gates on your way to reach the passage to the golden suitcase. To remove the obstacle, you will have to spend half of the gearlings you have again (if possible, reduce the amount by opening the gates behind which the gears are visible).
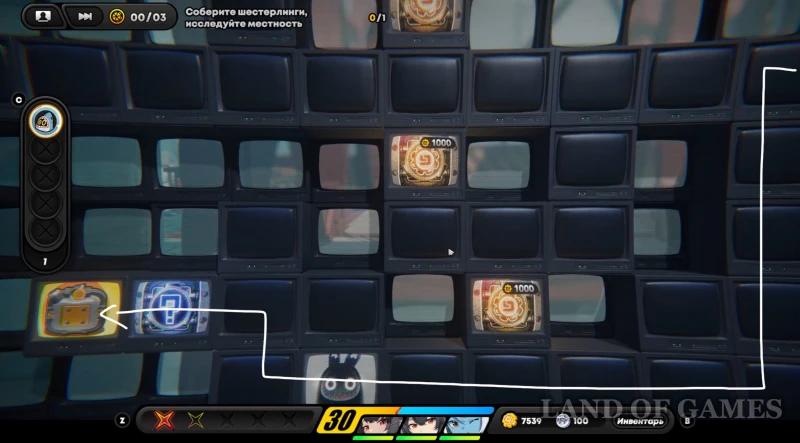
Go back up to where you picked up the data packet earlier and open the gate on the right (if you haven't already). Then go up, remove a couple of doors and stand on the Activated Crystal to double your Sheathlings. You can also now use the crystal you found earlier to get even more money.
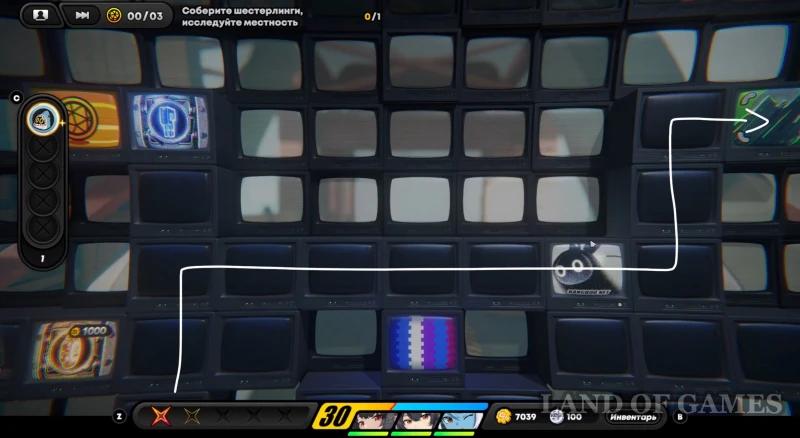
Return to the main path and move right towards the funnel. To remove the blue barrier, you will either have to spend 5000 sherlings (the optimal choice) or lose 70% of your heroes' health.
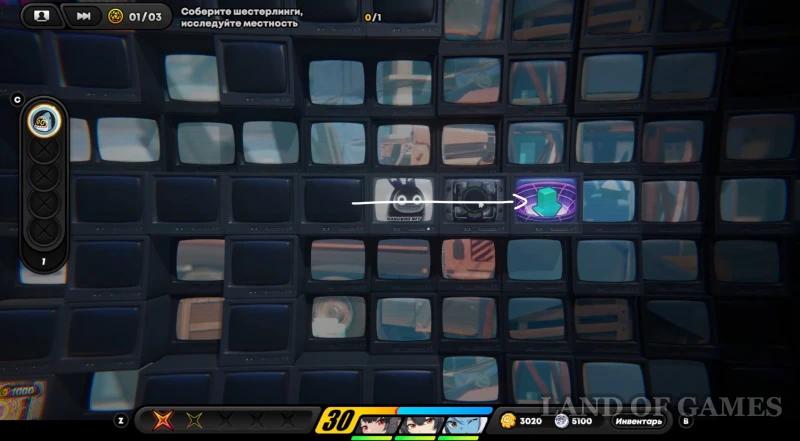
How to get through the minefield
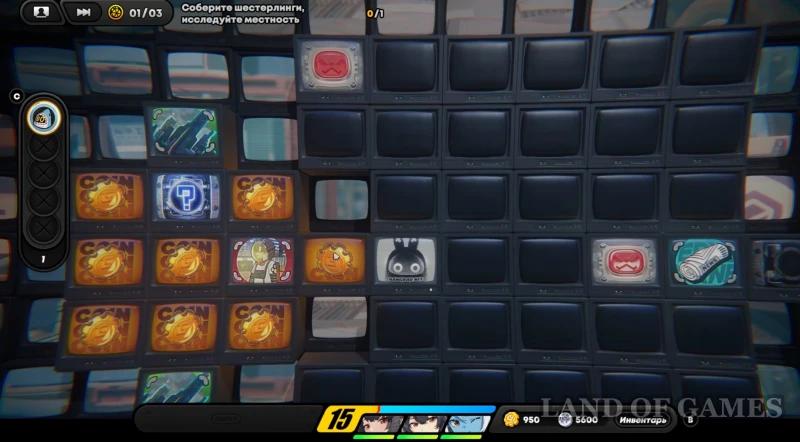
Once you reach the new area, open the gate ahead by spending 10% of your Sheathlings. Then start going down and stand on the cell with the letter “Z” to start the next stage of the quest. You will find yourself on a large platform with 4 paths leading from it – you will need to spend 1000, 3000, 10000 and 20000 Sheathlings to open them.
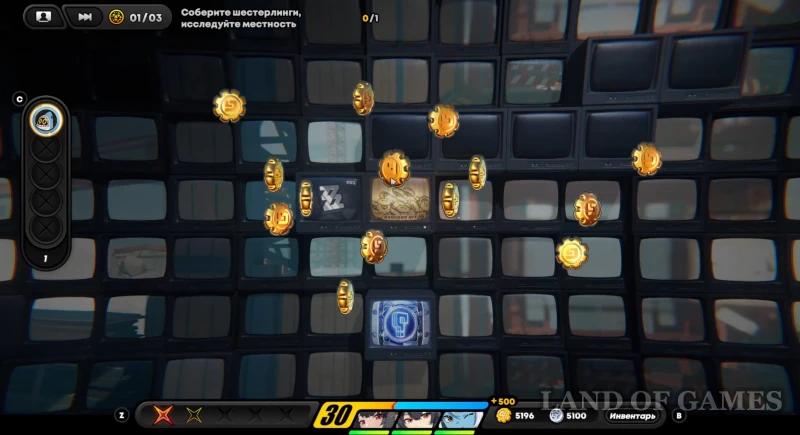
In the middle, there are additional orders in the form of combat trials, for which you get shearlings – do not complete them under any circumstances, otherwise you will not be able to open the achievement later, and you will have to replay the entire mission for it. So immediately go to the blue door on the left and pay 1000 shearlings to open it.
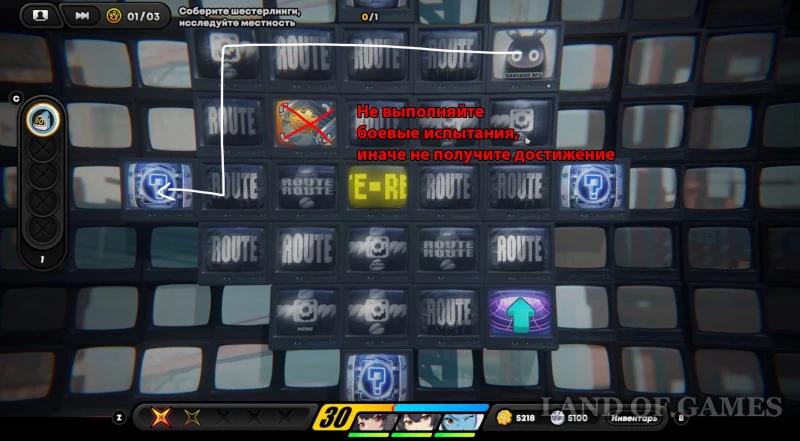
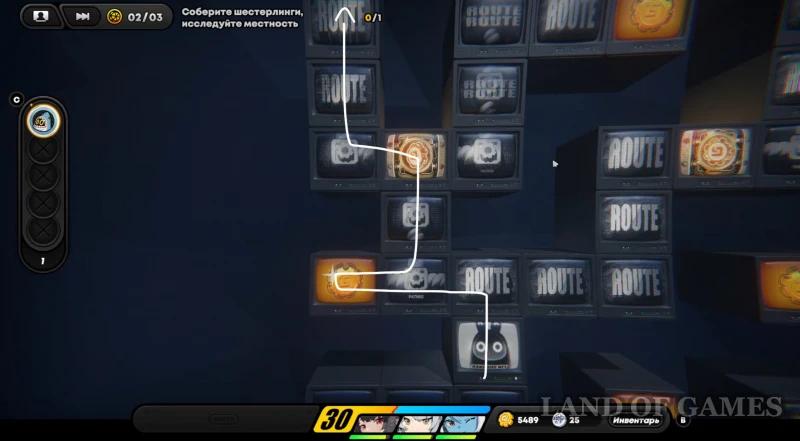
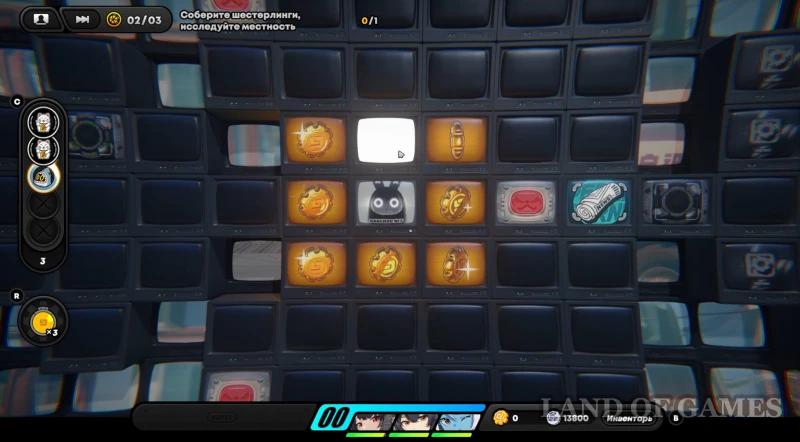
Next, stand on the newspaper. You will see a hint on how to move in this area to avoid the mines that will take the shearlings from you. The bottom path is as follows: down, down, left, down, left, left, up, left, left, and down (see screenshot below).
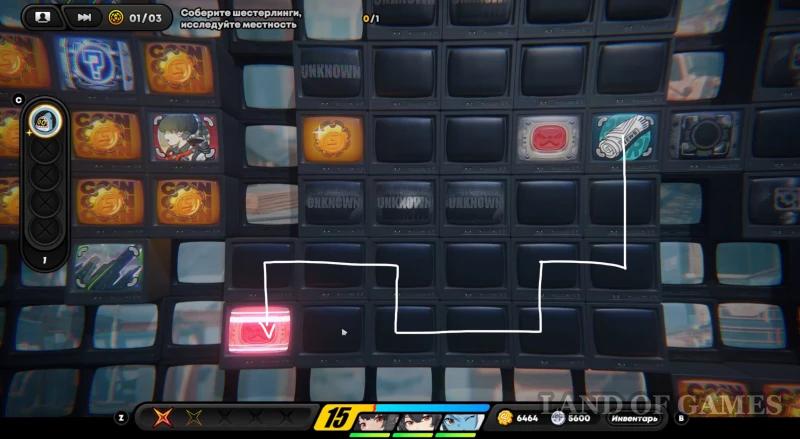
The upper path looks like this: up, up, left, up, left, left, down, left, left and up (see screenshot below). By the way, at the top you can find a Paid Service that allows you to remove the infection symptom by giving all your sherlings (we do not recommend using it if you have a lot of money in your account). Then stand on the red button in front and at the top to unlock the road to the right area.
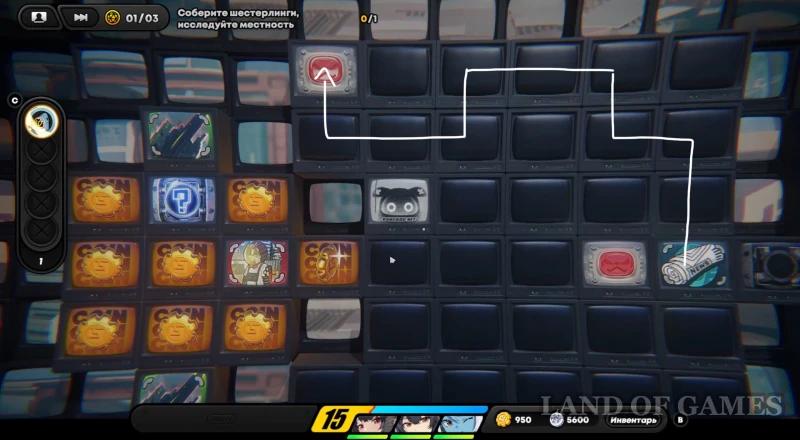
Go to the right, collect all the gears and buy a lucky cat for 5,000 sherlings. Then unlock the blue barrier in front of the crystal (if you have little money on your account), but do not use the gear doubling yet – it is better to wait until you have accumulated more money.
Find the Second Surveillance Data Packet
Return to the main area and now head upstairs, paying 3,000 sherlings to enter. Then turn left and stand on the Banbu cage to be transported to the labyrinth. Start moving up and right to the first gate – open it and continue up to the second door.
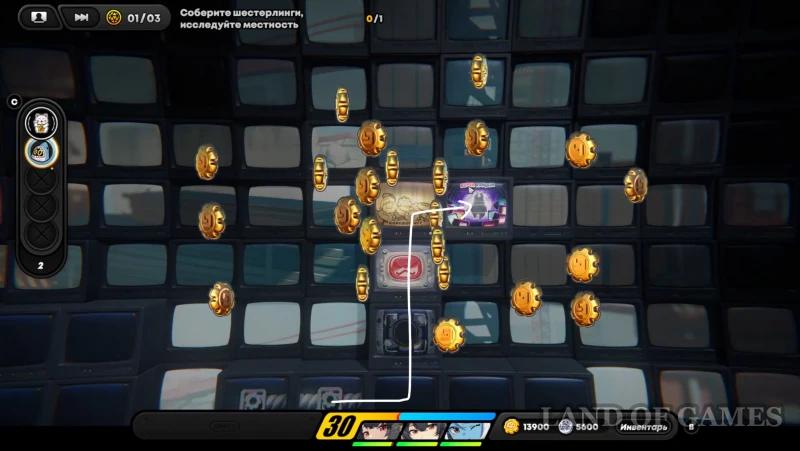
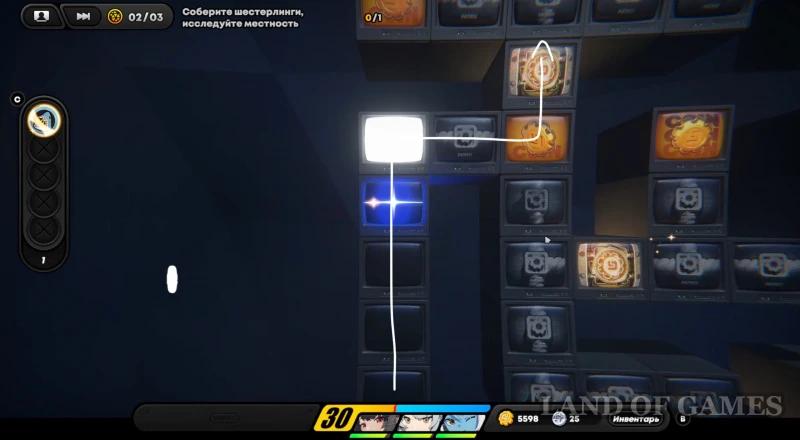
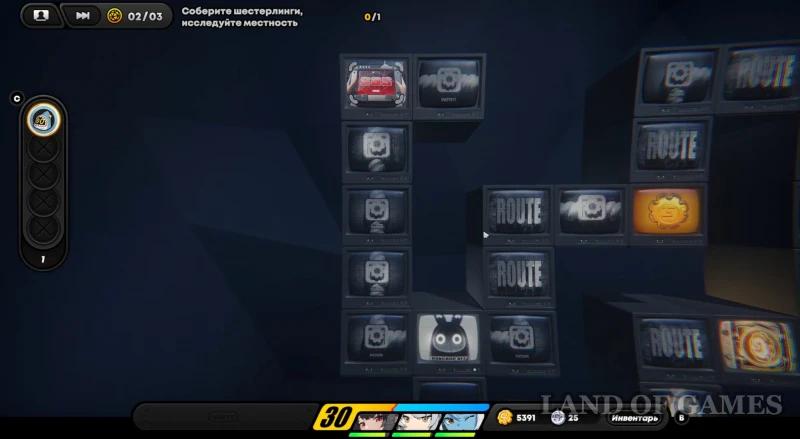
Once you've unlocked it, take the leftmost path north. Then stand on the “SOS” square and begin the combat challenge. Talk to Ronnie, then start smashing boxes and destroying Ethereals in search of the cat. Once you reach the last room, deal with the Taramixer and smash the boxes near the wall to find the cat behind them – approach it to complete the challenge.



Once back, go right and pick up the 2nd Surveillance Data Packet. As for the maze, you can easily try to open all the gates to collect all the sixlings (you will remain at a slight advantage), save all the workers in the tests and buy a second cat (its location is shown in the picture below).
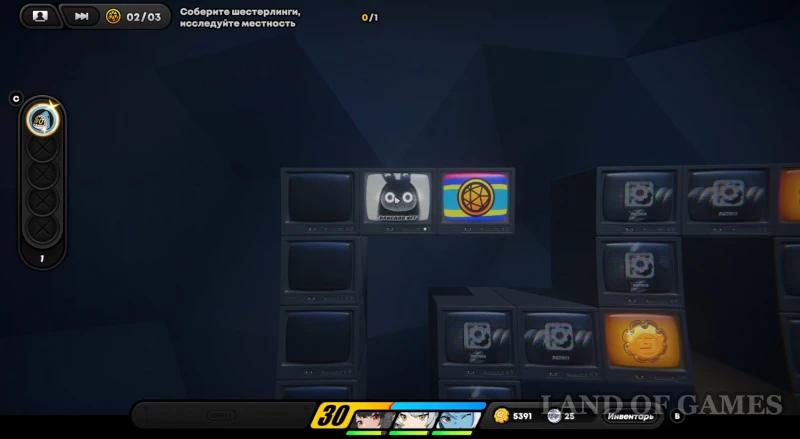
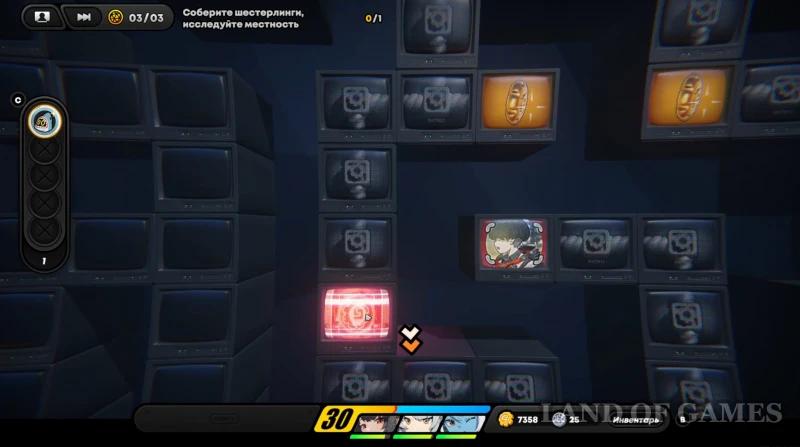
However, you don't have to do all this, since you won't get anything for saving the workers. Therefore, you can simply choose the optimal route and go right and up to reach the funnel and get out of the labyrinth. Collect the gearlings at the bottom and stand on the crystal at the top to double your supplies. Now collect the Gold Rush plugins and pick up the golden suitcase on the left.
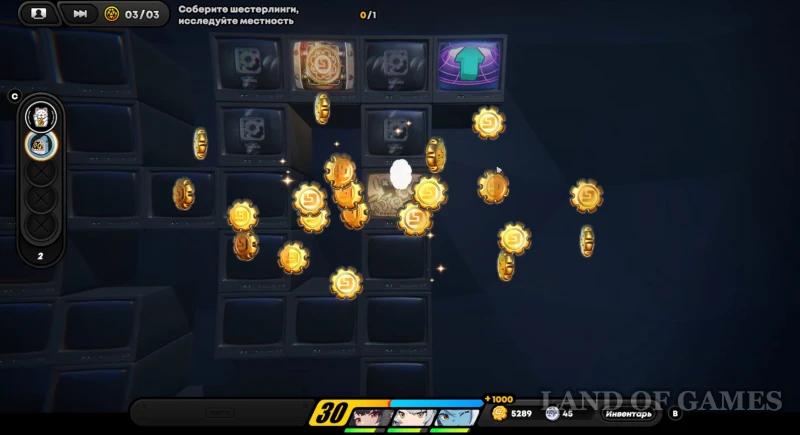
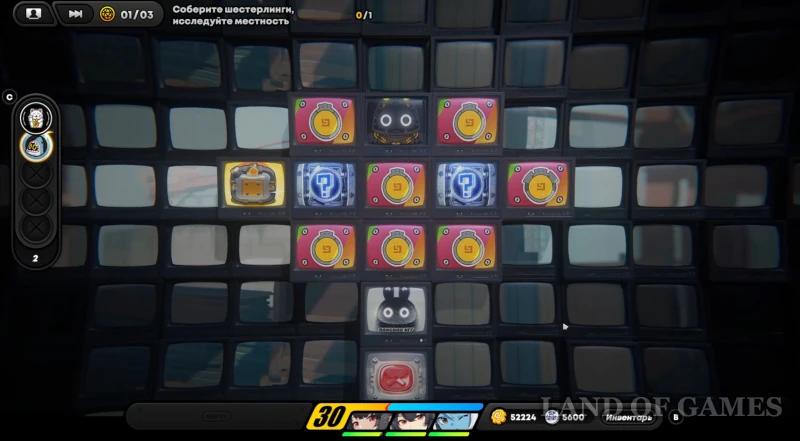
Grab the Golden Banbu
Go down to the center and now open the lower door, spending 10,000 sherlings. At the bottom, you will need to catch two golden banbu, which turn all the gears they stand on into locks, so you need to grab them as quickly as possible. Try not to stand on the cells with gates.
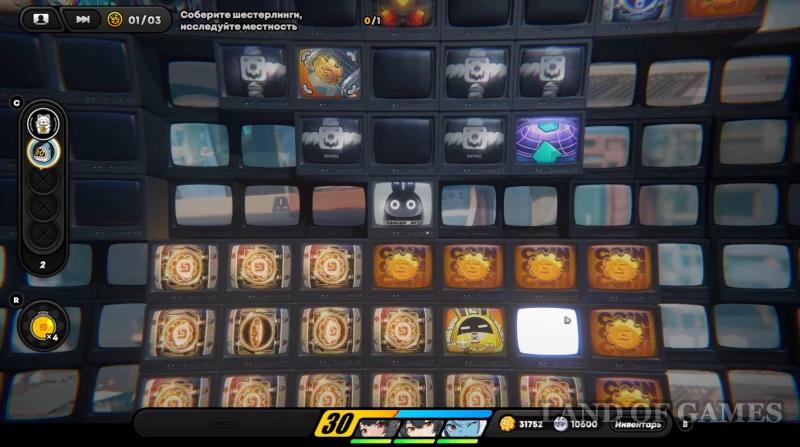
After grabbing the golden banbu, you will have a choice – to double your supply of sherlings or to increase the bonus from picking up items (that is, you will receive more coins when collecting them). If you currently have more than 100 thousand sherlings in your pocket, then we advise you to choose the first option, and if less – the second. Then grab the second banbu and again decide what to do with it.

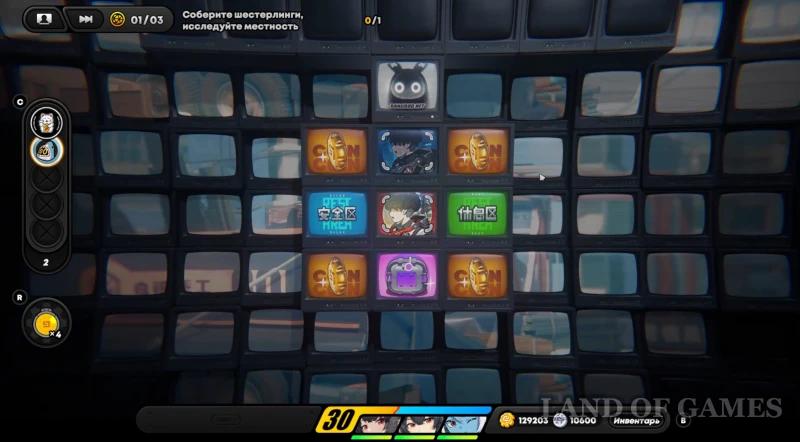
After catching the golden banbu, go down even further and collect all the bonuses at the bottom. Also buy another cat for 5000 shesterlings. Now find a free area where there are no obstacles around you in the size of 1 cell, as shown in the first picture below. Now use the Gold Rush plugin (key “R”). Shesterlings will immediately appear around you – collect them. Apply all the plugins you have. Then return to the crystals on the left, which you did not activate to double your savings.
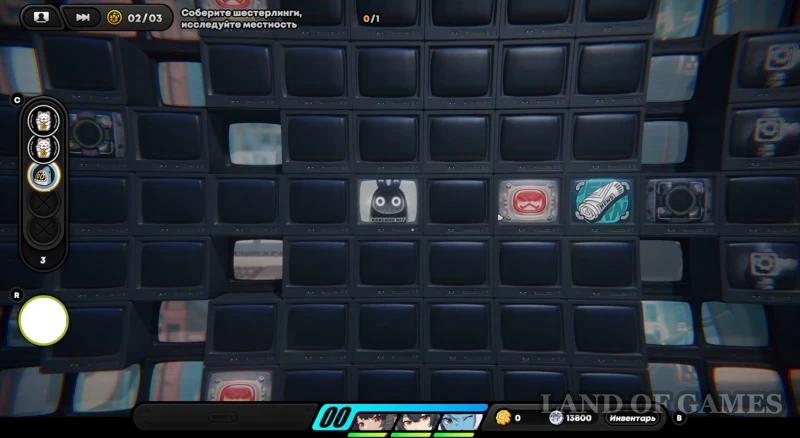
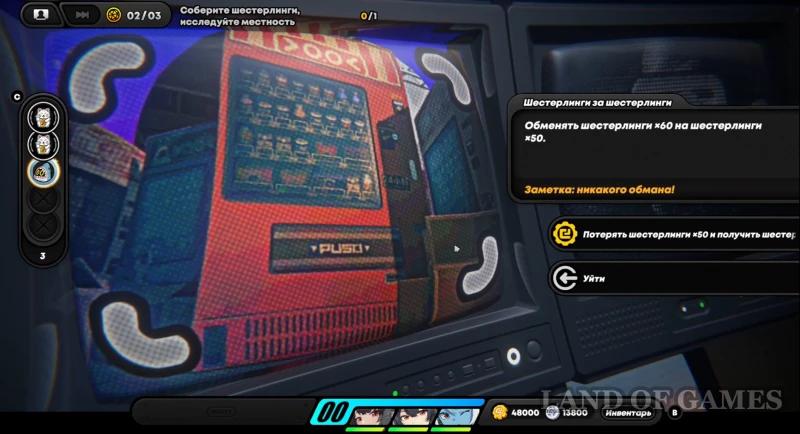
Return to the central area and go to the lower left corner. Here you will find a machine, spending gearlings in which, you will receive additional gears on your account. Use it until you reach the limit.
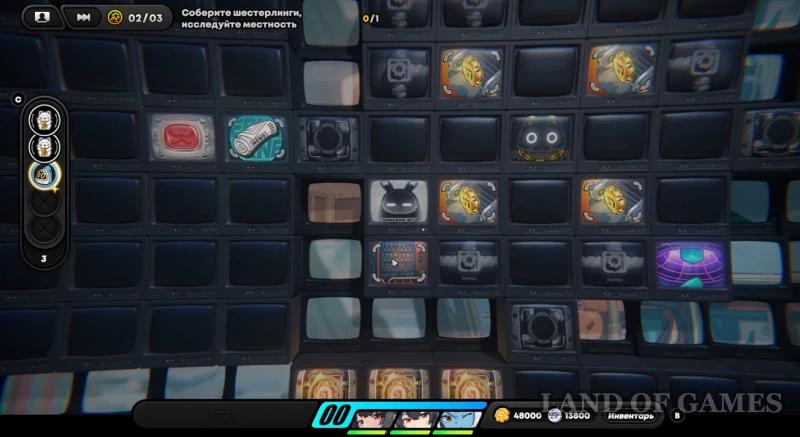
Find the third surveillance data pack
After accumulating over 650 thousand sherlings, go to the right and open the door by spending 20 thousand sherlings. Go to the first blue barrier and pay 10,000 sherlings to pass through it. Then go to the second barrier and remove it, increasing the infection level.
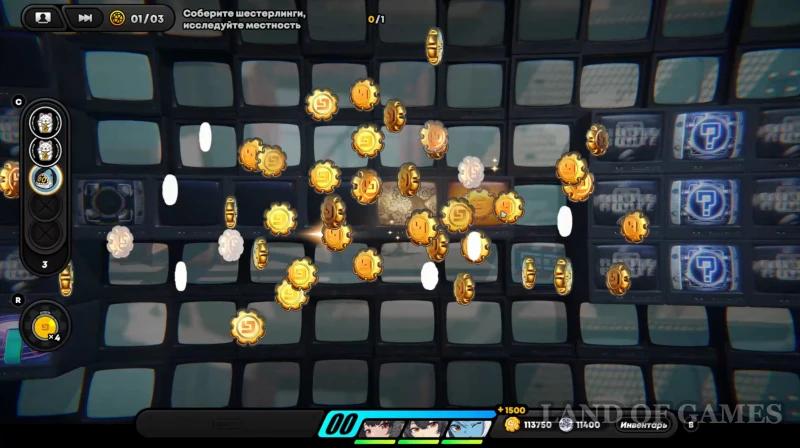
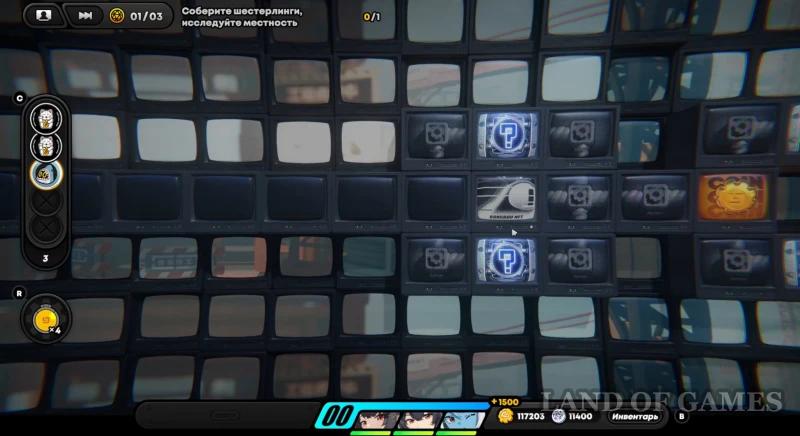

Go further to the right, and at the top you will see the 3rd blue barrier surveillance data package. To remove it, you will have to play the lottery, spending sherlings. We advise you to immediately spend 100 thousand sherlings to guarantee the removal of the obstacle and get the item you need.
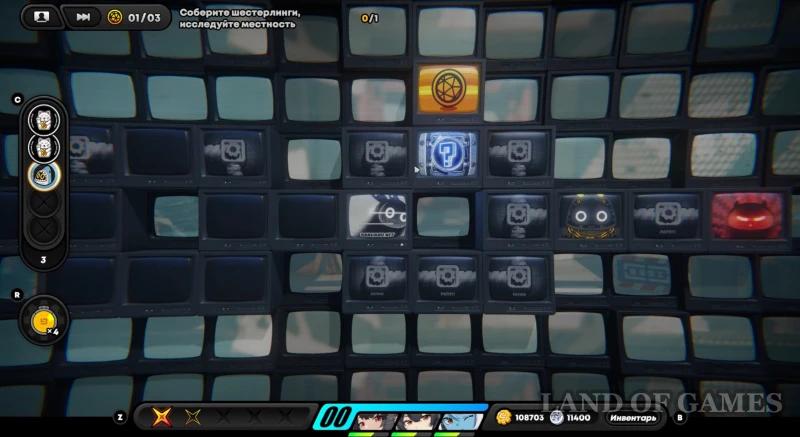

Now heal up and stand on the enemy's cell to start the combat test. Deal with a group of ordinary Ethereals. Then you will have a battle with the Crazy Psycho. This enemy is vulnerable to Fire and has resistance to Electro, so we do not recommend using electric damage dealers against him. In terms of his attacks, he resembles Farbauti, so most of his attacks can be easily parried.
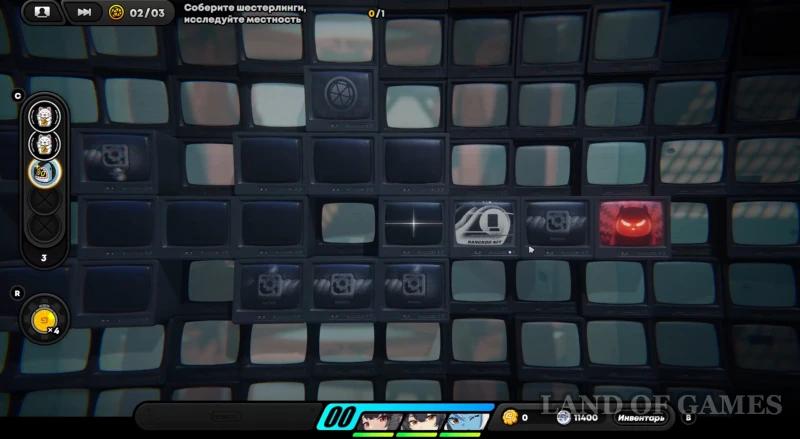


After dealing with all the enemies, continue moving to the right and stand on the cell with the flag. Answer the Fairy's questions in any way (this does not affect the ending and your reward). Next, you can give the kind bear 500 thousand sixerlings to cover all his debts, or simply give him all the money you have accumulated. Note that we did not notice any difference between these two options, so you can choose either one (if you do not have the required amount).
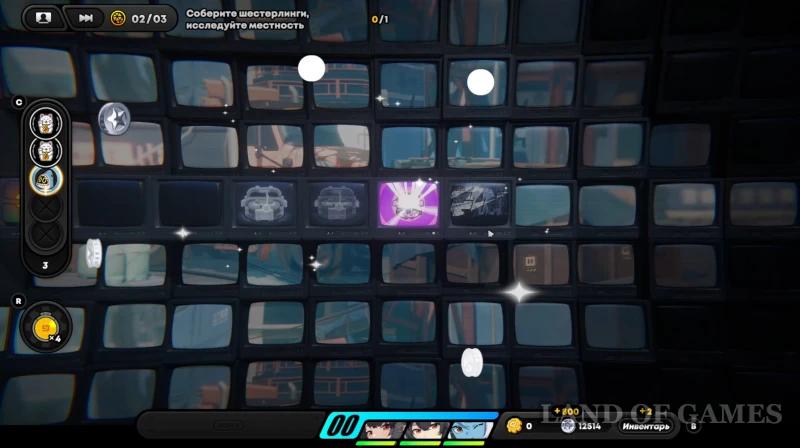

If you haven't been completing additional orders in the center of the area to earn shesterlings, you will now unlock the “I don't take side jobs” achievement, which gives 5 polychromes.


Revisiting Banbu's Golden City
After completing the order, you will see a new mission in your diary. Exit the video rental store and you will see Clara in front of you. Talk to her and listen to her impressions of Banbu's Golden City. You can choose any answers in the dialogue.
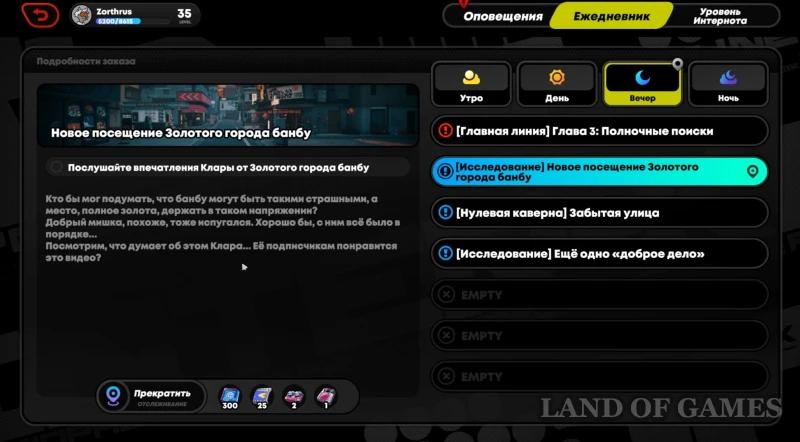

After finishing the conversation, you will complete the task and receive a reward: 300 credits Internet, 25 polychromes, 2 expert journals, 2 crystal coatings, 12500 denni and 1 amplifier energy module.


