[su_button url=”https://bstk.me/n2pIfLeaA” target=”blank” style=”flat” background=”#ef2d47″ size=”7″ center=”yes” icon=”icon: heart” icon_color=”#ffffff” rel=”nofollow”]Play AFK Arena on PC for FREE[/su_button]
Campaign Progression
Probably the best team for pushing campaign progression as far as possible. Also does well in PVP.
Leveling Priority
- Shemira/Saveas
- Brutus/Thoran
- Nemora/Khasos/Ferael
- Tasi/Arden
- Lyca
Since this team is built around one main carry, with the rest of the team’s purpose mainly to buy time, that one carry (Shemira/Saveas) is the highest priority to level, then the main tank is next in priority as the survival of the backline depends on the tank, then the supports are prioritized according to their dependence on levels and stats
Note: Level 141 on Arden becomes top priority since that is when he can root 3 targets, but other than this one level he remains relatively low priority
Strategies Against
- Shemira’s passive ability raises her Attack Rating by up to 40% when she’s full HP, making her an easy target for Tasi’s banish and Fawkes’s coffin (they target the enemy with the highest Attack Rating, which will almost always be Shemira at the start of the battle while her HP is still quite full). Fawkes can additionally remove Brutus’s invulnerability passive with his ultimate.
- In the mid game, when facing Saveas instead of Shemira, Fawkes/Tasi will usually target Brutus instead due to his passive ability raising his Attack Rating as his HP falls. However, if facing Khasos instead he could be targeted instead of Brutus due to his passive which raises his Attack Rating when he’s attacking from range. In either case, Fawkes/Tasi can be used to momentarily expose the enemy backline, and hopefully get an early kill on Saveas.
- Against a Shemira frontline, an equal-level Bruiser can usually kill her before or shortly after she uses her ultimate. For example, if Shemira is in the enemy [2], place a Bruiser such as Brutus or Kaz in your [2] and Shemira should die fairly quickly, assuming relatively equal levels/ascension/gear.
Read our guide about tier of heroes in AFK Arena.
Team 1.0 – Late Game Standard Formation
Level Range: 161-240+
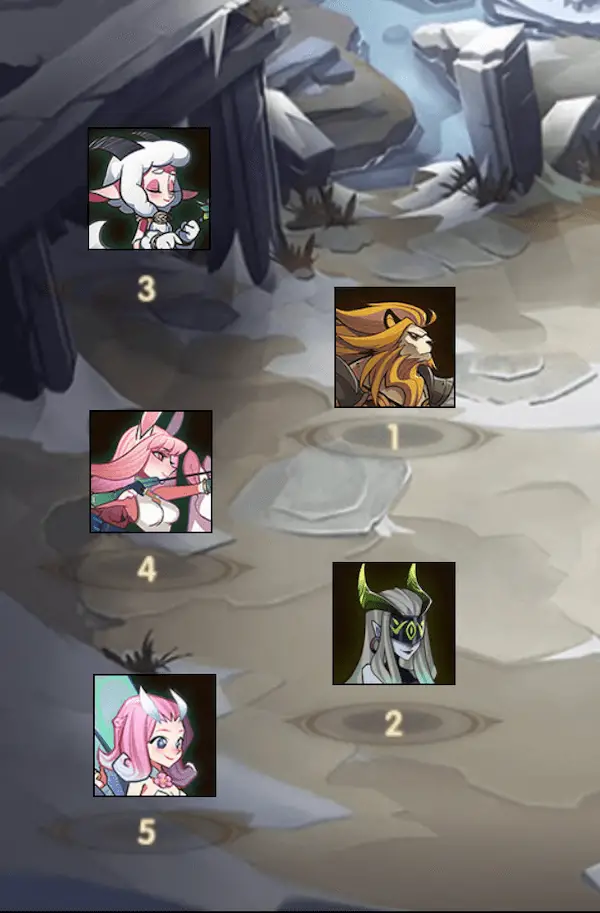
- Brutus in [1] because he’s the tankiest; wants to receive damage to deal more damage
- Shemira in [2] to let her take some damage to gain energy and use her ultimate ASAP but might die too quickly in [1]
- Lyca in [4] so her ultimate hits the entire enemy team
- Nemora can be moved around depending on who you want to charm; Lyca doesn’t need to be in [4]
- Thoran can be subbed in for Brutus; does less damage but can sometimes survive longer; see 1.2
- Arden can be subbed in for either Nemora or Tasi; position him depending on who you want to root
- Ezizh can replace Brutus
Team 1.1 – Late Game Variant: Protect Shemira
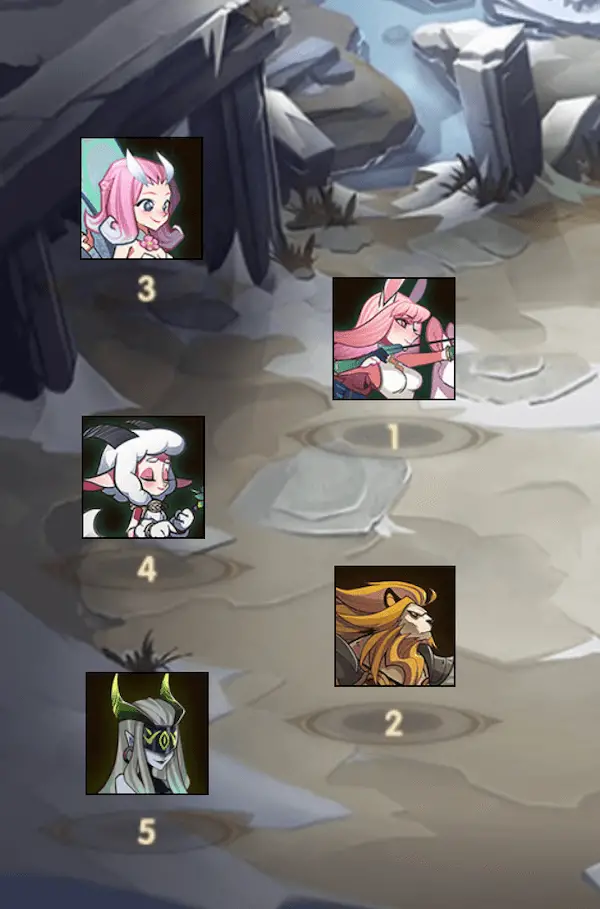
- The goal here is to maximize survivability of Shemira when she dies too quickly on the frontline
- Shemira and Brutus can be put in [3] and [1] respectively instead, but generally [5] and [2] is safer
- Lyca usually dies pretty quickly unless she gets a few lucky dodges, but it’s fine as long as Shemira can get her ultimate going
- Tasi and Nemora positions are interchangeable depending on who you want to charm
- Like in 1.0, Thoran and Arden are possible subs
Team 1.2 – Late Game Variant: Graveborns
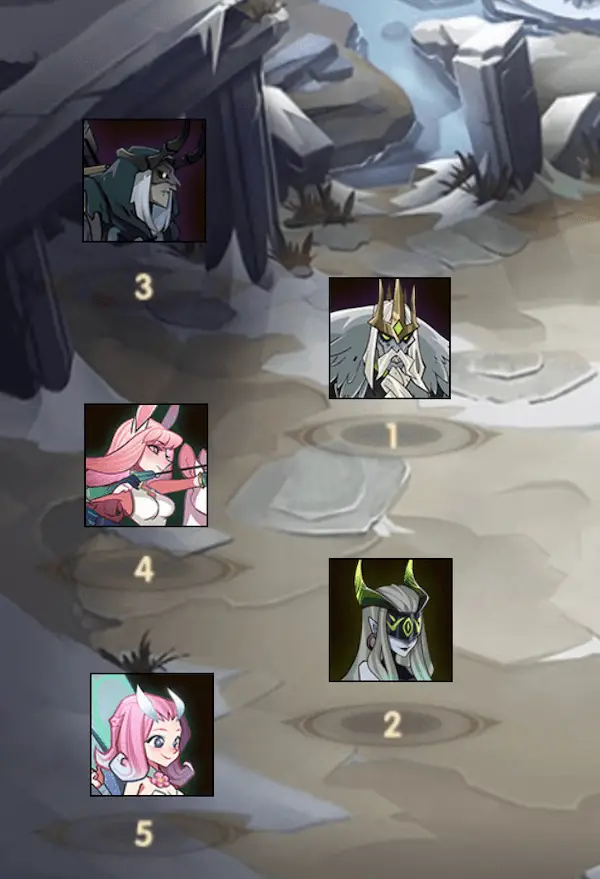
- Since Thoran typically deals less damage than Brutus, Ferael can be used to add more damage back into the team
- Grezhul can be used instead of Thoran; his passive is quite valuable in graveborn-centric teams
- Nemora and Arden can be subbed in for Tasi, depending on the situation
- Positioning can be rearranged similar to 1.1, with Thoran, Shemira
Team 1.3 – Mid Game Standard Formation
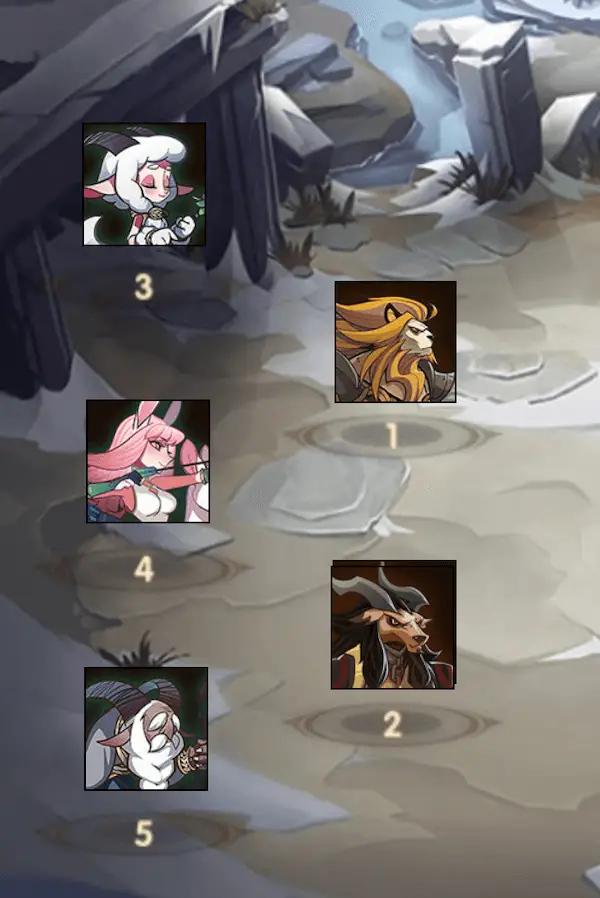
- Before Shemira gets past level 161, Saveas performs the same role better, especially since he benefits from Brutus’s roar while Shemira doesn’t
- Saveas’s self damage makes Nemora usually target him with her heal first
- Nemora and Arden should be moved around depending on who you want their control abilities to hit; Tasi can be subbed in for either of them
- Positioning can be rearranged similar to 1.1 with Saveas behind Brutus if he dies too quickly in front, however in this case, 1.4 will probably perform better
Team 1.4 – Mid Game Variant: Maulers
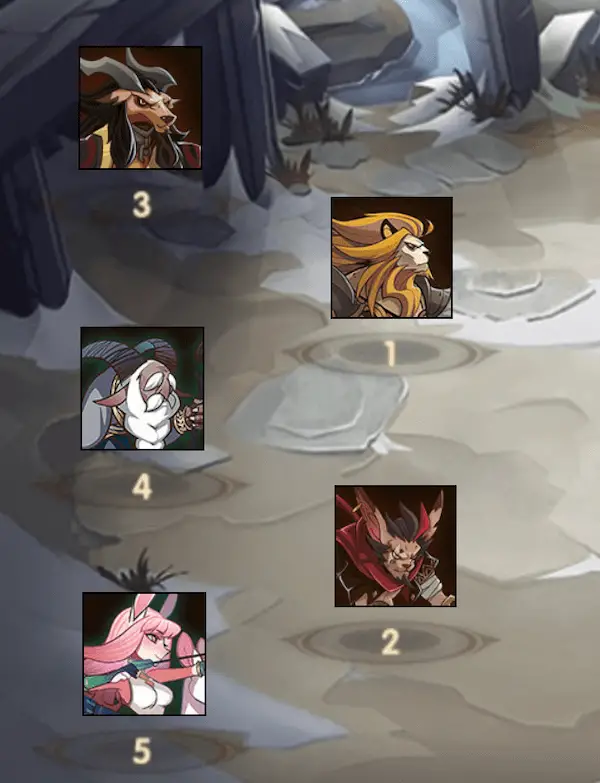
- Khasos fills the same role as Nemora of giving Saveas sustain to mitigate his self-inflicted damage, but gives up Nemora’s charm for higher damage and tankiness. His higher damage synergizes well with Saveas as Saveas’s goal is to kill as many enemies as possible before they use their ultimate with help from Brutus’s roar. Also, Khasos provides guaranteed sustain even when underleveled as his buff continues to apply even after his death, while Nemora’s sustain potential is tied heavily to her own levels and gear
- Khasos’s ultimate will make him run to the enemy [3], providing even more protection for Saveas
Stall
A hyper-defensive team with a war-of-attrition strategy, relying on sustain and control to buy time for one main damage dealer to kill enemies slowly. Best used on defense in PVP.
Leveling Priority
- Lucius/Estrilda/Nemora(frontline)/Ogi/Hogan/Golus
- Belinda/Kaz/Ferael/Saveas/Ira
- Tasi/Nemora(backline)/Ulmus
- Lyca/Raine/Arden
Since this team revolves around sustain, the frontline needs to be tanky. The longer the frontline survives, the more healing they’re able to receive over time, which leads to them surviving even longer. This is why frontliners are the highest priority. However, it doesn’t matter how long the frontline survives if nobody on the team is doing any damage, which is why the main damage dealer is a close second in leveling priority.
Note: Level 141 on Arden becomes top priority since that is when he can root 3 targets, but other than this one level he remains relatively low priority
Strategies Against
- The best way to beat this team is to hit fast and hit hard, killing either Lucius or Nemora ASAP. For this purpose, full Graveborn (e.g. [1] Grezhul [2] Thoran [3] Ferael [4] Shemira [5] Isabella) or full Mauler (e.g. [1] Brutus [2] Warek [3] Vurk [4] Khasos [5] Numisu) teams seem to work quite well in the late game. In the mid game, the Graveborn and Mauler factions also provide the best options in Silvina and Saveas respectively.
- Graveborns and Maulers also tend to have some sustain which is usually enough to offset the low damage of this Stall team. Graveborns have Grezhul’s shield, magic damage reduction aura, and skeletons to absorb damage, Thoran’s life leech on ultimate (161+), Shemira’s life leech, Isabella’s damage reduction from Soul Power, Silvina’s self shield, while Maulers have life leech from Khasos and some healing from Numisu.
Team 2.0 – Late Game Standard Formation
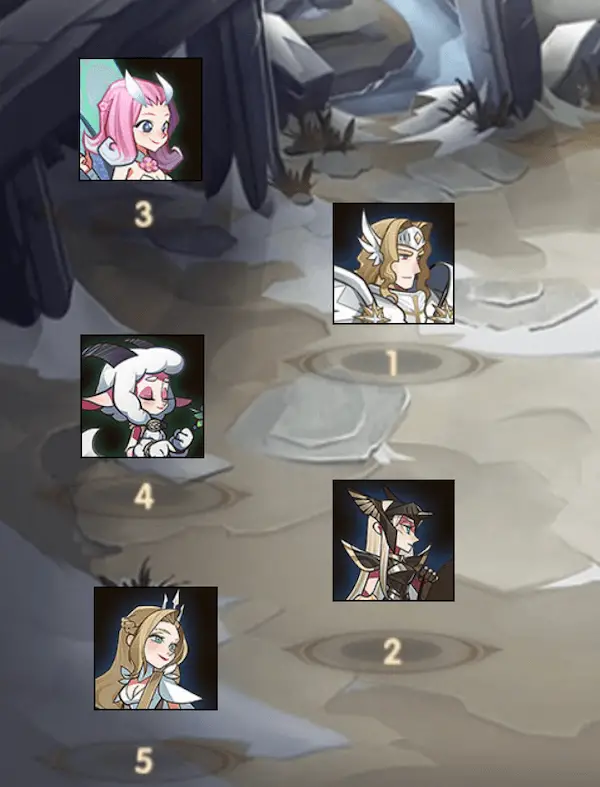
- Lucius in [1] because he’s the tankiest; gains more energy from being hit more after level 141
- Belinda should almost always be behind Estrilda; Estrilda’s Ridicule knocks enemies back to allow Belinda’s Divine Retribution to hit multiple enemies; also to ensure that Estrilda’s Inspire lands on Belinda. Ideally place in [5] and [2] respectively due to Lucius thriving in [1]
- Aside from Belinda, the other spot behind Estrilda should be given to whoever has a higher priority ultimate, due to Inspire granting up to 150 energy. In this team, Nemora’s ultimate is generally higher priority than Tasi’s, thus her position in [4]. However, Nemora can be moved around depending on who you want to charm; she doesn’t need Estrilda’s Inspire
- Fawkes can replace Tasi
Team 2.1 – Late Game Variant: Sustained Damage
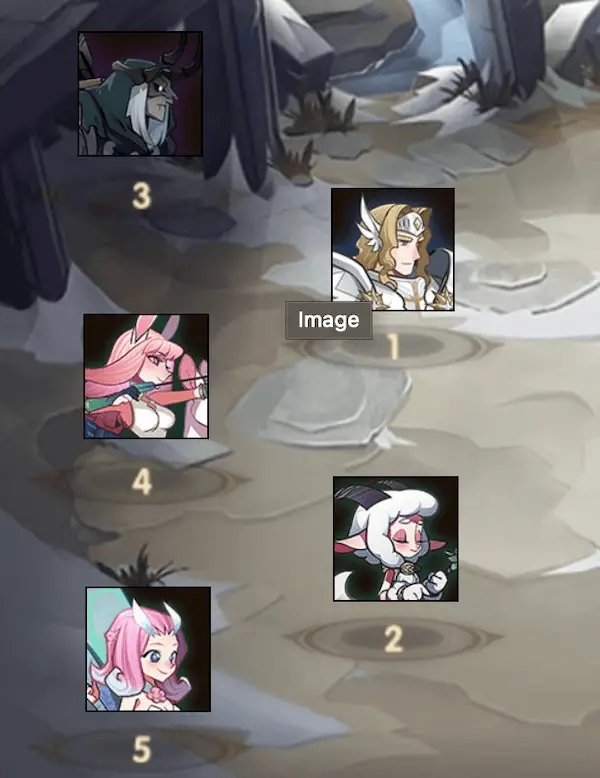
- Belinda and Estrilda’s burst damage is replaced by Ferael and Lyca’s sustained damage
- Ferael and Lyca work well together since Ferael slows down enemy energy gain while Lyca accelerates allied energy gain
- Lyca is able to build up Foe’s Fragility stacks safely and deals respectable single-target DPS while Ferael provides more AoE-oriented DPS
Team 2.2 – Late Game Variant: Wombo Combo
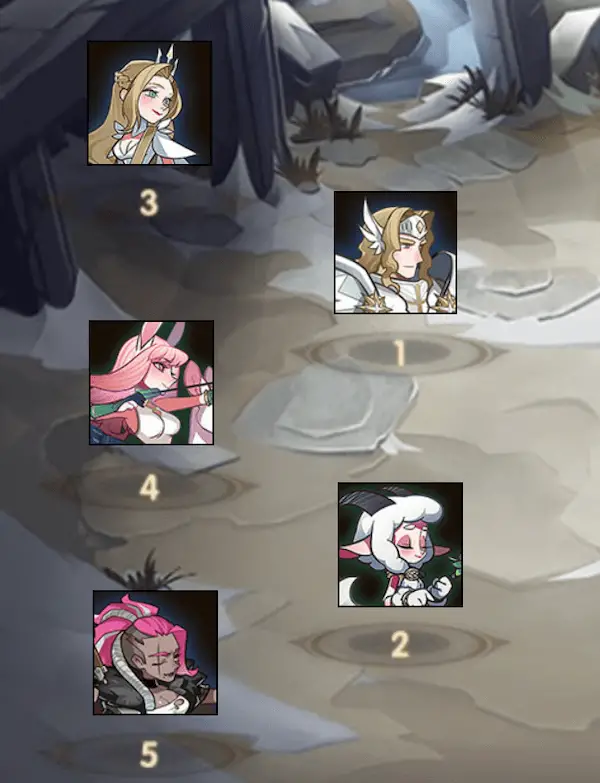
- This team focuses on synergy between Belinda and Raine. Lucius and Nemora buy time for Belinda and Raines ultimates to charge, while Lyca helps accelerate their energy gain
- Belinda’s ultimate is able to one-shot most heroes late game, allowing her to repeatedly cast her ultimate with the energy on kill granted by Raine’s ultimate
- This is a riskier variant as Belinda and Raine’s ultimates don’t always line up, but when it works it ends games quickly and decisively
Team 2.3 – Late Game Variant: Wilders
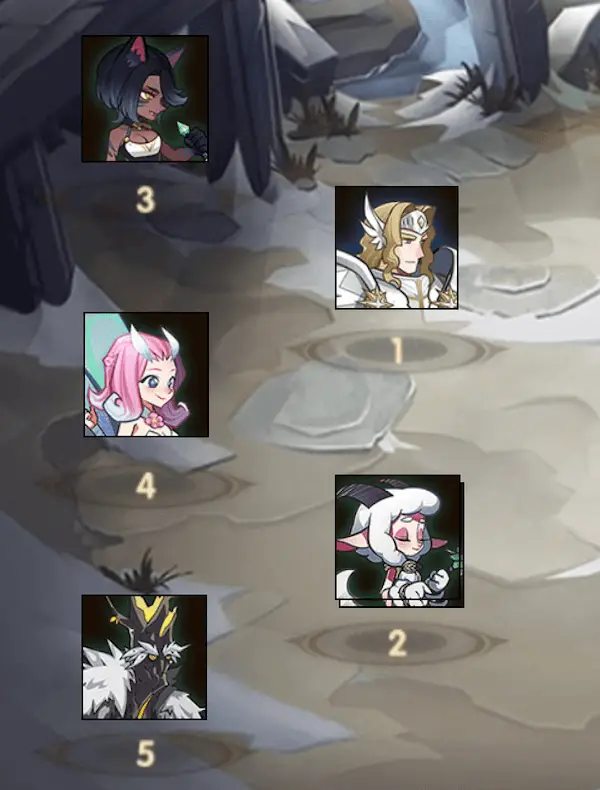
- This is the tankiest and most control-oriented variant
- Positioning is very flexible as the only restriction is that Tasi should probably be in he back somewhere; everyone else can go anywhere else
- Lucius is usually best in [1]
- Nemora in [2] and Ulmus in [5] means that Ulmus will be hit by the enemy [5] while Nemora is still hit by enemy [2], meaning that Nemora can safely gain energy from taking damage without risk of dying before she can use her ultimate. Also, once Ulmus’s ultimate is used, he will reappear behind Nemora, but she will still be within range of his Life Torrent AoE, granting her extra survivability
- Kaz in [3] will also make sure Lucius doesn’t die too quickly
Team 2.4 – Mid Game Budget Formation
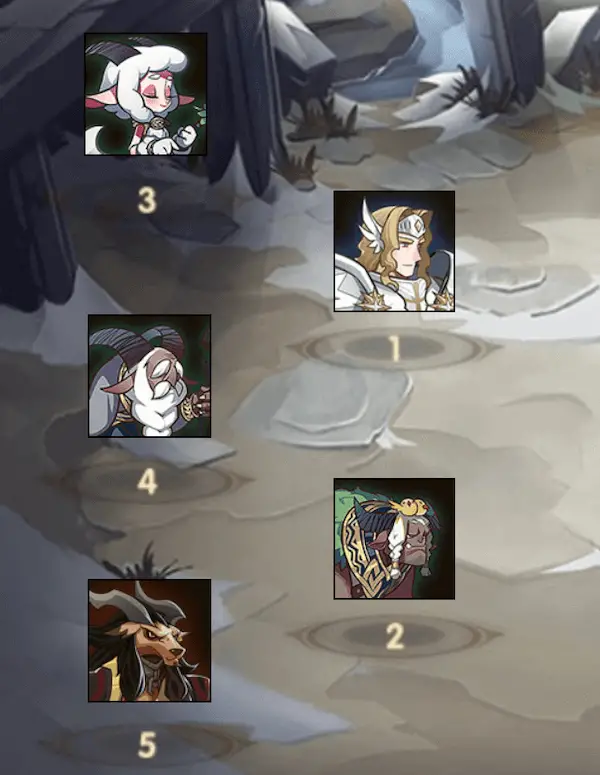
- This team is quite easy to build except for Lucius (Nemora is available with Labyrinth tokens)
- Ogi is a tank who contributes to the faction bonus, and his control abilities, high innate defensive stats, and his ultimate all synergize with this sustain-focused strategy. Place in [2] so that it’s less likely he dies before using his ultimate
- Hogan and Golus are potential subs for Ogi, but would result in no faction bonus, unless using Ira.
- Ira can be used instead of Saveas as her kit works best in long battles, which this team specializes in.
- Ogi’s Bombard can be used to make Saveas (or Ira) switch targets from the frontliner to the enemy directly opposite to them, taking out priority targets quickly.
The Light
A well-rounded team with a good mix of survivability and damage (both single target and AoE; sustained and burst). Unfortunately, this team only becomes great in the Late Game and there is not really a Mid Game variant.
Leveling Priority
- Lucius/Thane/Athalia
- Estrilda
- Belinda
- Fawkes/Raine
This team relies on Thane or Athalia (or both) as the primary damage dealer(s) while Lucius holds the line and keeps everyone alive, making these heroes top priority. Estrilda is next in priority so that she doesn’t die too quickly. In variants with Thane and/or Athalia, Belinda takes more of a supporting role, buffing them and providing supplementary damage. Fawkes and Raine are supports and have low priority.
Team 3.0 – Late Game Standard Formation
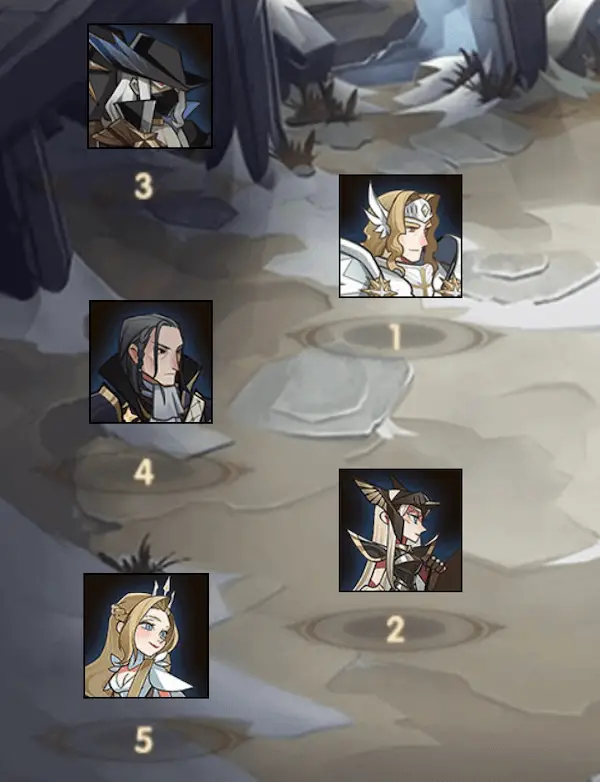
- Lucius in [1] because he’s the tankiest; gains more energy from being hit more after level 141
- Belinda in [5] behind Estrilda in [2] so Divine Retribution can hit multiple enemies
- Thane in [4] will still target enemy [2] (in game modes other than Arcane Labyrinth and Peaks of Time for some reason) and therefore share incoming damage with Estrilda, which mitigates both of their weaknesses of sometimes dying too quickly under focus fire. Switch Thane and Belinda’s positions in Labyrinth and Peaks of Time so that Thane still targets enemy [2]
- Since this team uses 5 heroes from the same faction, it is expensive to build. Luckily, Estrilda and Fawkes are available with Labyrinth and Gladiator coins, and some free copies of Belinda are given
Team 3.1 – Late Game Variant: Raine
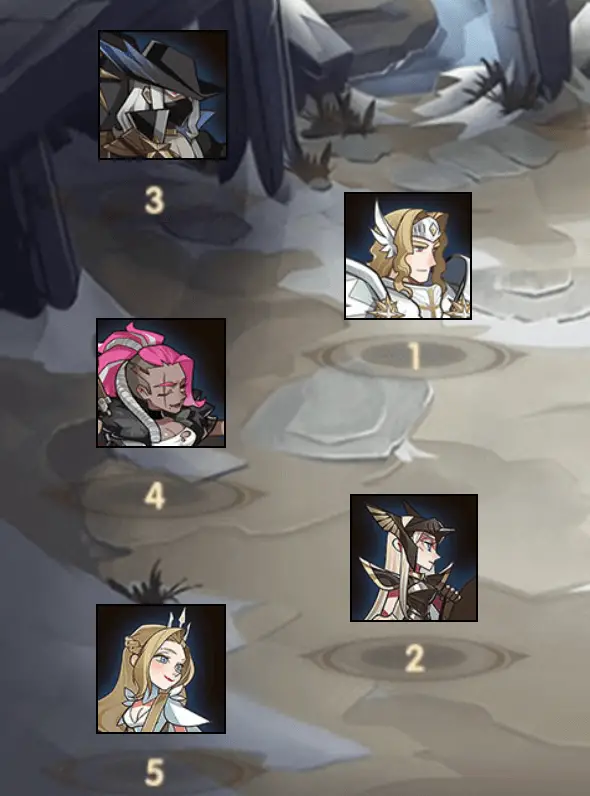
- This team relies on synergy between Belinda and Raine’s ultimates. This variant seems to perform worse on average than the standard formation with Thane instead of Raine
- The advantage of this team is mainly that it is slightly easier to build, since 2 copies of Raine are available from Peaks of Time and Campaign rewards, and Raine also performs better at lower ascensions than Thane, meaning that she requires minimal resource investment while Thane needs heavy investment
Team 3.2 – Late Game Variant: Athalia
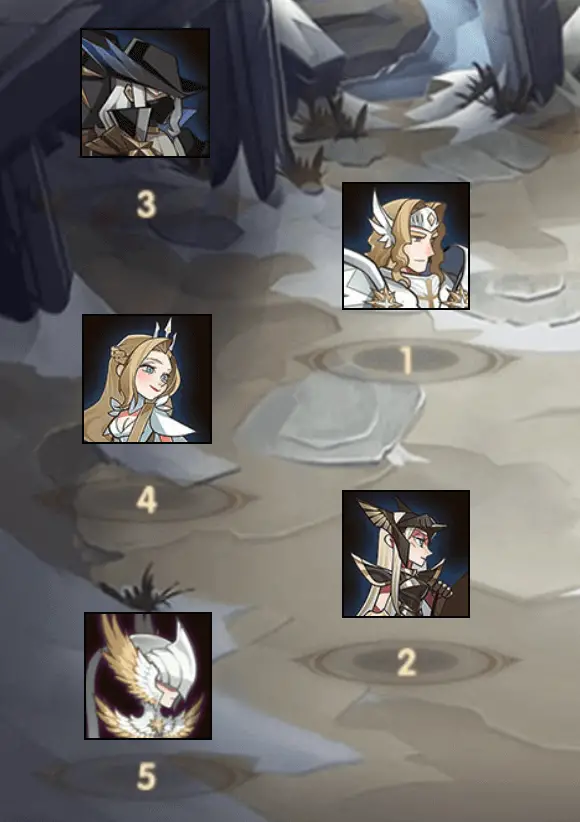
- Athalia can be used similar to Thane by sharing incoming damage with Estrilda
- Another option is to use Thane instead of Estrilda
- Needless to say, this variant is extremely expensive, especially if using Thane instead of Estrilda


